Humly Reservations is a web application for booking resources such as: rooms, desks and parking spaces.
Humly Reservations can be used as a compliment for setups with a booking system backend (i.e. Exchange, Office365, Google Workspace) or as a Standalone booking service using SMTP. This user guide covers both setups.
Humly Reservation can be used on both desktop and mobile as the user interface will adapt to the screen size.

This user guide will cover how to use Humly Reservations in different ways:
Find a resource
When you log in to the Humly Control Panel as a user or guest you have access to Humly Reservations.
Depending on what kind of user type your account is (Global Admin, Local Admin, Statistics user, Visitor admin, User or Guest,), Humly Control Panel will grant you access to different parts.
2. Filter based on resource type which you want to book and check availability in the booking schedule view. You can press any available space to create a booking.
Already created bookings will be highlighted in red if you are the organizer, and in grey if somebody else is the organizer.

Book a resource
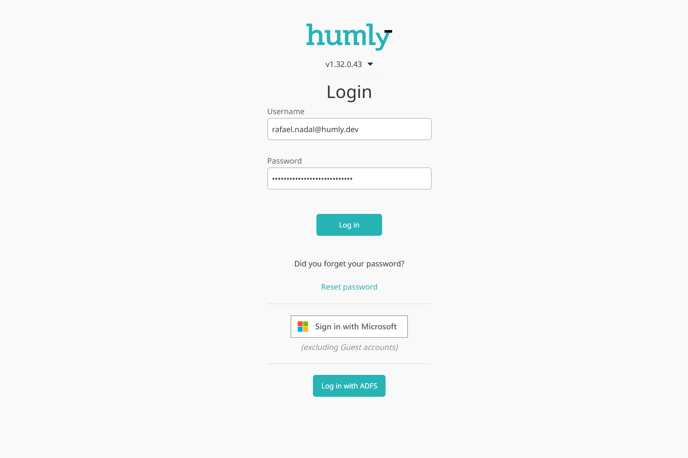
1. Login to Humly reservation.
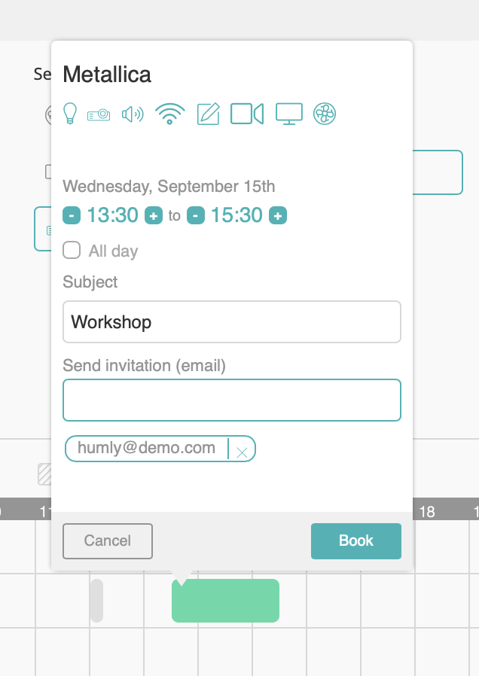
2. In the table with resources, click on any available time slot.
The dialogue popup for that time slot contains information about (top to bottom)
- Resource name
- Equipment for the resource
- Day, month, date
- "Start time" and "End time" for the booking
- Meeting Subject (will be displayed on the Humly Room Display and/or legacy device)
- Send invitation to attendees
- Cancel and Book buttons
3. Adjust the start and end time and set a subject for your booking. If you want an email to be sent when a booking has been done you can fill in the field and press enter. You can add as many emails you want.
4. Click Book to confirm booking.
5. If the booking was successful you will see the time slot in red color in the table. Your booking will also show up in My bookings.
Edit a booked resource
1. Click on the "Edit"-icon for the booking you want to edit, or press the red meeting icon in the scheduling table.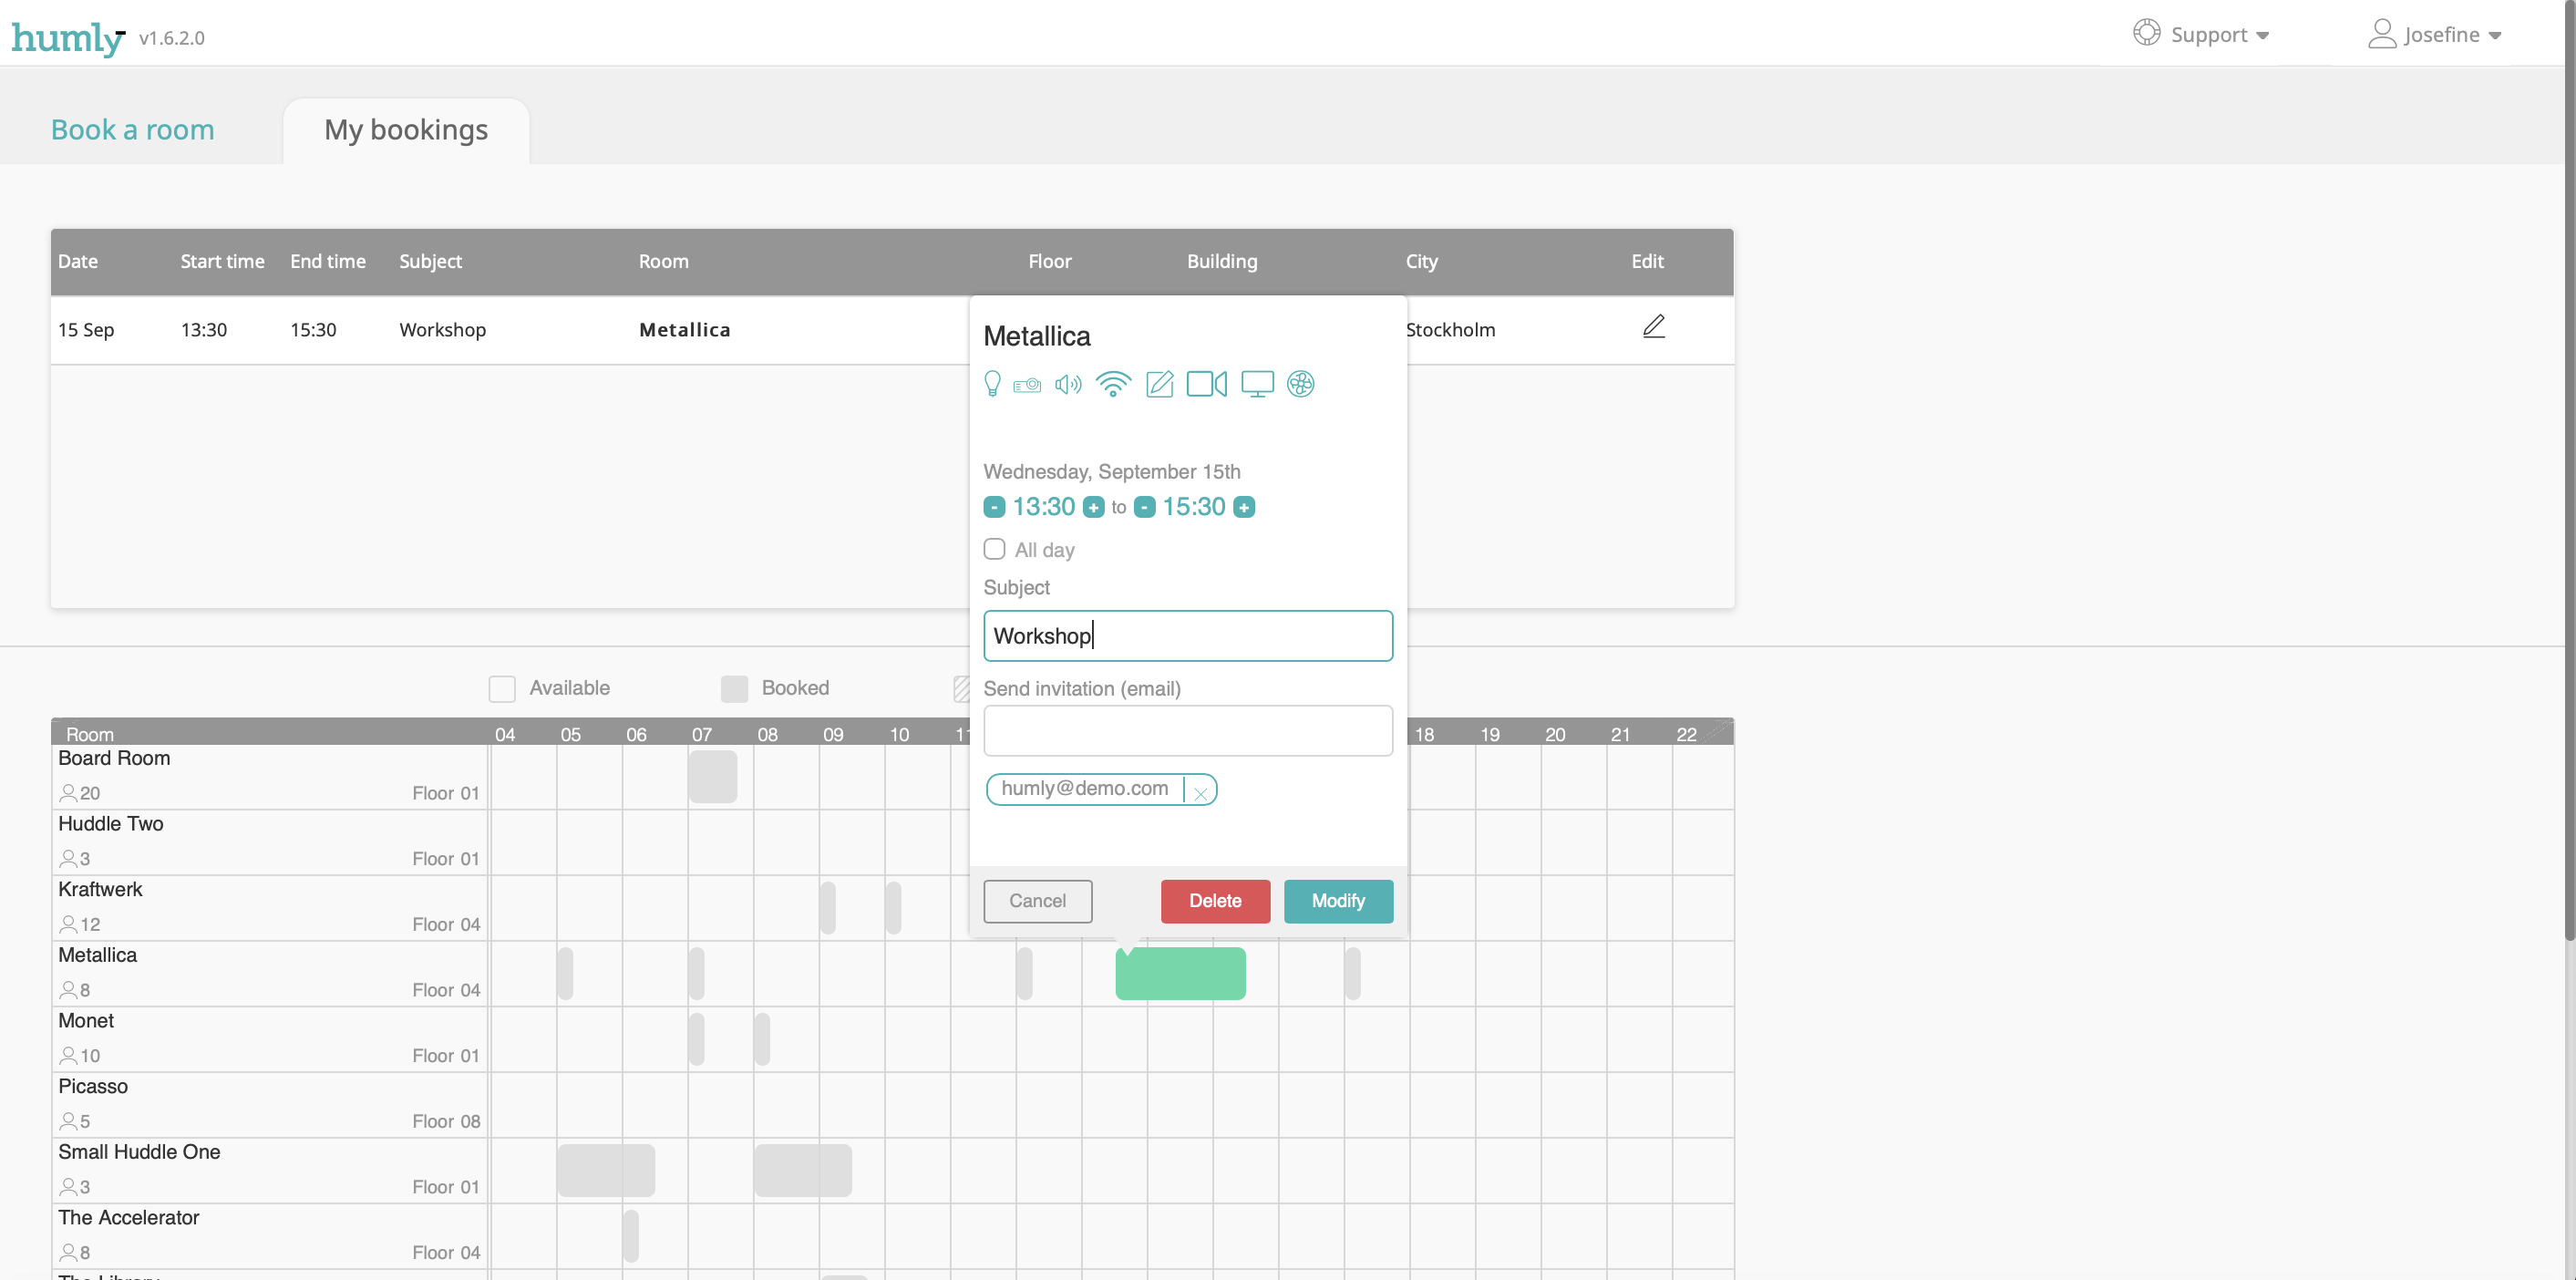
2. Edit start or end time, or change meeting subject. Click Modify to confirm your changes.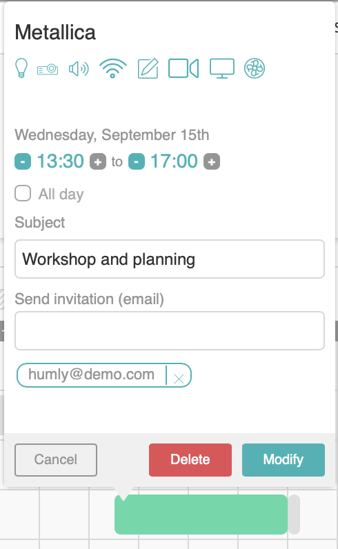
Delete a booked resource
1. Click the Edit-icon for the booking you want to delete.
2. Click Delete to remove the booking.
Resource filters
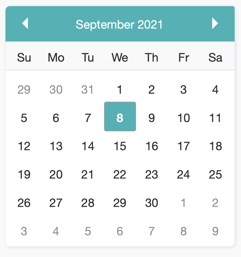
Calendar
Choose which month, day and date on which you want to book a room. Selected date gets highlighted.
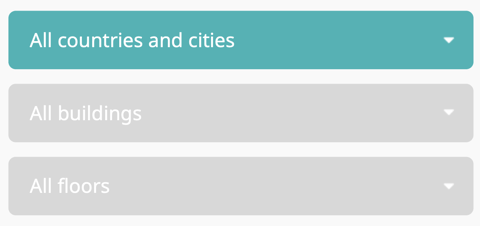
Location
Select at which location you want to book a room. Select country &, city, building and floor. As you select location the table with rooms will reflect your selections.
Room size
Select what room size you need (number of seats) and the table with rooms will reflect your selection.

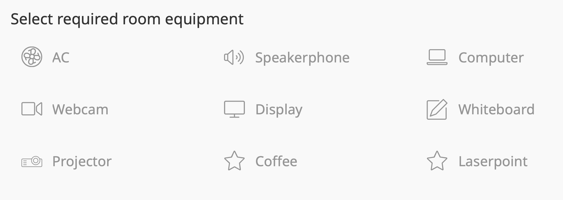
Resource equipment
Select which equipment that needs to be present in the resource you want to book, and the table with resources will reflect your selections. In this image two custom equipment are added (Coffee, Laserpoint).
If you at any point want to reset the whole search filter, click Reset all filters and you will clear all your selections and you will see all resources in the table.