Configuring Ethernet 802.1x in Humly Control Panel
This document will guide you through the configuration of the 802.1x for the Ethernet on Humly Control Panel and Humly Room Display.
We recommend that Humly Control Panel and Humly Room Display are on the same version and up to date.
Protocols: EAP-TLS or MSCHAP, Ethernet
Key: RSA 2048 Bits
Hash: SHA256
Configuration Steps:
1. Enable 802.1x from Global settings in Humly Control Panel and click Save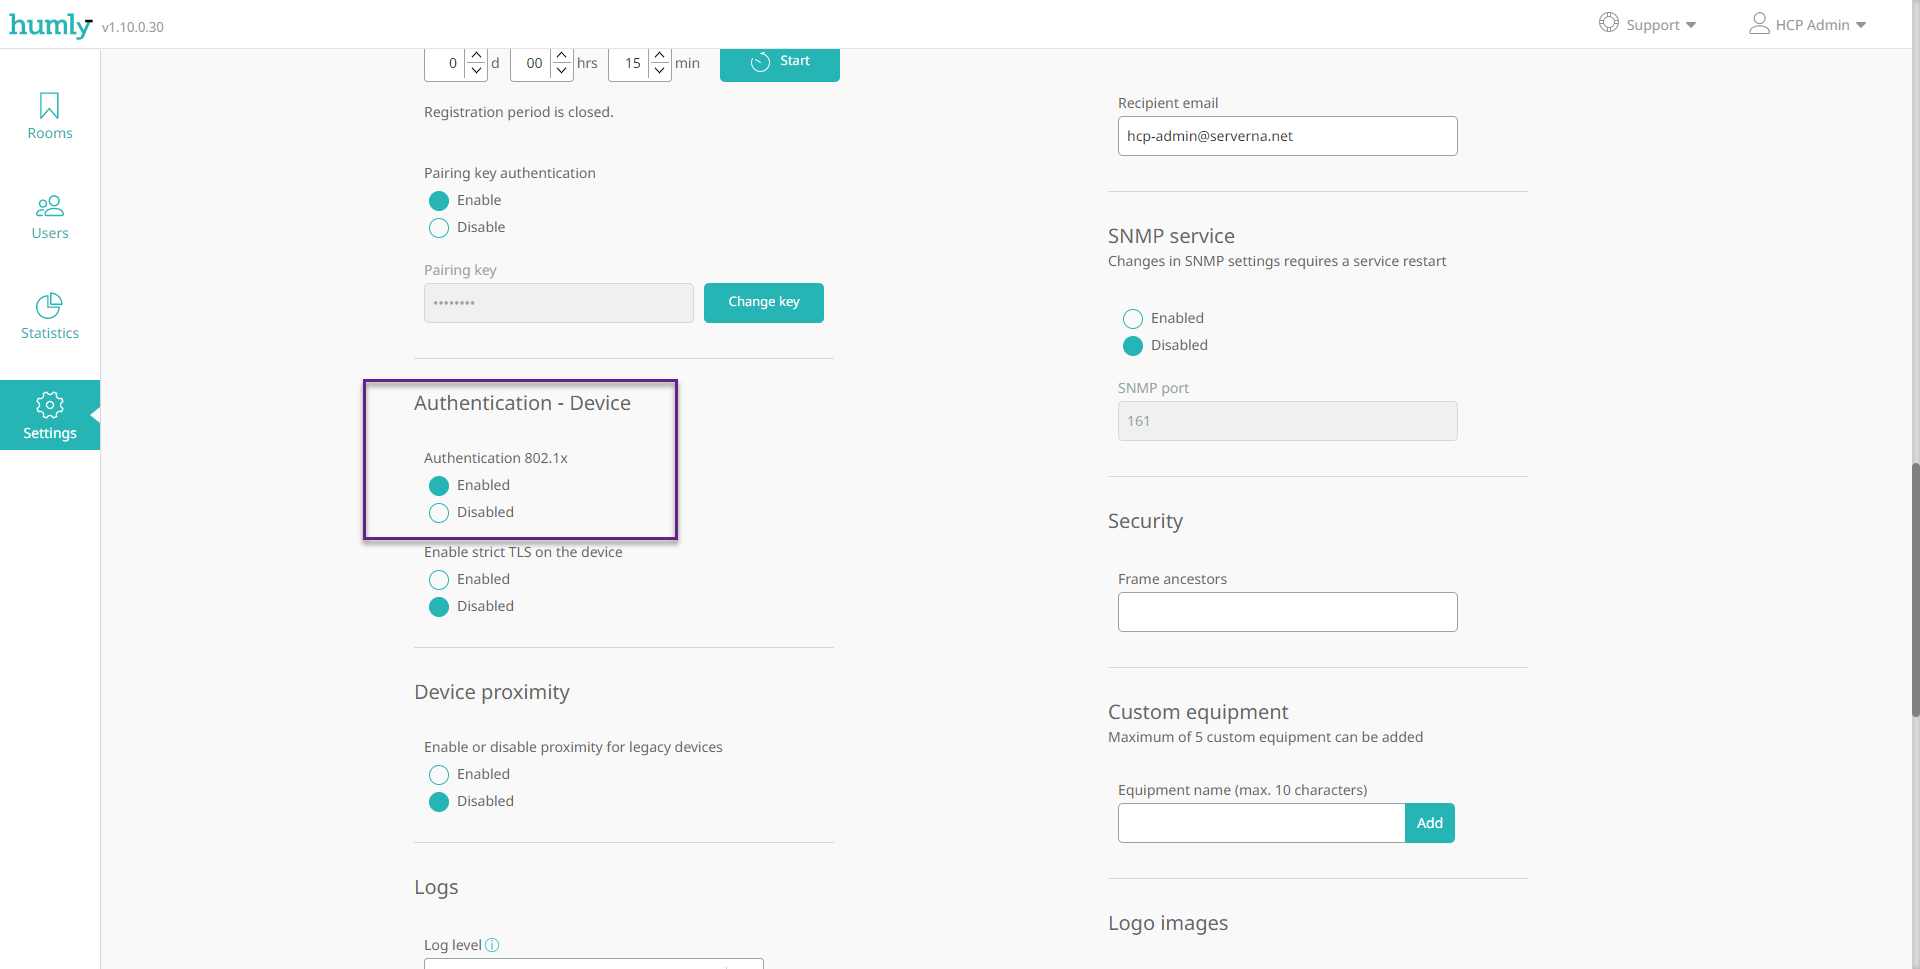
2. Go to Rooms and Room monitoring. Click on the room you want to configure to expand the room details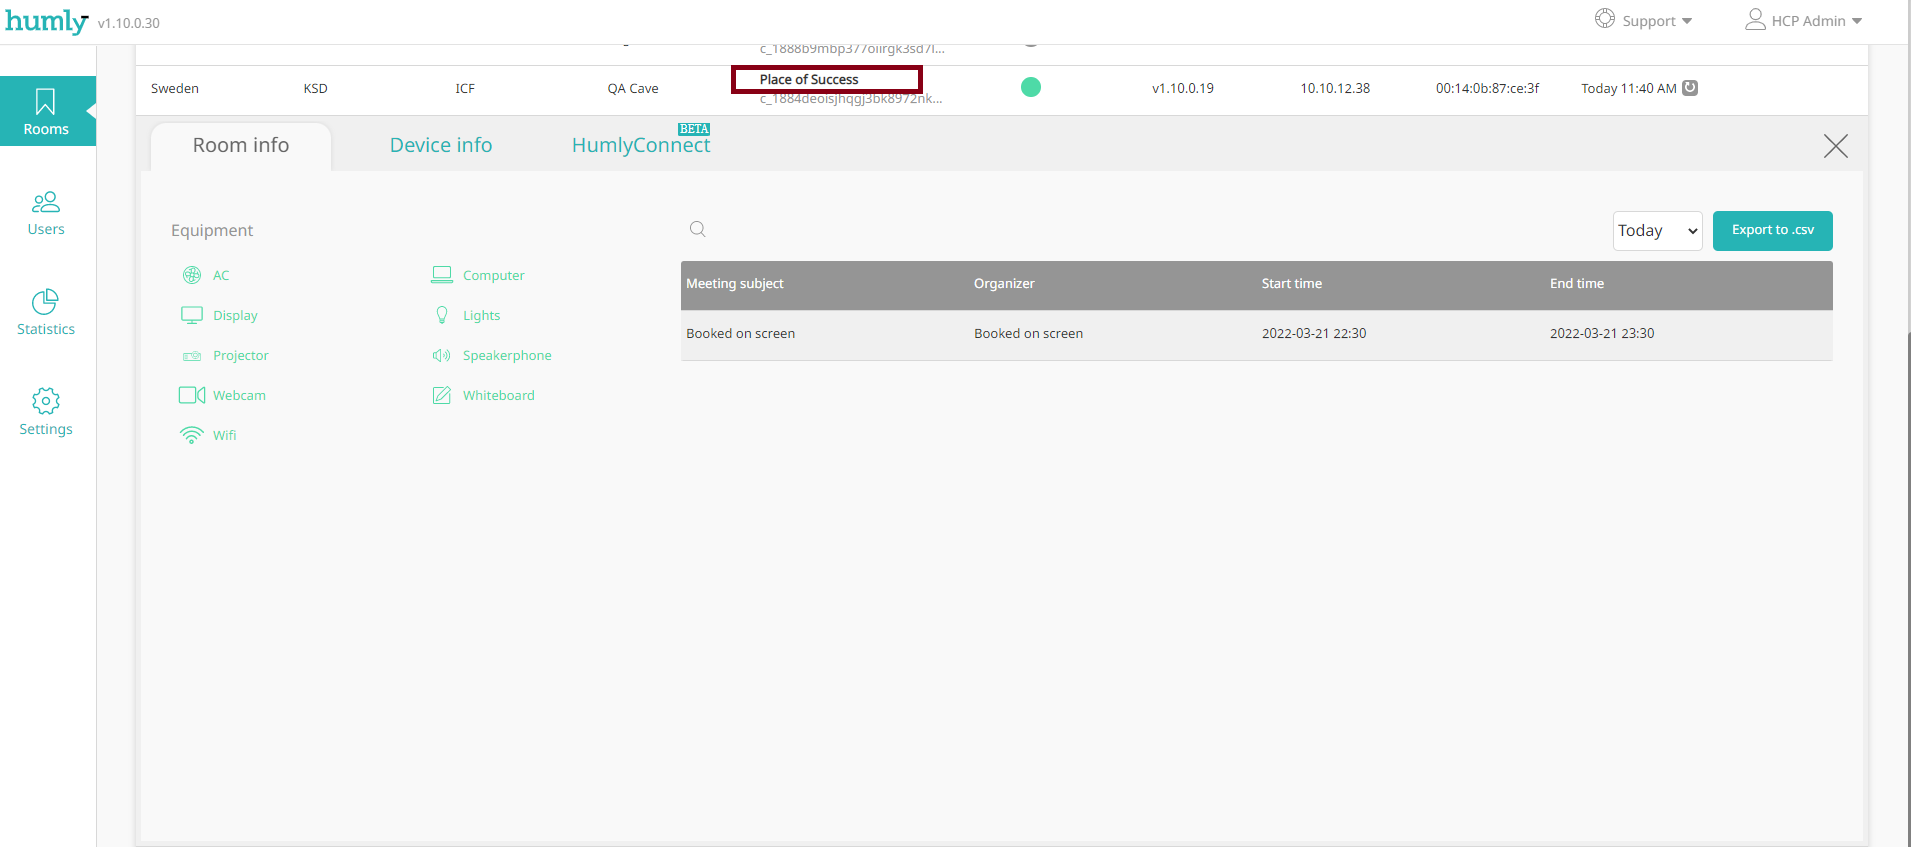
3. Select the Device info tab and then the Security sub-tab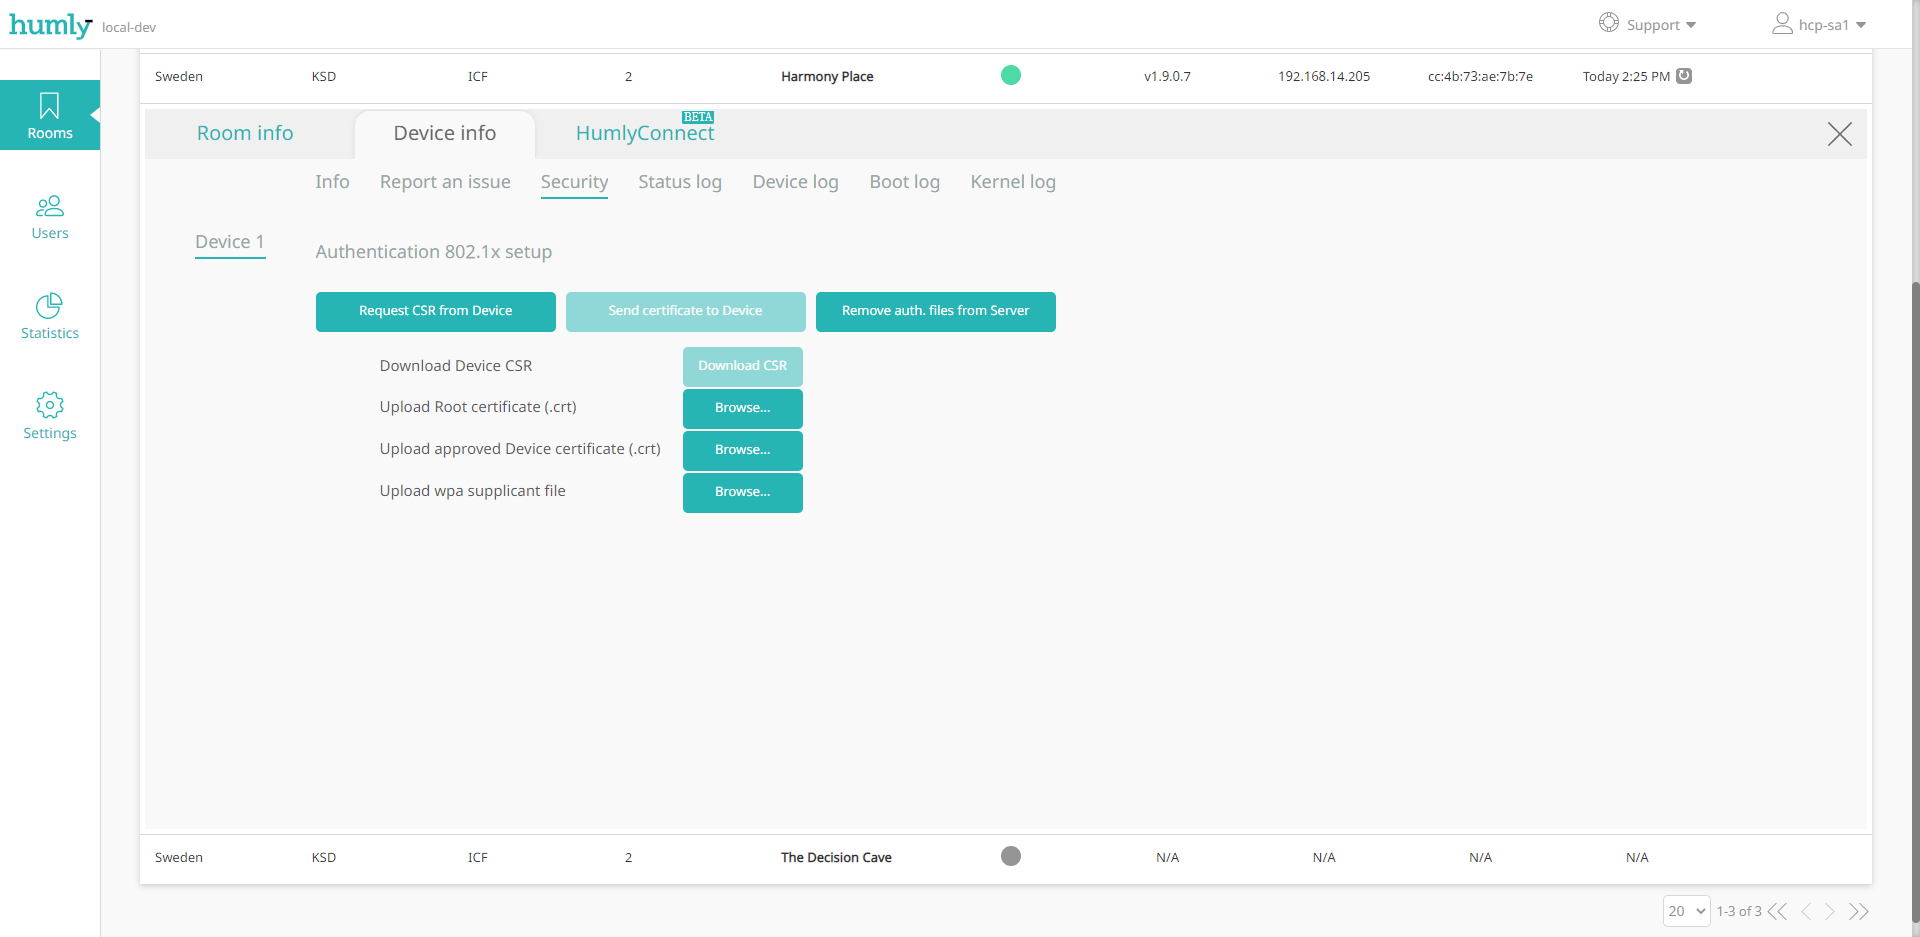
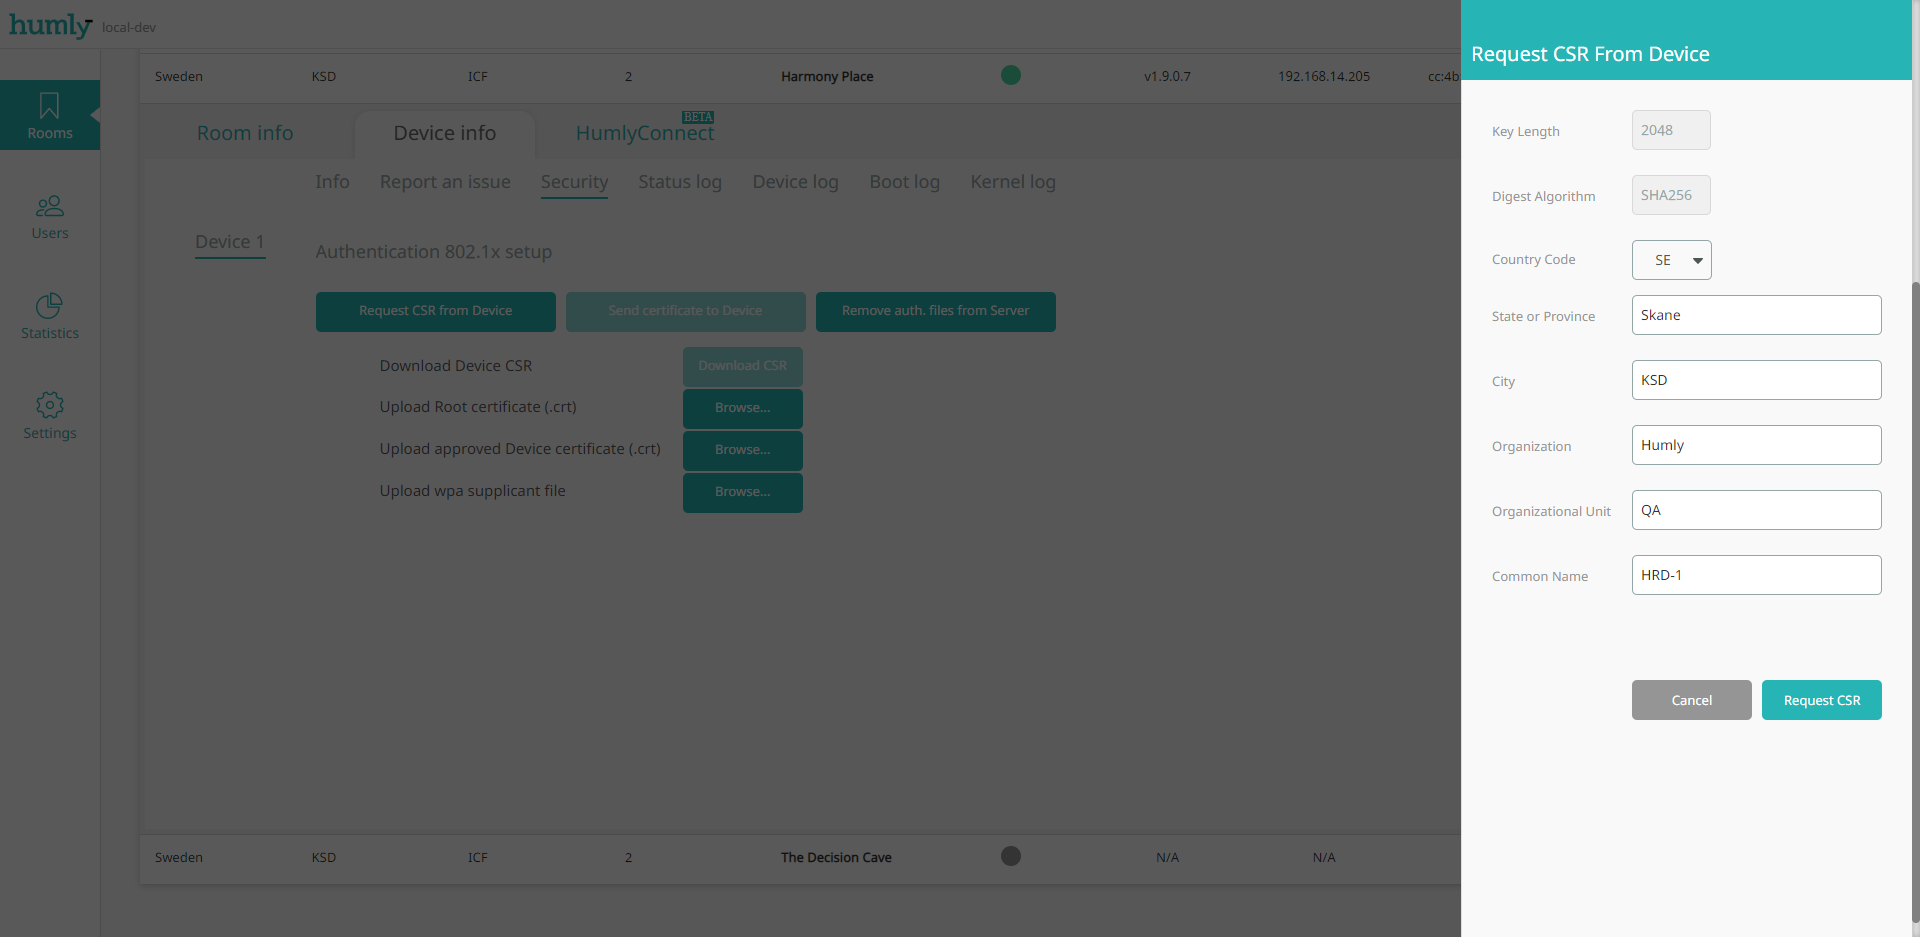
4. Create a certificate request file by clicking on the Request CSR from device button, fill in the certificate request information in the CSR fly-in then click Request CSR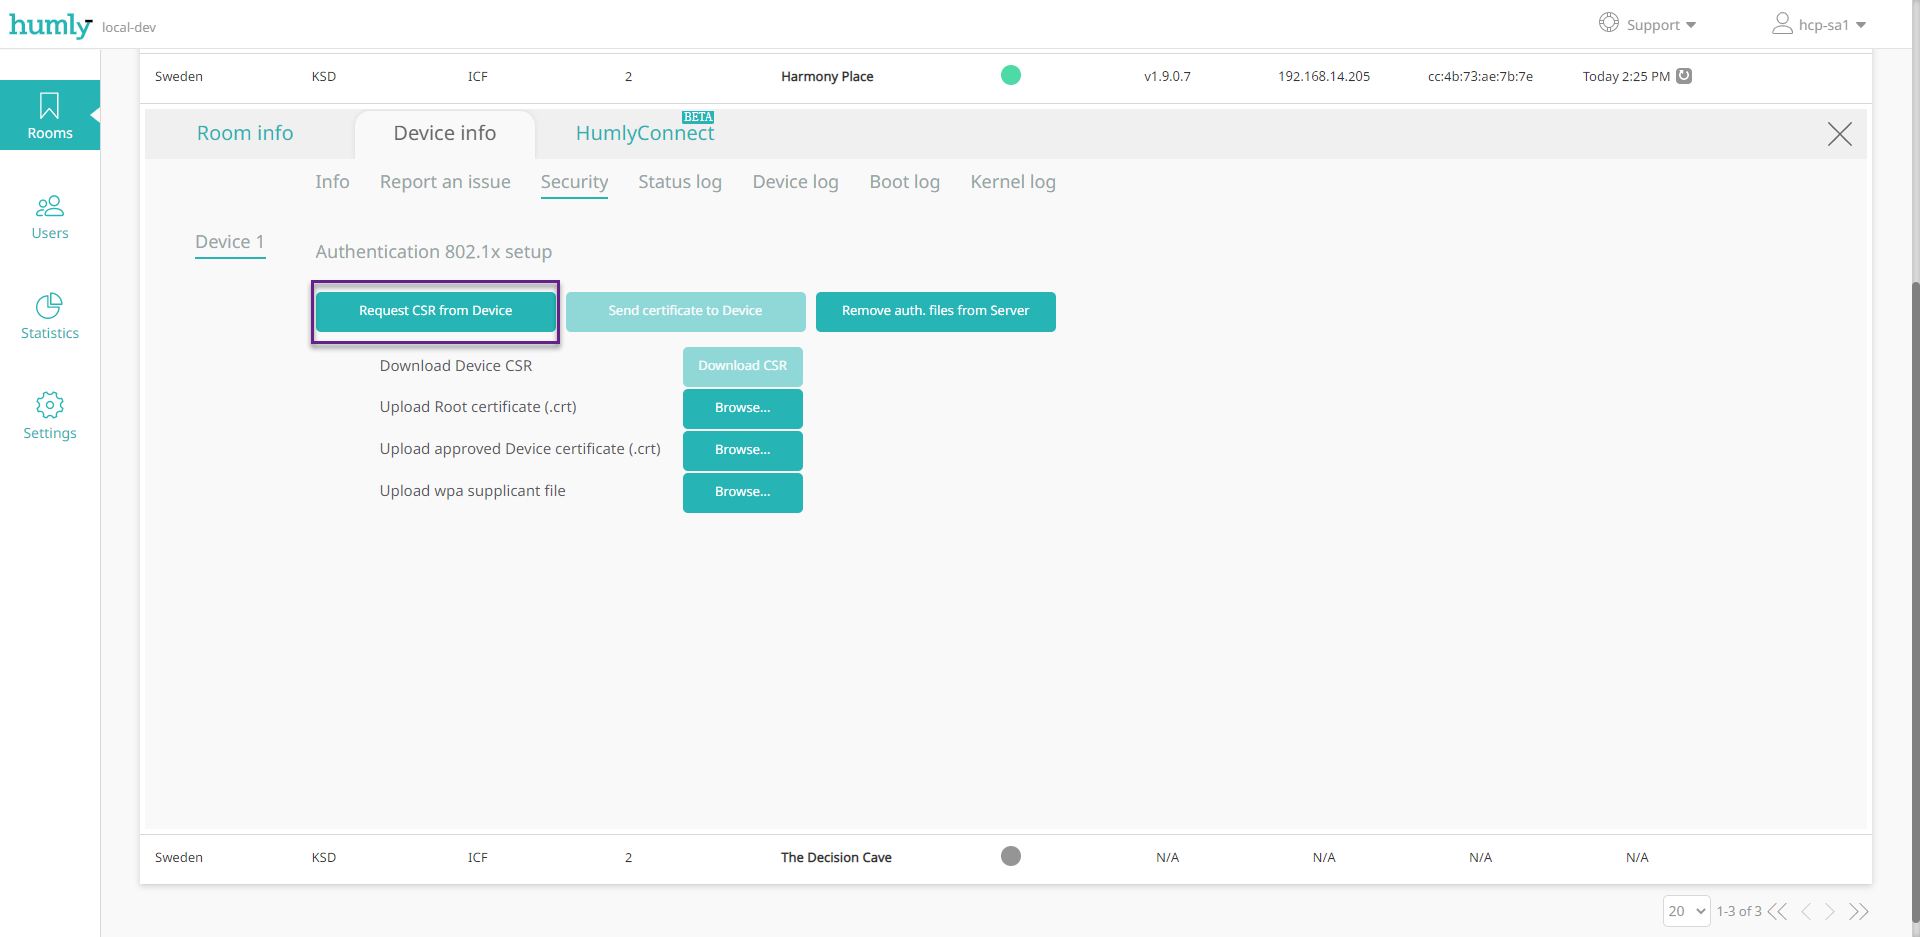
5. Download the CSR by clicking on the button Download CSR. It might take a few seconds, you should see the ready mark in green when the CSR is ready to download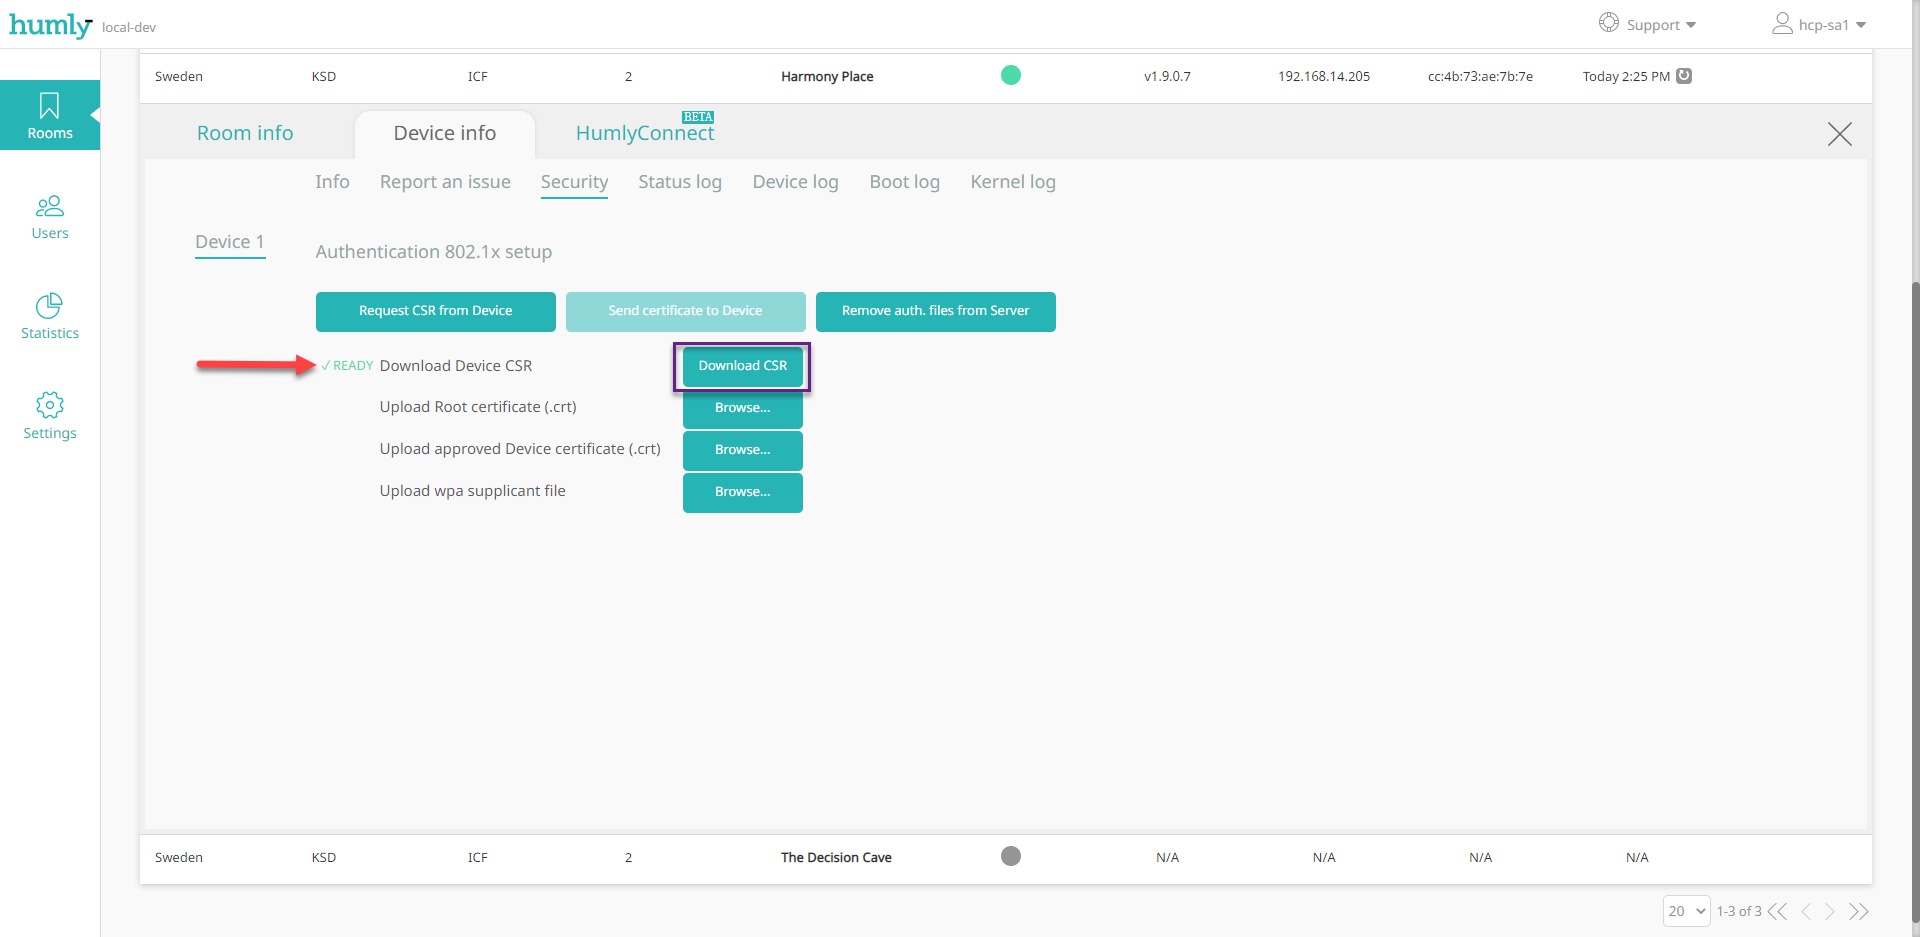 Use the CSR to generate the certificate for the selected device using your CA server
The Root and Device certificate should be Base 64 encoded x509 certificates
6. Make the necessary changes in the wpa_supplicant.conf template file according to your network requirements. The template file can be found as an attachment to this article at the bottom of the page.
The wpa_supplicant.conf encoding should be UTF-8, please make sure you edit the file using the same encoding
7. Browse and select the files to upload them to Humly Control Panel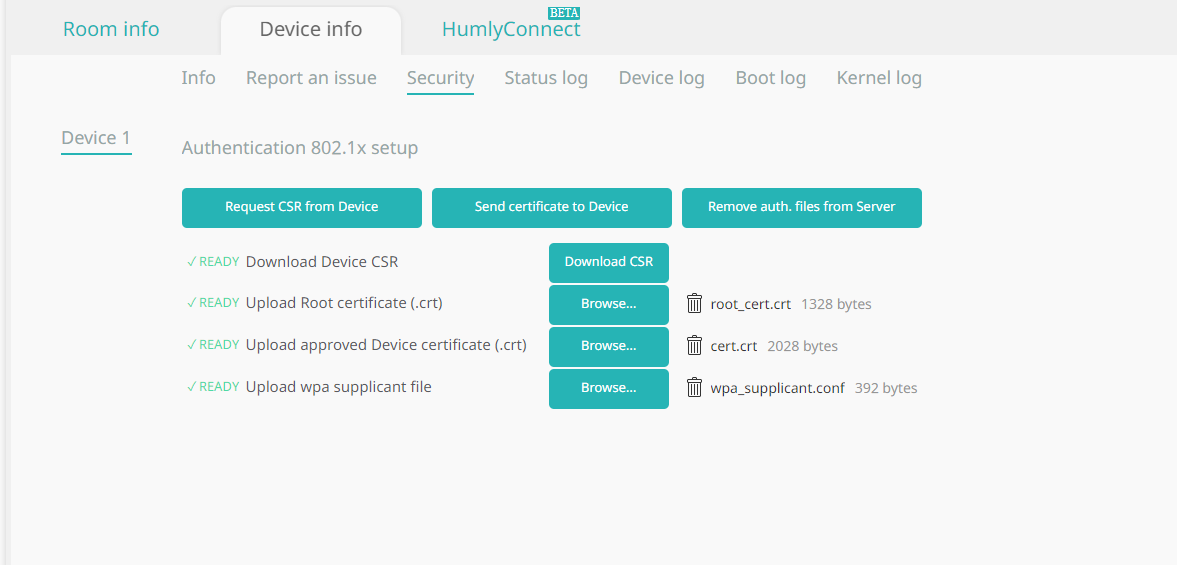
Ensure the file names are preserved as per the above picture
Root Certificate file name should be: root_cet.crt
Device Certificate file name should be: cert.crt
Config file name should be: wpa_supplicant.conf
8. Click Send the certificate to device button to upload the files to the Humly Room Display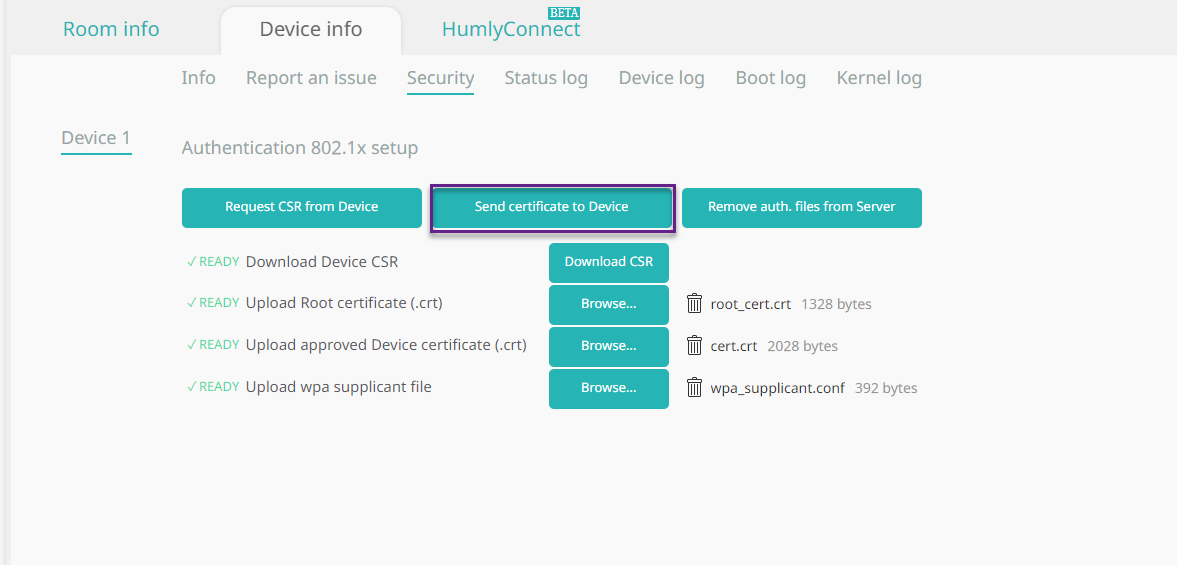
9. When the upload is done, reboot the device and move it to a protected/managed network port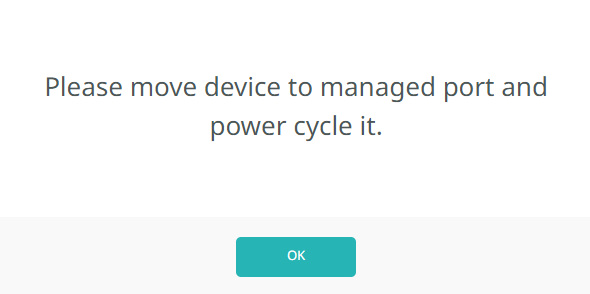
Note: the device certificate can be renewed without the need to move the device to the staging network as long as the device has a connection to Humly Control Panel.
This can be done by deleting the old cert from HCP as per the screenshot below and repeating steps 4 to 9 then rebooting the Humly Room Display device.

Note: When configuring 802.1X, the root_cert must be the CA that issued the RADIUS server’s certificate (e.g., Cisco ISE), not the one that issued the client certificate. In some environments these are the same, but if they're different, trusting the wrong CA will cause authentication to fail.