After the successful installation, HCP is ready to connect to the booking system through the wizard. Select your booking system from the drop menu and continue with the details below for each booking system.
Note! To be able to Finnish the HCP Wizard you need to have at least one resource room created and then add to Humly Control Panel in the final step. Another thing to note is that the service account and the user account you choose as admin email will need to be found in your Exchange environment, eg, the accounts can not be hidden.
Select Booking System
Start by selecting Exchange Server from the drop down menu and click "Next".

If you are using Humly Cloud please skip these following steps and proceed to log in.
Select if you want Humly Control Panel to connect to Exchange 2019 via a direct connection or a proxy. If you have a proxy, you need to provide the URL, the port, and the credential if the proxy server requires this, then press "Next". If the connection is direct, press "Next".
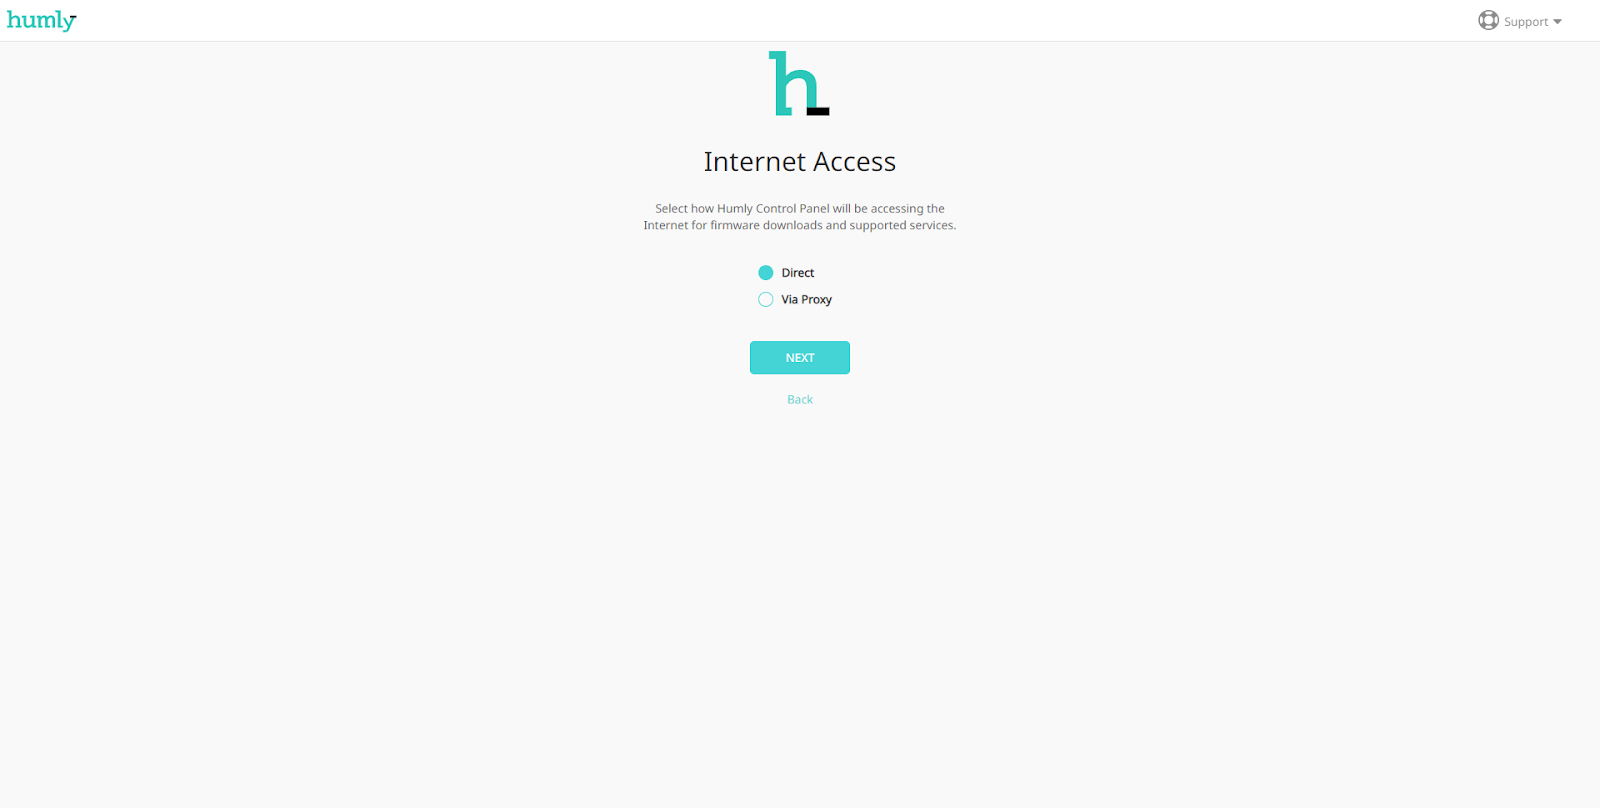
Log in
Enter the credentials (e.g. service-account@domain.tld) for your service account granted with application impersonation along with your Exchange server EWS URL (e.g. https://exchangeserver.tld/EWS/Exchange.asmx)
If you are using a local certificate and the connection to the EWS URL is not secure, please check mark allow untrusted Exchange Server TLS certificate, Then click "Next".

Global Admin Credentials
-Now, create a global admin that will have full administrative permissions in the Humly control panel. This space cannot be left empty.
-The extra global admin refers to another global admin you would like to add. It is optional at this stage and can still be created in the future.

Humly Login Data
You will now receive the login credentials both in your wizard and in an e-mail to the Global Admin user you specified in the beginning. Take note of this information to Login to Humly Control Panel.
Click Next.

SSL Setup
Enter the https application port you would like to use (default 3002). Additionally, you can upload your own SSL/TLS certificate and then click "Next". If no certificate is uploaded, a unique auto generated self-signed certificate will be used.
SSL setup will be skipped for cloud based Humly control panel. The connection for our cloud is already secure and does not need to be configured.

Pairing key
Pairing key is required in the setup only for cloud based Humly Control Panel.
Enter a Pairing key, which will be used to pair the HCP and the Humly Room Display in a later stage. Please remember the Pairing key and choose a key which will be easy to enter on the HRD-device.
Click Next.

EULA
Agree to the conditions of the EULA and then click "Accept".
Once done with connecting HCP to Exchange Server move on to Step 4: Basic Setup for HCP - Global Settings