Connect HCP to Google Workspace
After the successful installation, Humly Control Panel is ready to connect to the booking system through the wizard. Select your booking system from the drop menu and continue with the details below for each booking system.
Note! To be able to Finnish the HCP Wizard you need to have at least one resource room created and then add to Humly Control Panel in the final step.
Select Booking System
Start by selecting Google Workspace (Google G Suite) from the drop down menu and click "Next".

We strongly recommend to not use the super admin as the admin email since it will cause you a lot of problems on Googles end. Instead create a new user with admin permissions and give the sharing rights "make changes to events" or "make changes and manage sharing" for your resource rooms as explained in previous guide
Enter your service account, admin email, sender email which is optional, and upload p12 key file then press login

The P12 key can NOT be exported from HCP, but it can be changed from the global setting page after the booking system integration wizard is done.
Humly Login Data
You will now receive the login credentials both in your wizard and in an e-mail to the Global Admin you specified in previous steps. Take note of this information to Login to Humly Control Panel.
Click Next.

SSL Setup
Enter the https application port you would like to use (default 3002). Additionally, you can upload your own SSL/TLS certificate and then click "Next". If no certificate is uploaded, a unique auto generated self-signed certificate will be used.
SSL setup will be skipped for cloud based Humly control panel. The connection for our cloud is already secure and does not need to be configured.

Pairing key
Pairing key is required in the setup only for cloud based Humly Control Panel.
Enter a Pairing key, which will be used to pair the HCP and the Humly Room Display in a later stage. Please remember the Pairing key and choose a key which will be easy to enter on the HRD-device.
Click Next.

EULA
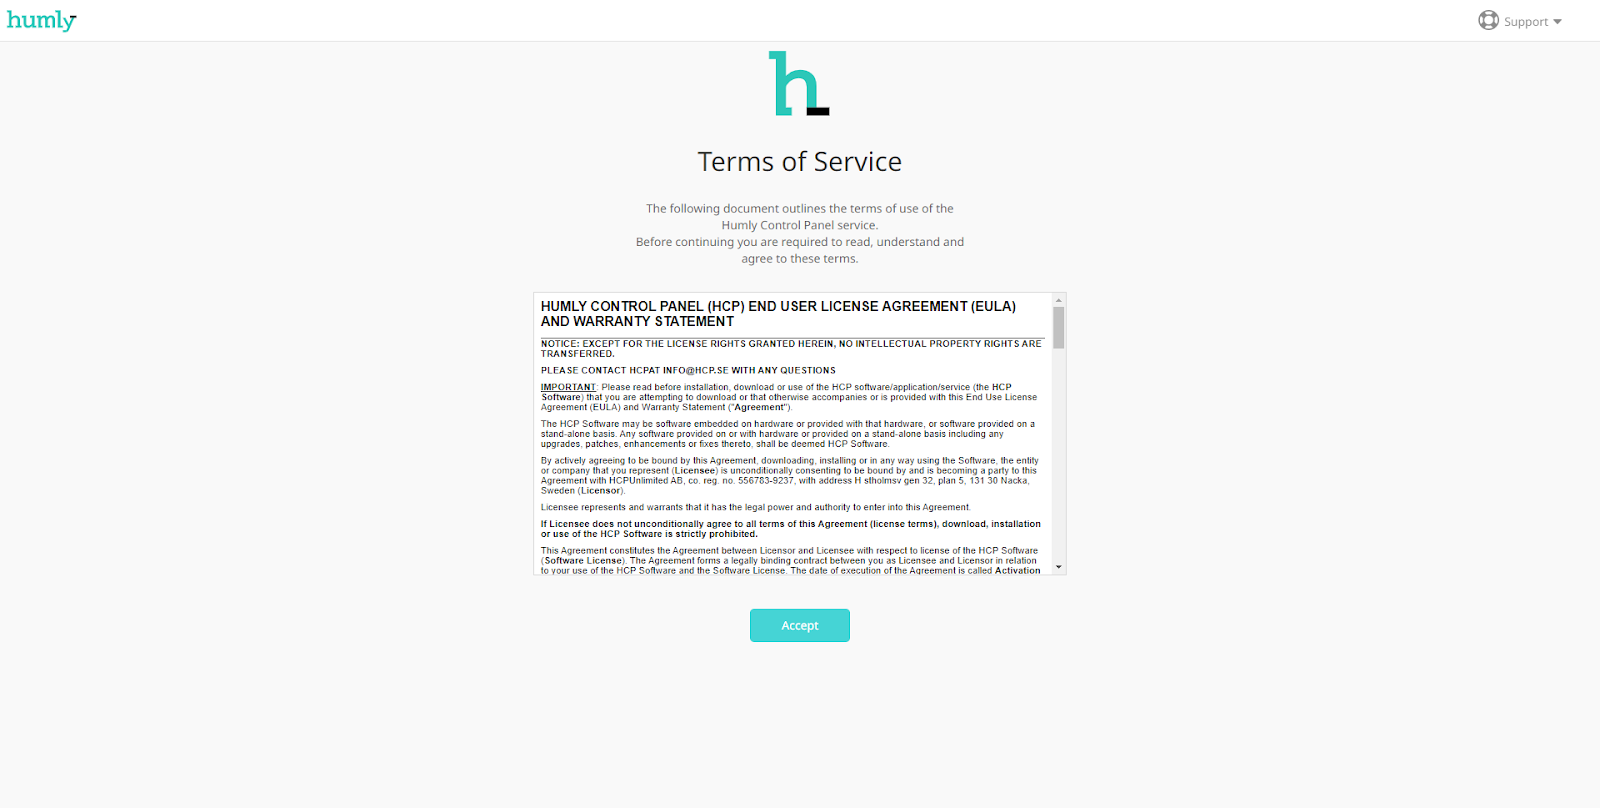
Agree to the conditions of the EULA and then click "Accept".
Once done with connecting HCP to Google Workspace move on to Step 4: Basic Setup for HCP - Global Settings