Custom logo in Humly Room Display
To customize the look of your Humly Room Display, you can now upload your own logo. This feature will give the product a sense of personalization while still keeping it at peak usability. A logo image can be uploaded and displayed in the upper left corner of the HRD device without disturbing the UI in any notable way. The uploading of a custom logo will be done in the settings in the Humly Control Panel.
It is recommended that the logotype image be uploaded with a transparent or black background. For the best effect in the UI, a white or grayscale image is also recommended, although a color image will also work.
A custom logo is supported in Humly Control Panel 1.7 and later. It can be used as a booking system with M365, Exchange 2016-2019, Google Workspace, or Standalone.

A Humly Room Display with an added custom logo. In this case, the Humly-logo.
Uploading a Custom logo in the Humly Control Panel
- Log in to Humly Control Panel as Global Admin
- Go to Settings and click on the tab Global Settings.
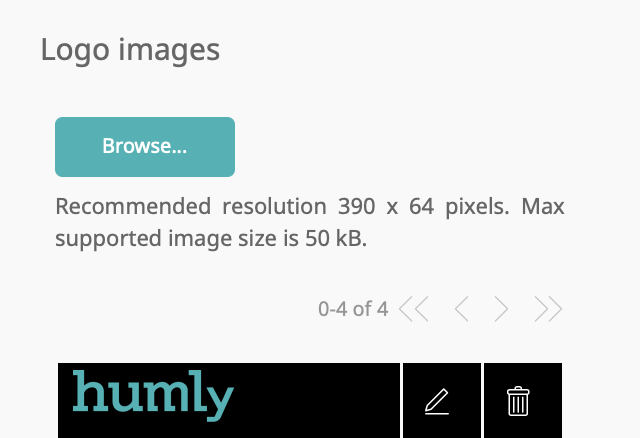
- Go to the section Logo image and click Browse...
- Upload the image. Recommended resolution is 390 x 64 pixels with a transparent background.

- When the image is uploaded, it is visible in the settings. It is now possible to use the image on an HRD.
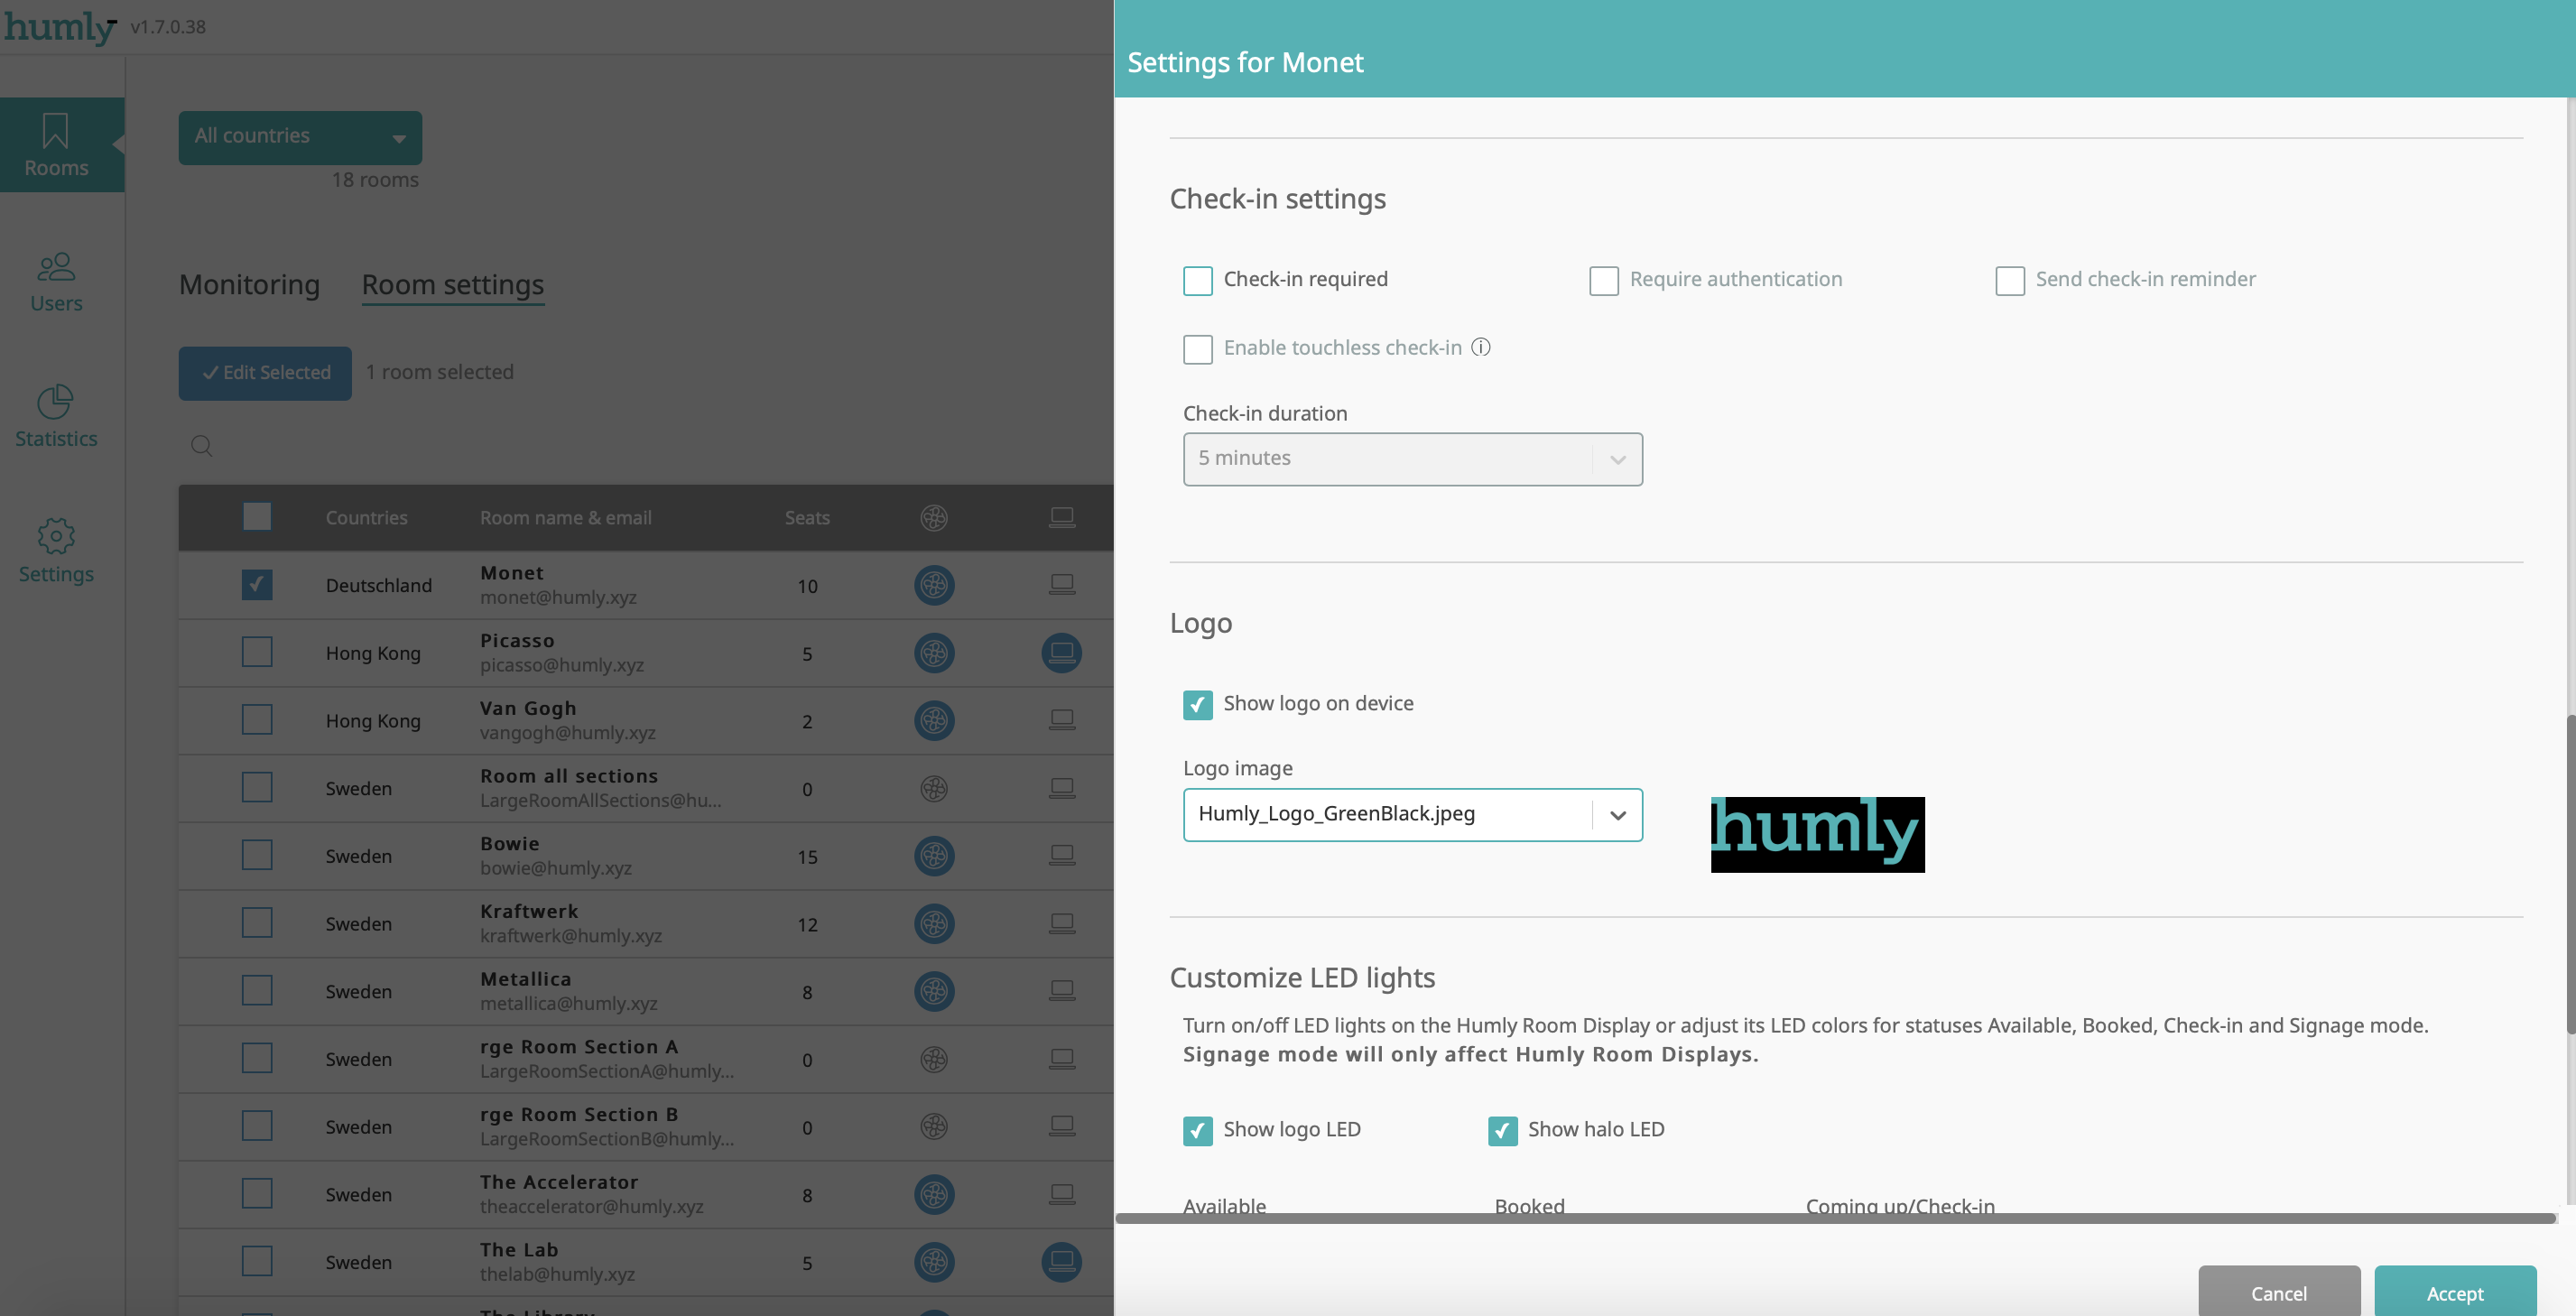
- To add the logo to an existing room HRD go to Rooms >, Room settings >, Edit selected >, Room settings >, Logo. Enable the "Show logo on device" and select the image in the drop-down menu.

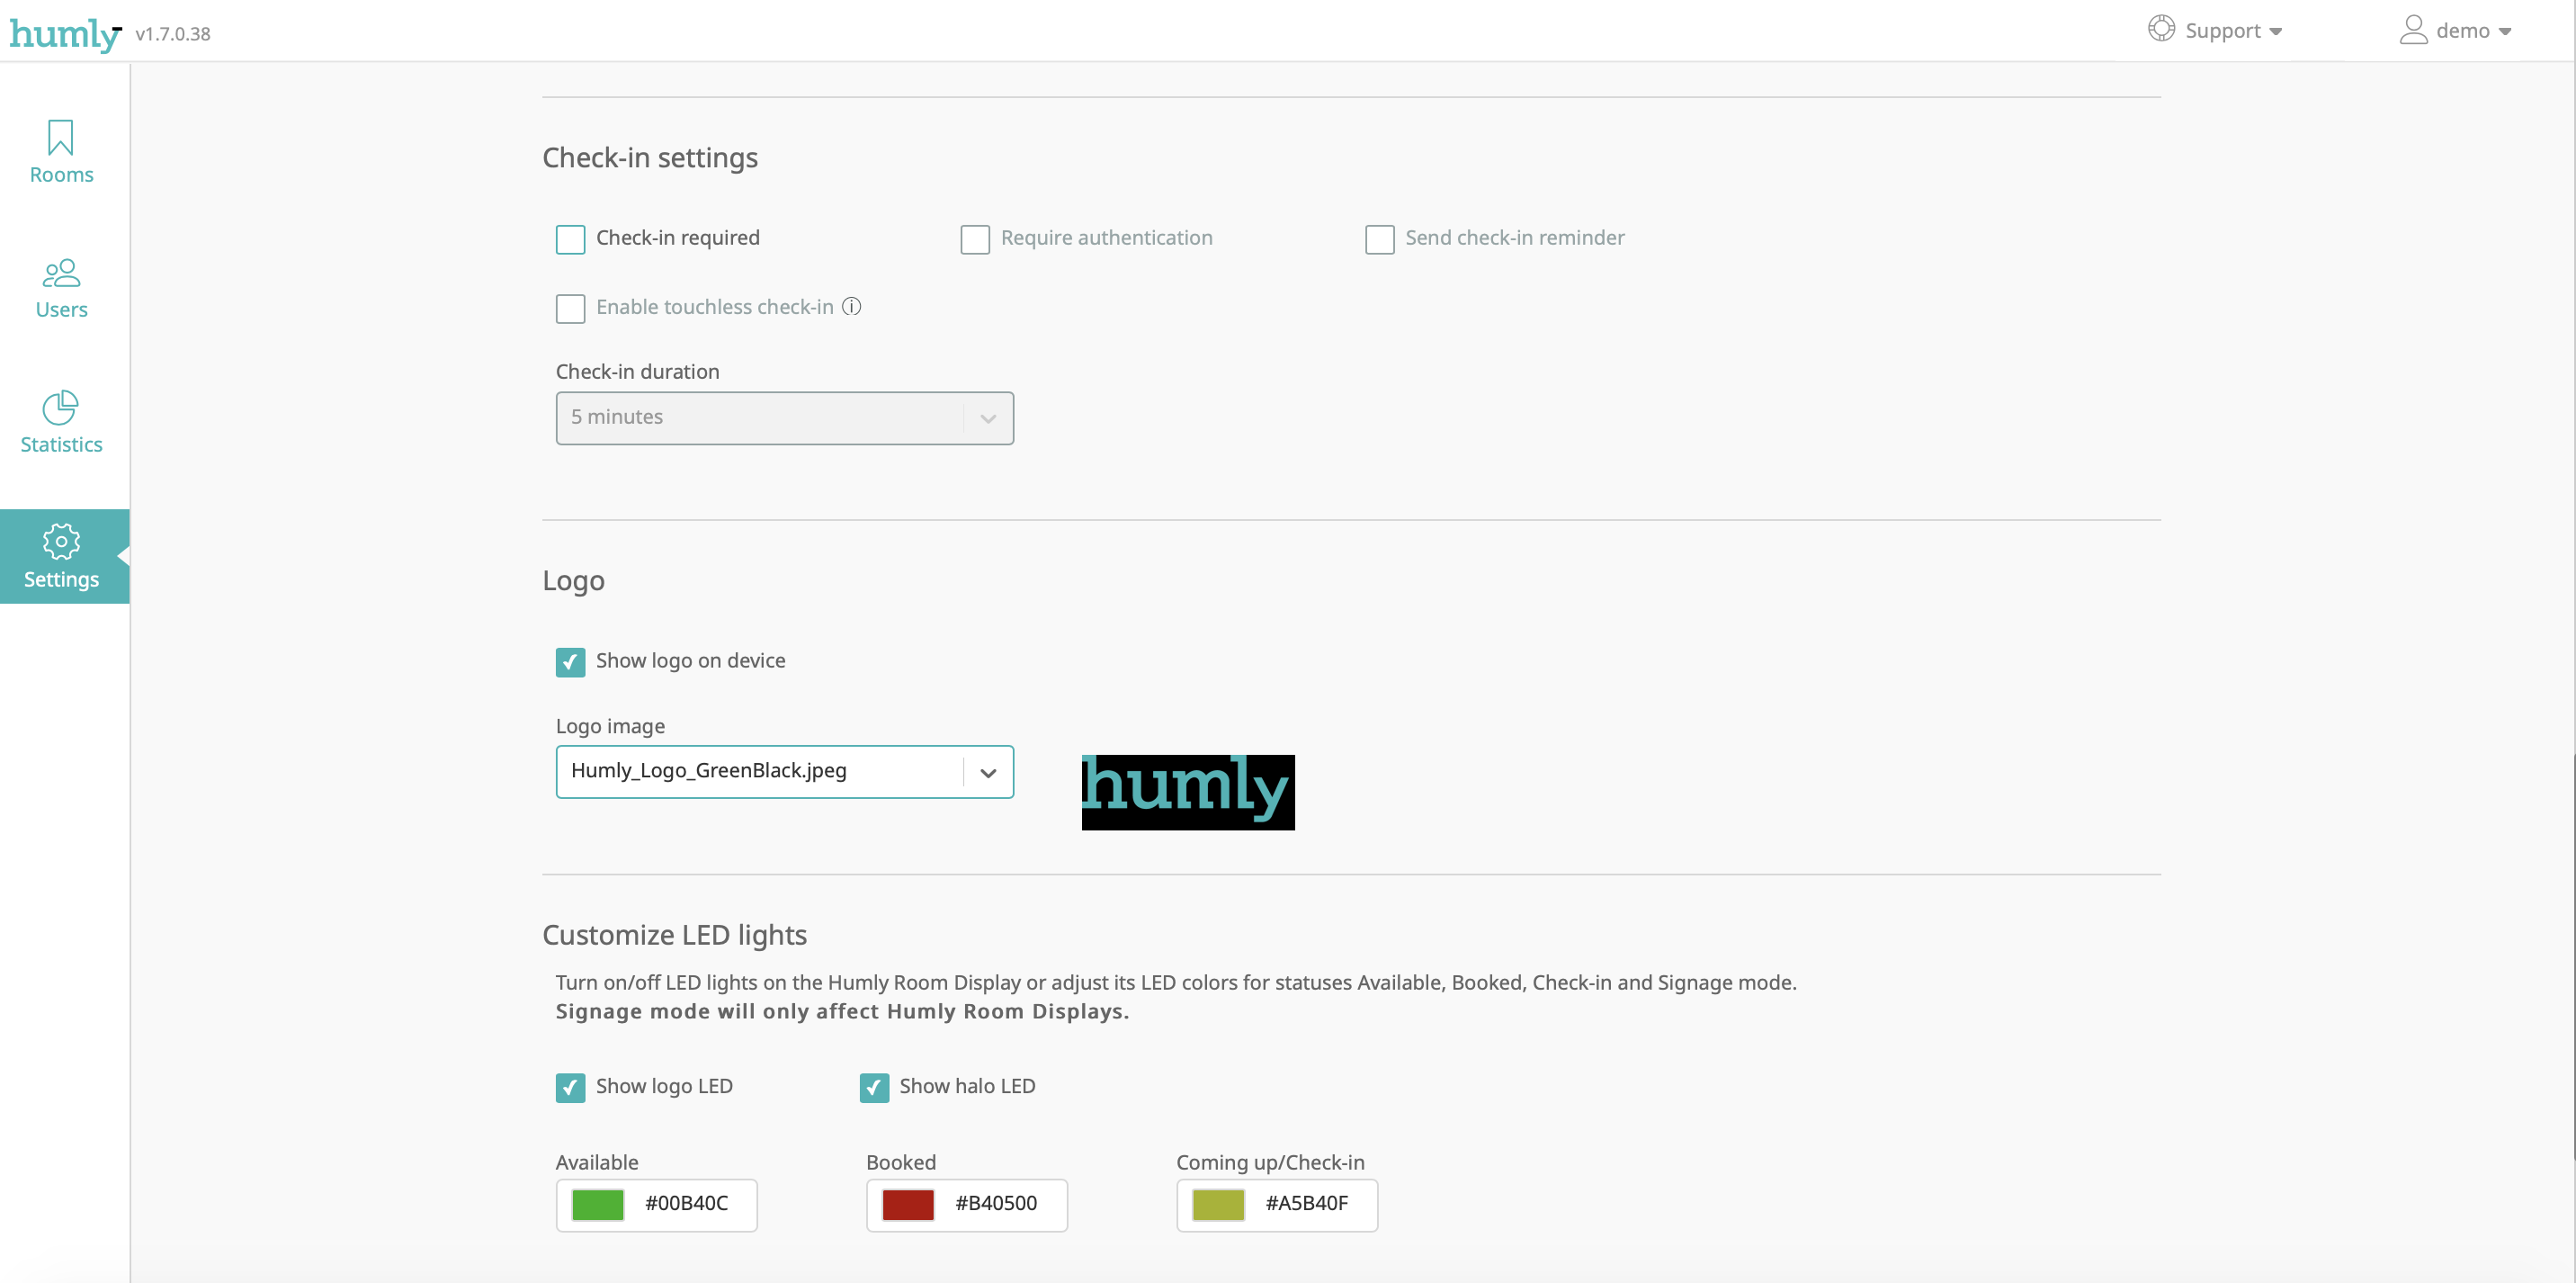
- To add the logo to all the future room import go to Settings >, Default room settings >, Logo Enable the "Show logo on device" and select the image in the drop-down menu.

- To add the logo to an existing room HRD go to Rooms >, Room settings >, Edit selected >, Room settings >, Logo. Enable the "Show logo on device" and select the image in the drop-down menu.
- Now, the logo will be visible on the selected room or on all future room imports.
You can upload more than one logo image.