Humly Reservations makes it possible for users to book rooms using a web application instead of booking from a booking system (Microsoft 365, Exchange, Google G Suite ) or from the Humly Room Display.
Before continuing with a clean setup of the Humly Control Panel with Humly Reservations, make sure that necessary Booking System Preparations for your backend (Exchange, Office 365, Google G Suite) have been made and that the steps in Humly Control Panel Installation for Windows or Linux are finished.
- After finishing the Humly Control Panel installation, open a web browser and go to https://<localhost or FQDN>:3002. Follow the instructions for your booking system and how to connect Humly Control Panel to your booking system (Exchange, Office 365, Google G Suite)
- Continue the Setup Wizard for your organization’s booking system until you reach Setup your global organization.
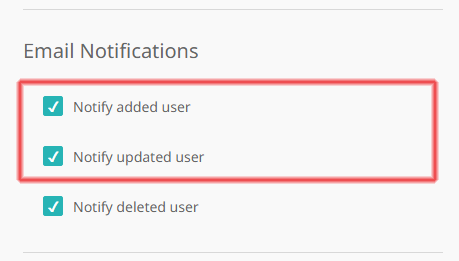
- In Setup your global organization, make sure you have the following highlighted settings applied to Email Notifications.
(Note! "Notify added user" will notify newly added users via email together with an auto generated unique password and PIN. "Notify updated user" will notify updated users if their user type, password or PIN is updated by the Global Admin).
- Continue configuring the other settings of your choice, then click Next to continue to Default Room Settings.
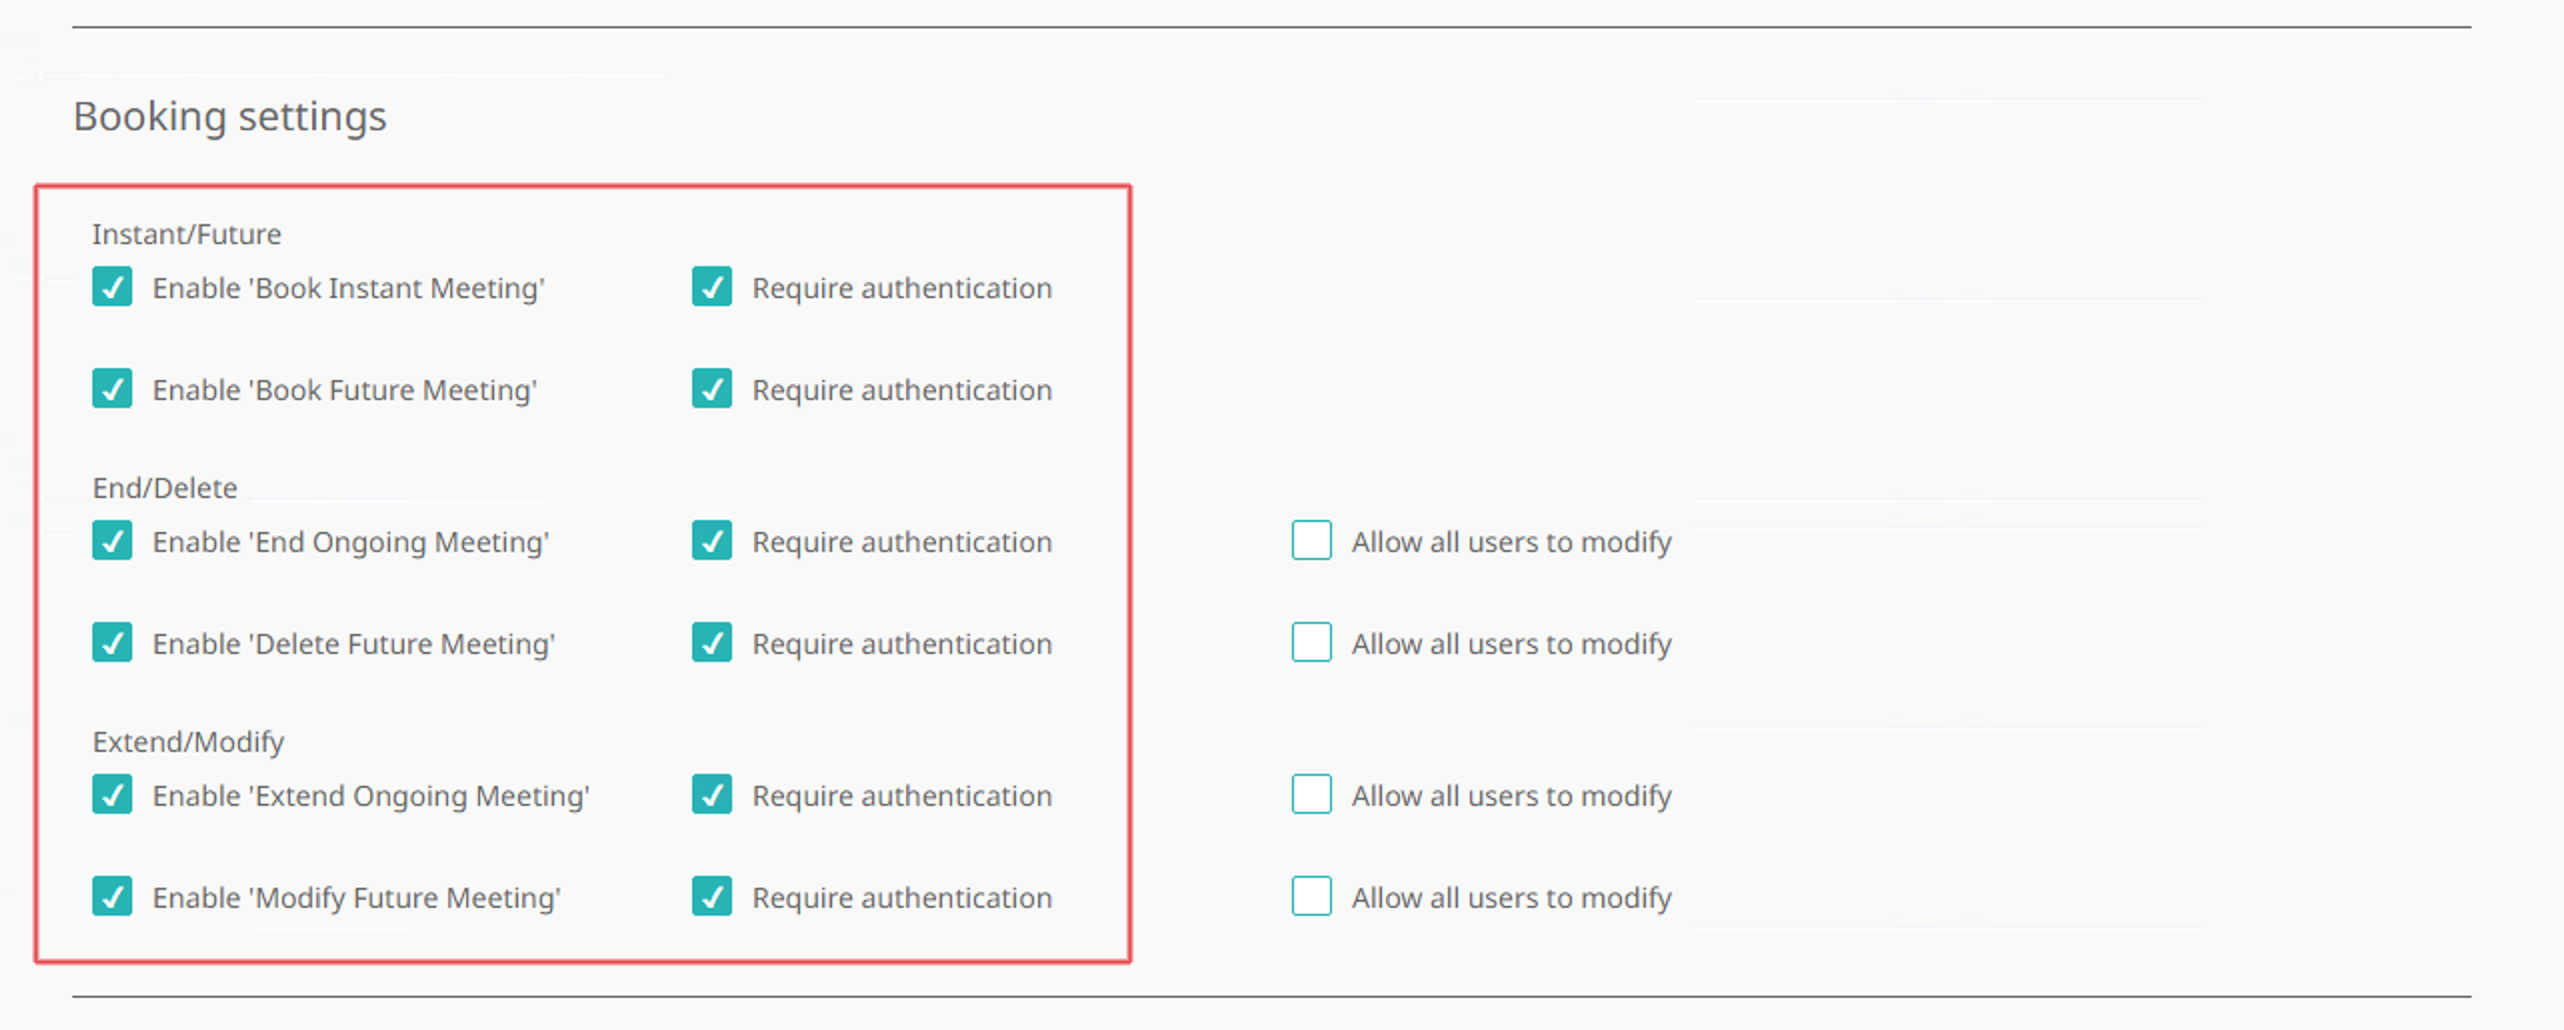
- In Default Room Settings make sure that you have selected the following highlighted settings for Booking Settings IF you want every imported room to be available in Humly Reservations. You may also choose to decide to do this room by room later in "Room Settings".
- Continue configuring the other settings of your choice in Default Room Settings, then click "Next".
- In Buildings &, Structures, add/import rooms from your booking system and create your buildings and structures infrastructure.
- Drag &, drop each room to their respective floor, then click "Finish".