After the successful installation, Humly Control Panel is ready to connect to the booking system through the wizard. Select your booking system from the drop menu and continue with the details below for each booking system.
Select booking system
Choose Nexudus and press the Next button.

Configurating internet access is only done for on-premise Humly control panel. You can skip this step if you are running Humly cloud.
Internet Access
Select if you want Humly Control Panel to connect to Nexudus via a direct connection or a proxy. If you have a proxy, you need to provide the URL, the port, and the credential if the proxy server requires this, then press Next. 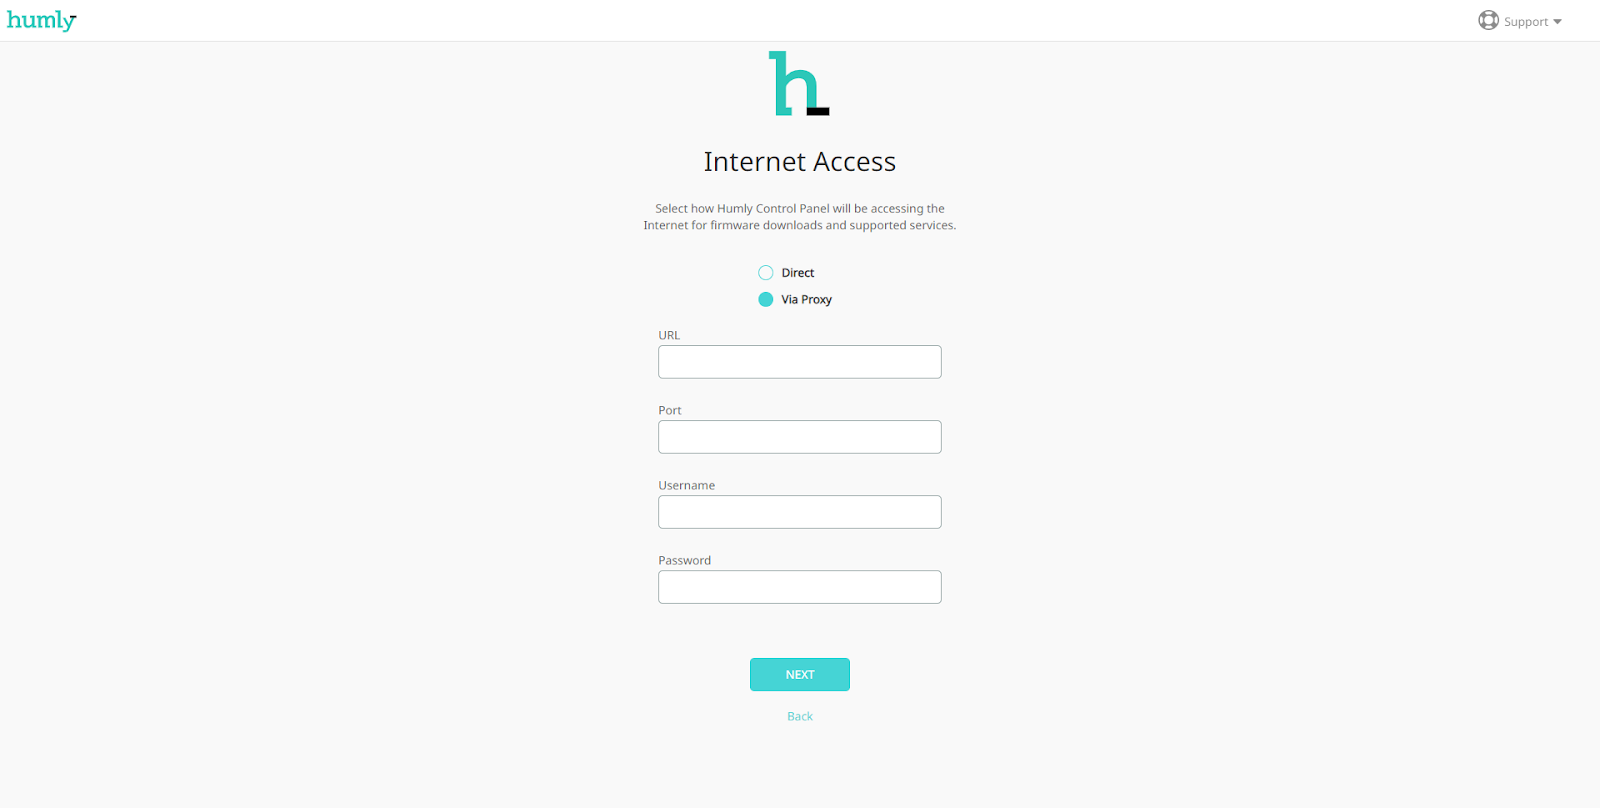 If the connection is direct, just click Next.
Log in
In the next step we will use the Nexudus accounts mentioned before.

The service URL can in most cases be left as it is, if this is different you will have been informed about it.
Fill in the admin account, the password and finally the coworker account and press Next.
If you mistyped the admin account or the password you will get a notification.
Click Next.
If you receive error about user not being found then the issue might be related to the user account not being fully activated in Nexudus, or, that the user account is missing a customer profile.
Humly Login Data
You will now receive the login credentials both in your wizard and in an e-mail to the coworker user account you specified in the beginning of the HCP wizard. Take note of this information. Click Next.

SSL Setup
You can skip this step if you are running Humly cloud. The connection is already secured and does not need to be configurated.
Enter the https application port you would like to use (default 3002). Additionally, you can upload your own SSL/TLS certificate and then click Next. If no certificate is uploaded, an unique auto generated self-signed certificate will be used.

Pairing key
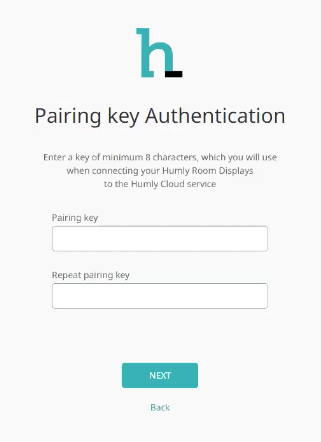
Enter a Pairing key, which will be used to pair the HCP and the Humly Room Display in a later stage. Please remember the Pairing key and choose a key which will be easy to enter on the HRD-device.
Click Next.
EULA
Read and agree to the conditions of the EULA and then click Accept.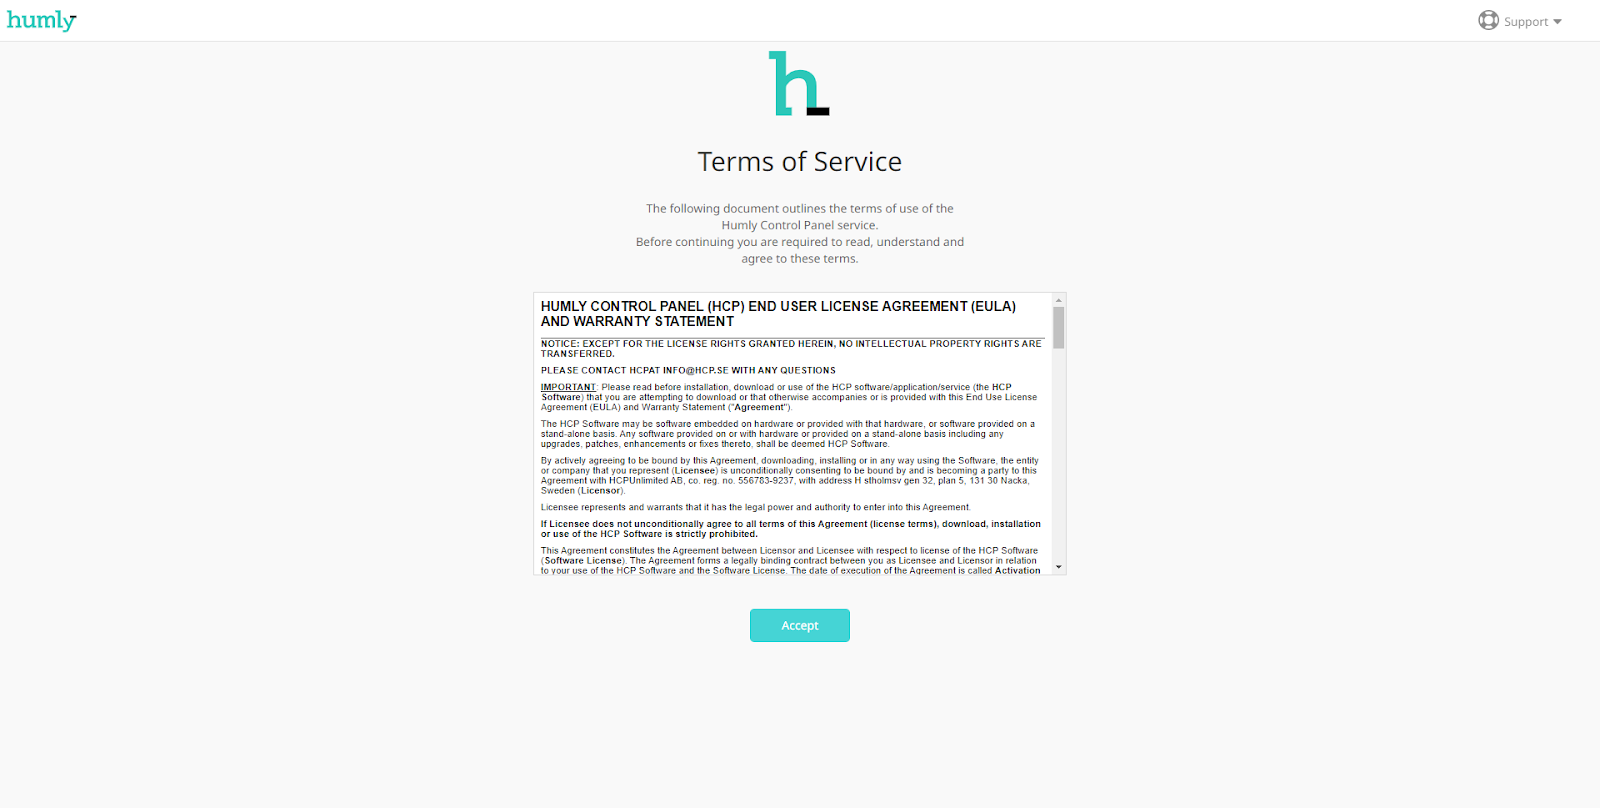
Once done with connecting HCP to Nexudus move on to Step 4: HCP Basic Setup - Global Settings
To learn more about how you can book a meeting on Humly Room Display with Nexudus - visit Using Humly Room Display with Nexudus.