Humly Reservations in Standalone mode makes it possible for your organization to book rooms without a booking system backend (i.e. Exchange, Google G Suite, Office365 or Domino) either using the Humly Reservations web application or booking directly from the Humly Room Display.
Before continuing follow the steps provided in Humly Control Panel Installation for Windows or Linux.
Also make sure that you have set up a SMTP service on your organization’s email server. Please consult your email service provider or system administrator on how to do this for your organization.
- After finishing the Humly Control Panel installation, open a web browser and go to http://<,localhost or FQDN>,:3000.
- Click "Next" to confirm to start Humly Setup.
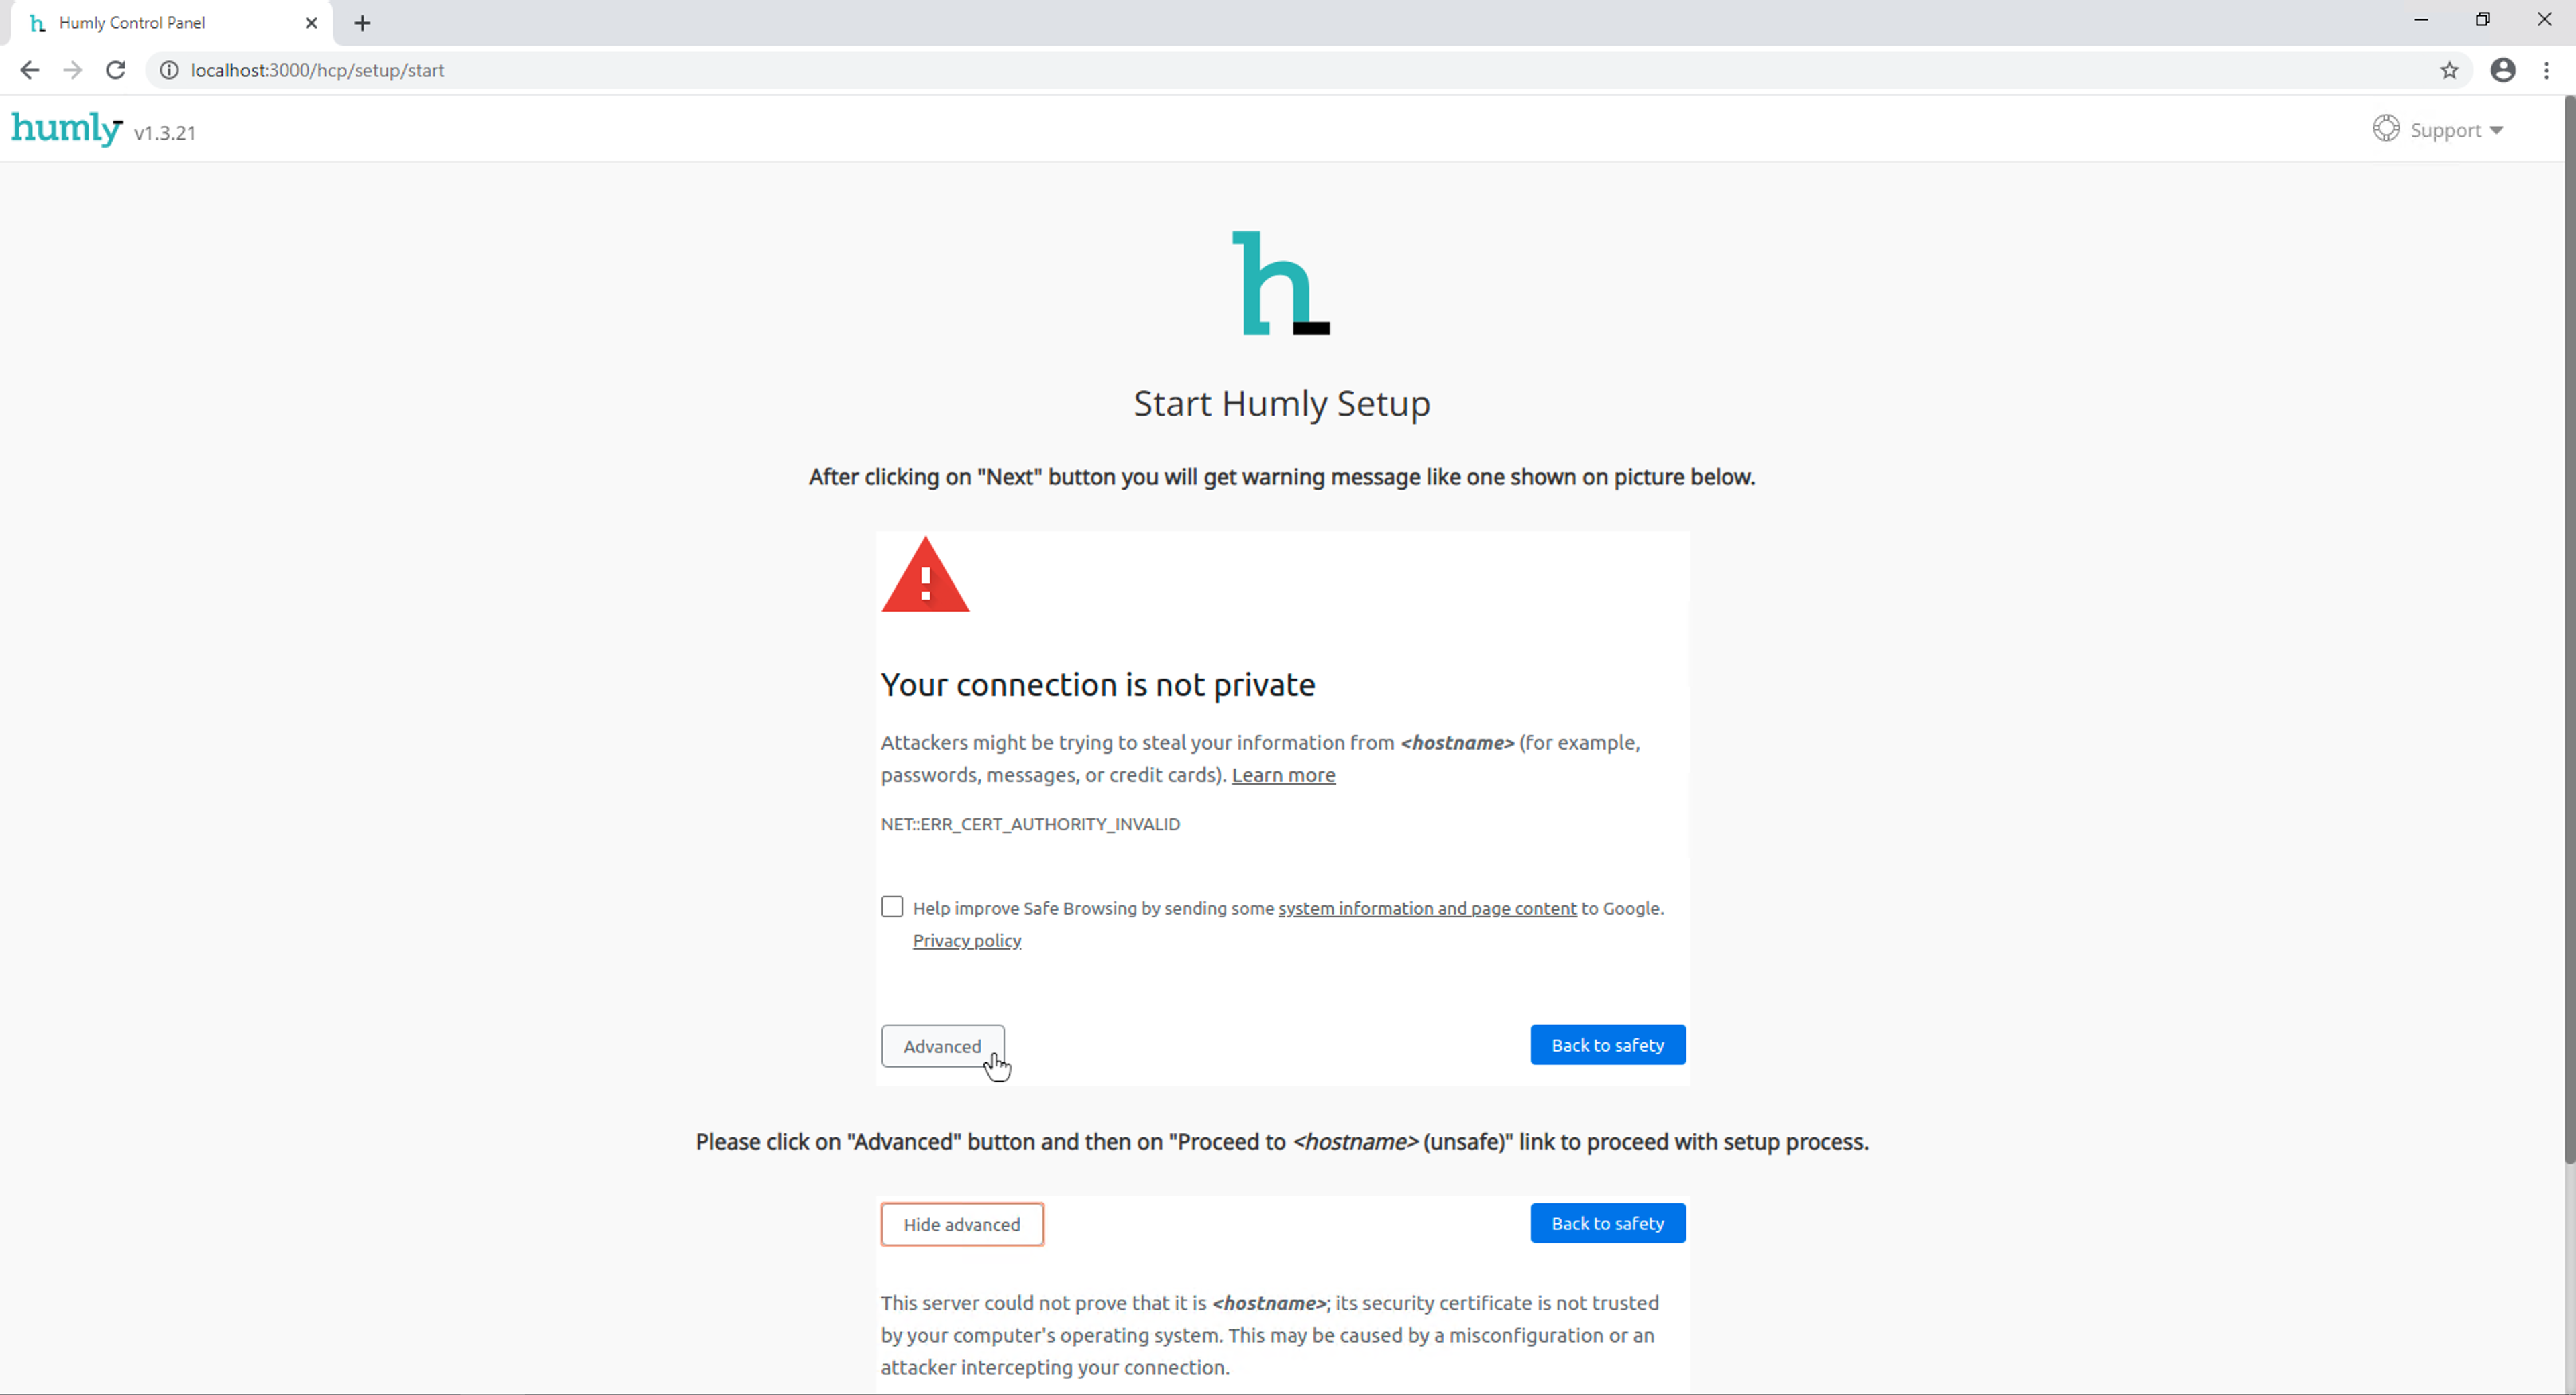
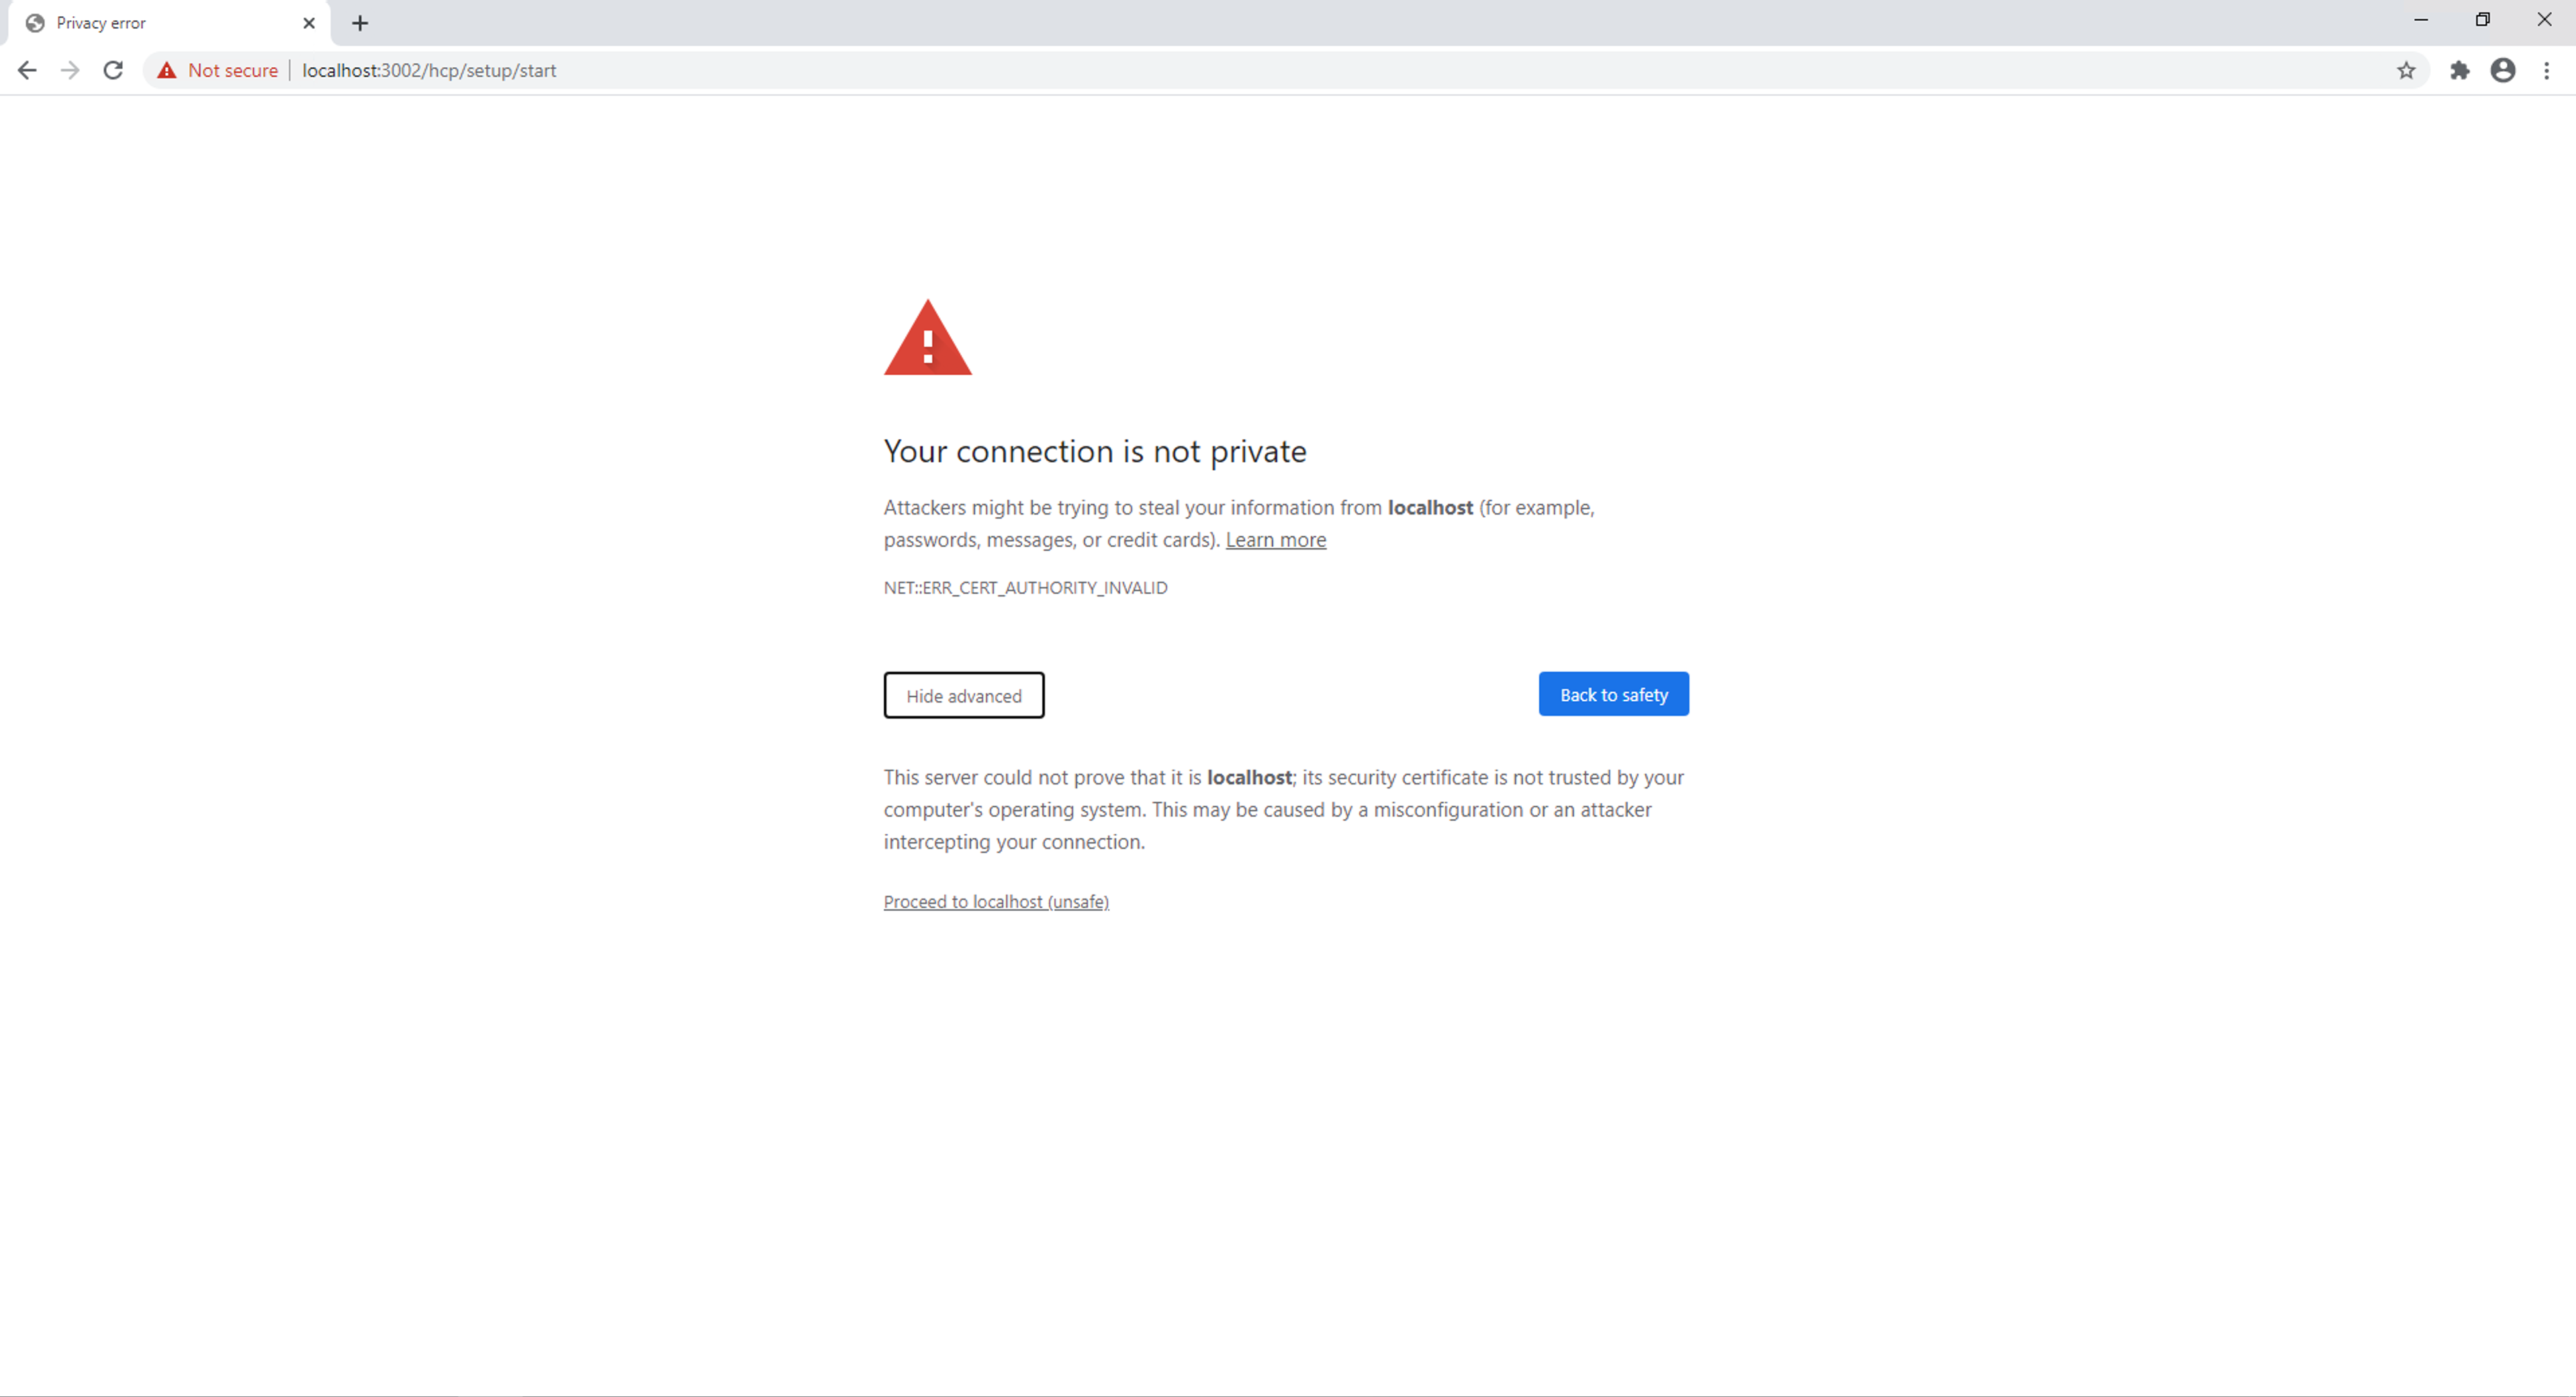
- On the privacy warning page click "Advanced" (for Chrome or equivalent for other browser) followed by Proceed to localhost(unsafe).
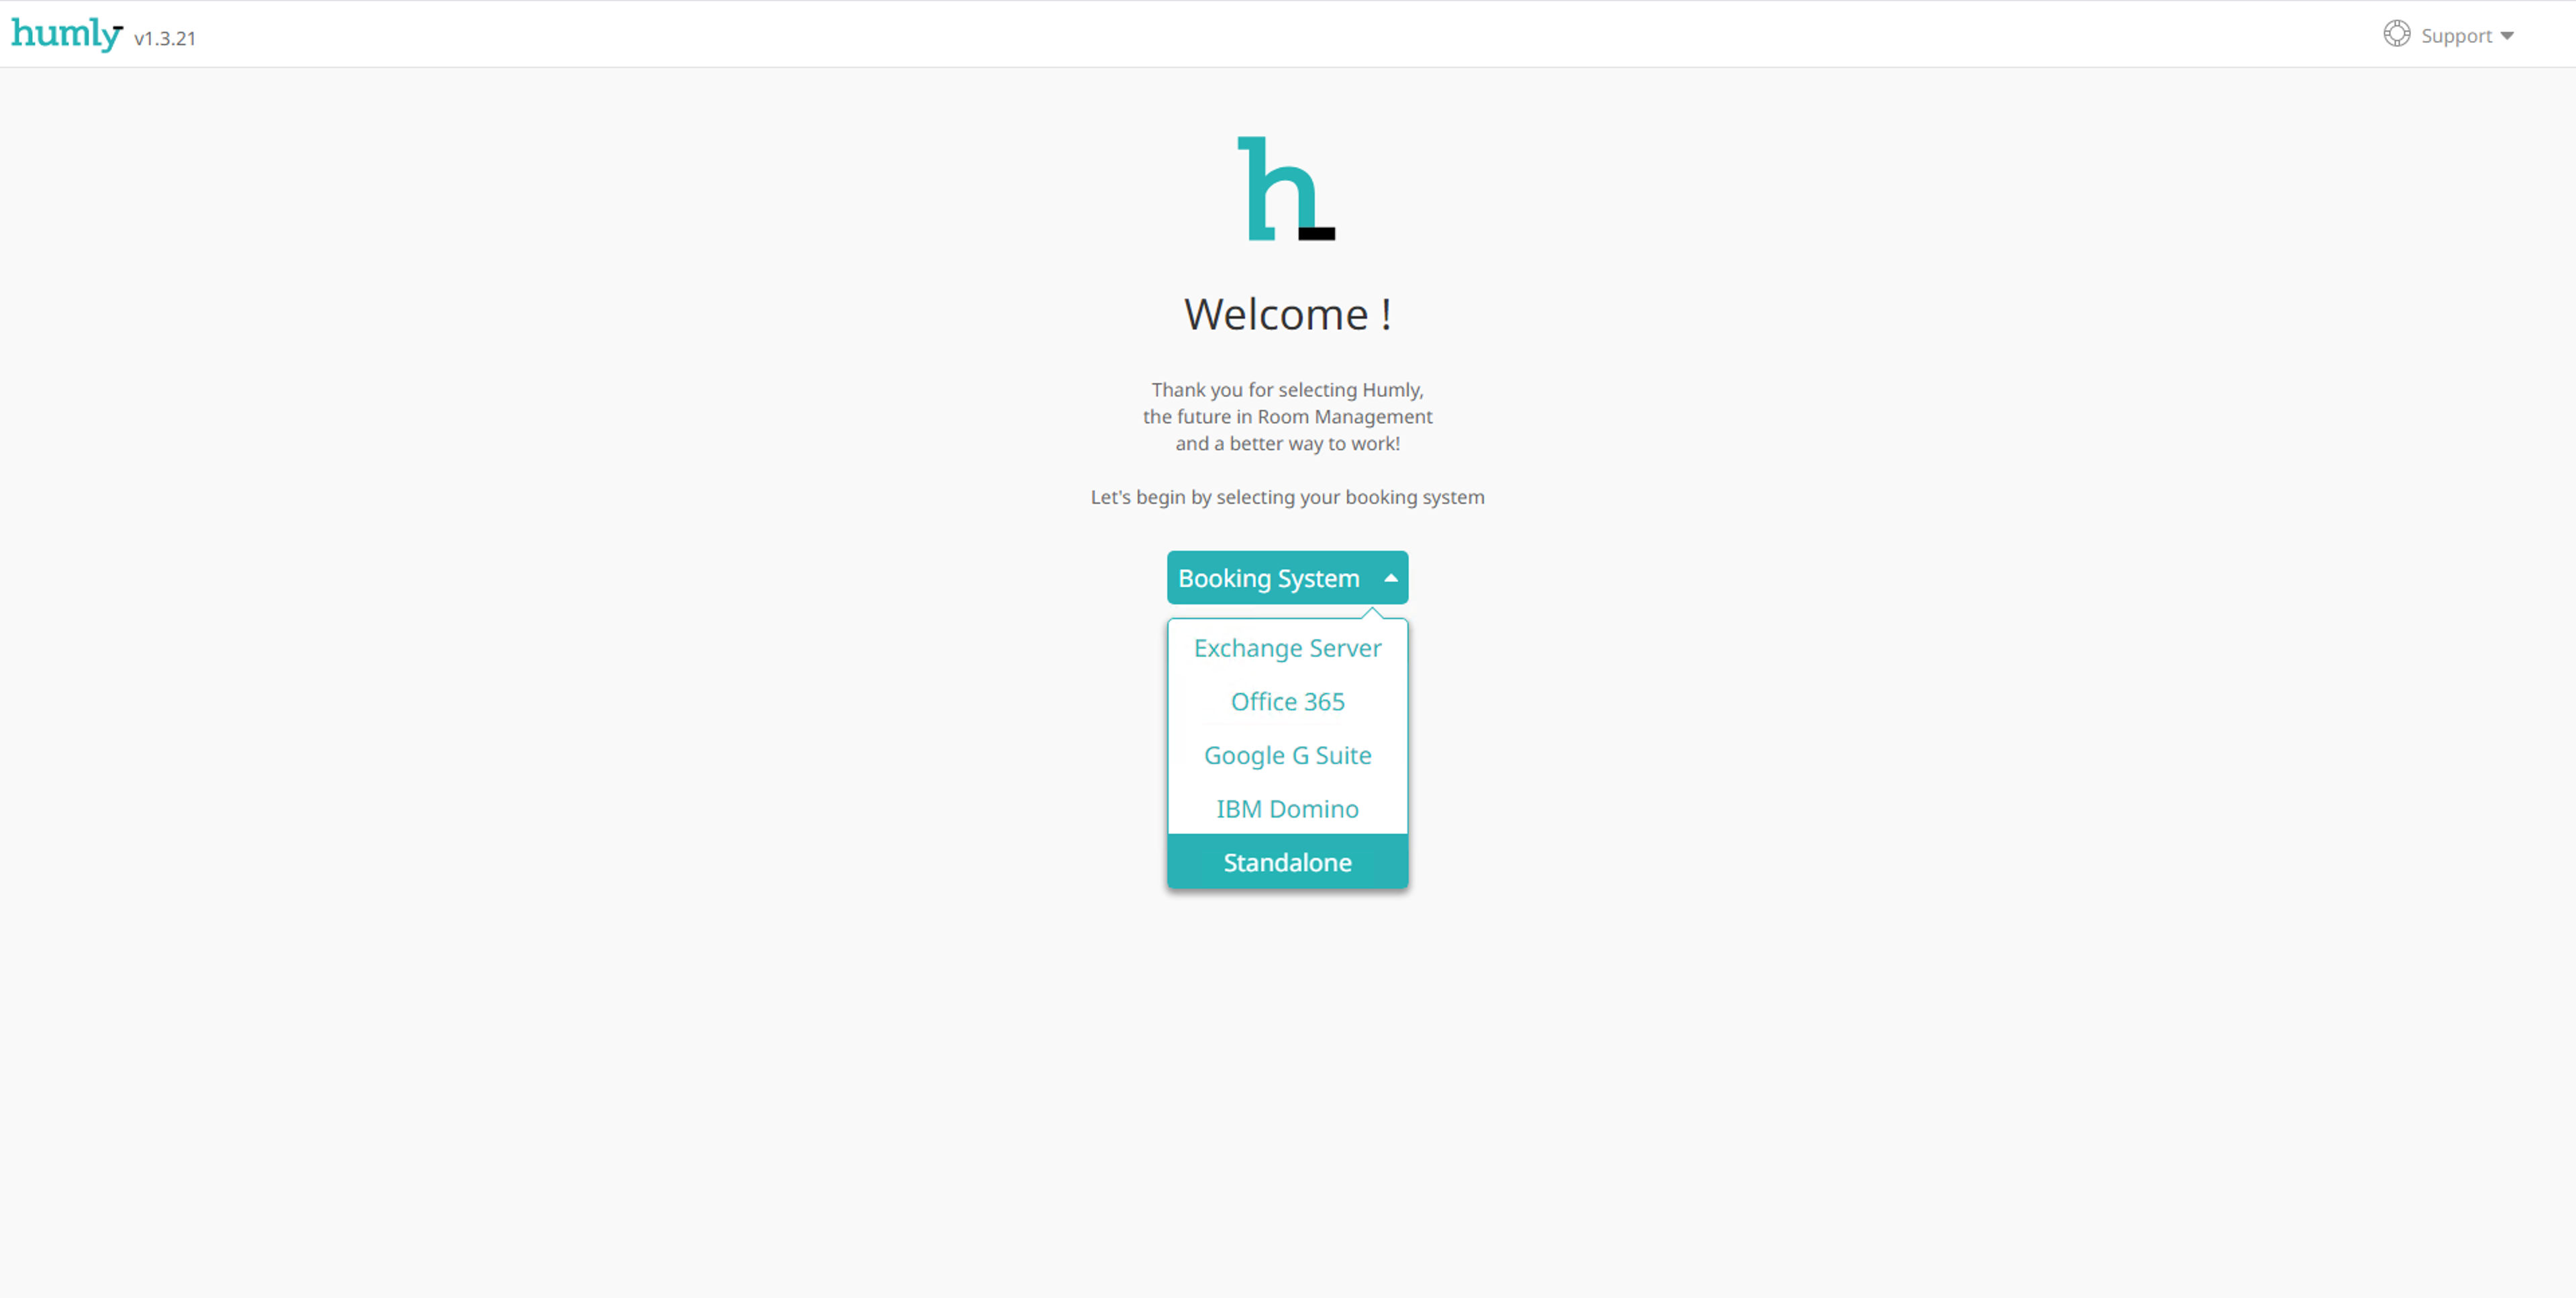
- From the drop list menu select Standalone and click "Next".
- Select how the Humly Control Panel will be accessing the Internet. Choose between Direct or Via proxy( if you choose Via proxy enter the required URL and port along with credentials). Click "Next" to continue to the next step.
(Note! This step in the wizard is only for on premise installation and will not show up on Cloud instance).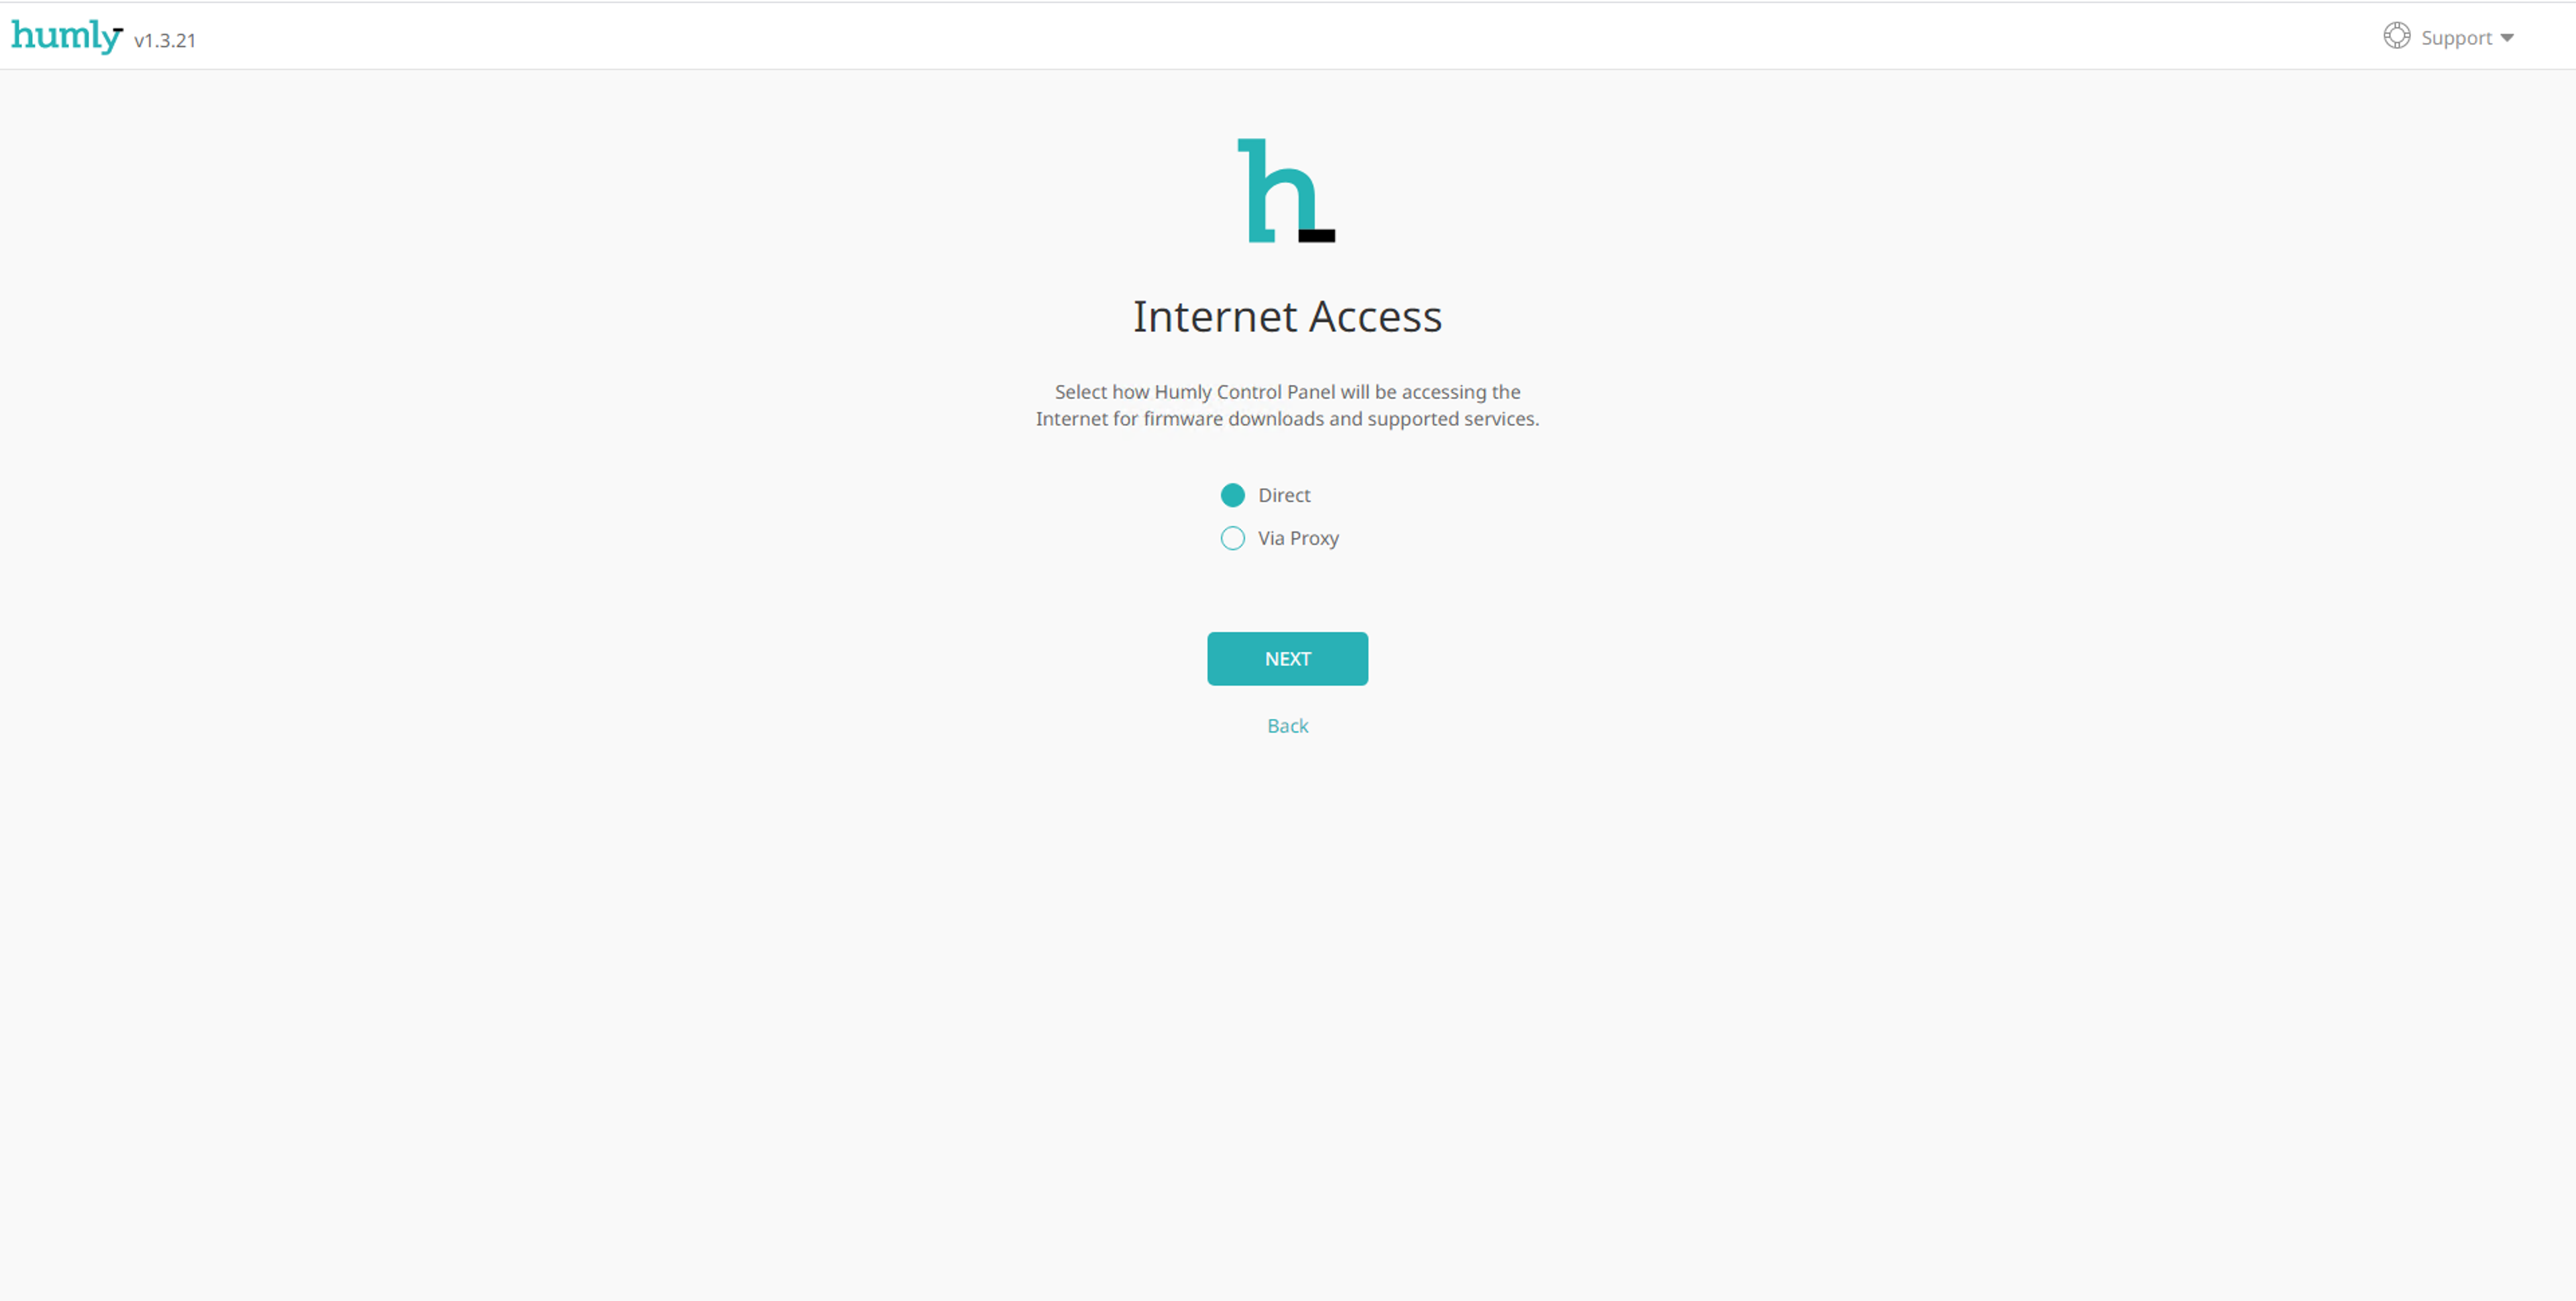
- On Standalone SMTP credentials enter your email address and credentials for your SMTP service.
- Admin email - can be any email address that you want to use to login to the Humly Control Panel as a Global Admin, and it’s not restricted to use the same domain as for the SMTP service.
(Note! In Standalone mode the Global Admin won’t see Humly Reservations. You will have to create a separate account later (User, Local Admin or Statistics User) to be able to use Humly Reservations.)
- SMTP server - server address for your SMTP service.

- TLS Option - in the drop list select which TLS option to use, Auto (default), Force SSL/TLS, STARTTLS or Unencrypted.

- Allow untrusted SSL/TLS certificates - select whether to allow untrusted SSL/TLS certificates. Default value is unselected/not allowing untrusted SSL/TLS certificates.

- SMTP port - Enter which port number which will be used for service communication. Depending on which TLS option, the default port number changes, Auto - 587, Force SSL/TLS - 465, STARTTLS - 587 or Unencrypted - 25.

- Allow anonymous credentials - select whether to allow anonymous credentials or not. Default value is unselected/not allowing anonymous credentials.

- SMTP username - username (email-address) for the SMTP email account. This will also be the email of the sender of all emails from Humly Control Panel.
- SMTP password - password for the SMTP email account.

- Click "Next" to verify your admin email and SMTP credentials.
(Note! If something goes wrong with the verification you will be asked to check your SMTP credentials).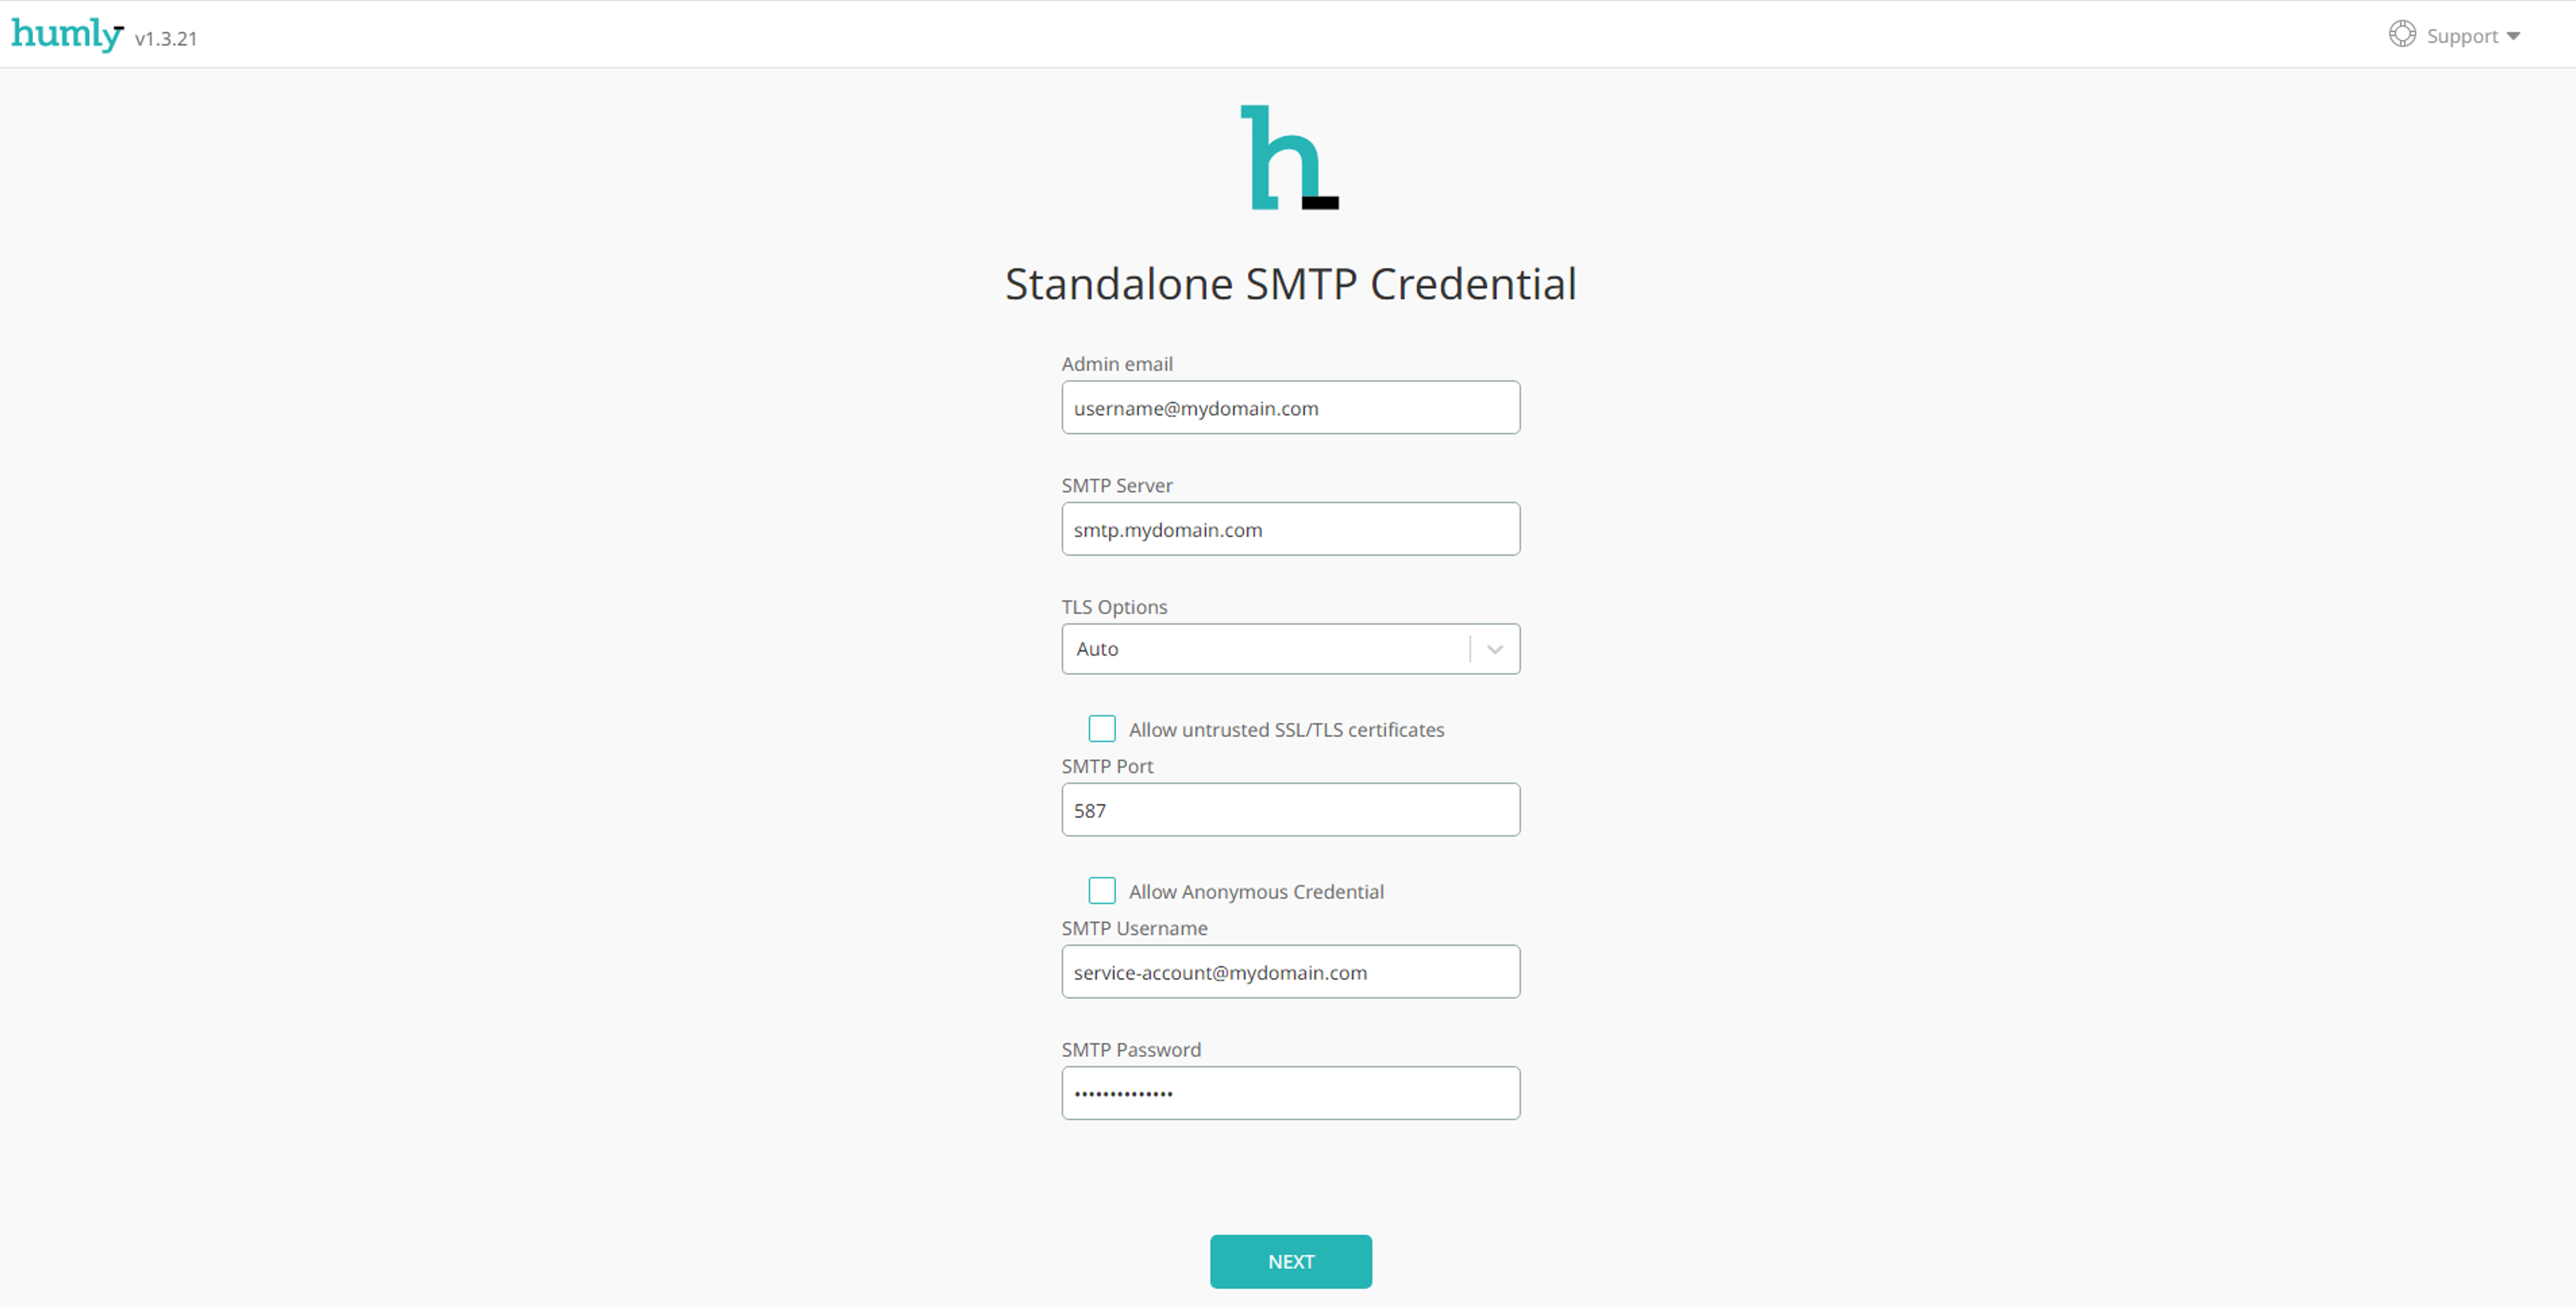
- Check for the verification email for SMTP in your admin email inbox before continuing.
(Note! Check your junk email folder if you can’t find the SMTP verification email in your inbox) - On SSL Setup enter the https port (Default port is 3002) for the connection to Humly Control Panel. If you want the connection to be secure, upload a SSL key and certificate. Click "Next" to continue the next step.
(Note! This step in the wizard is only for on premise installation and will not show up on Cloud instance)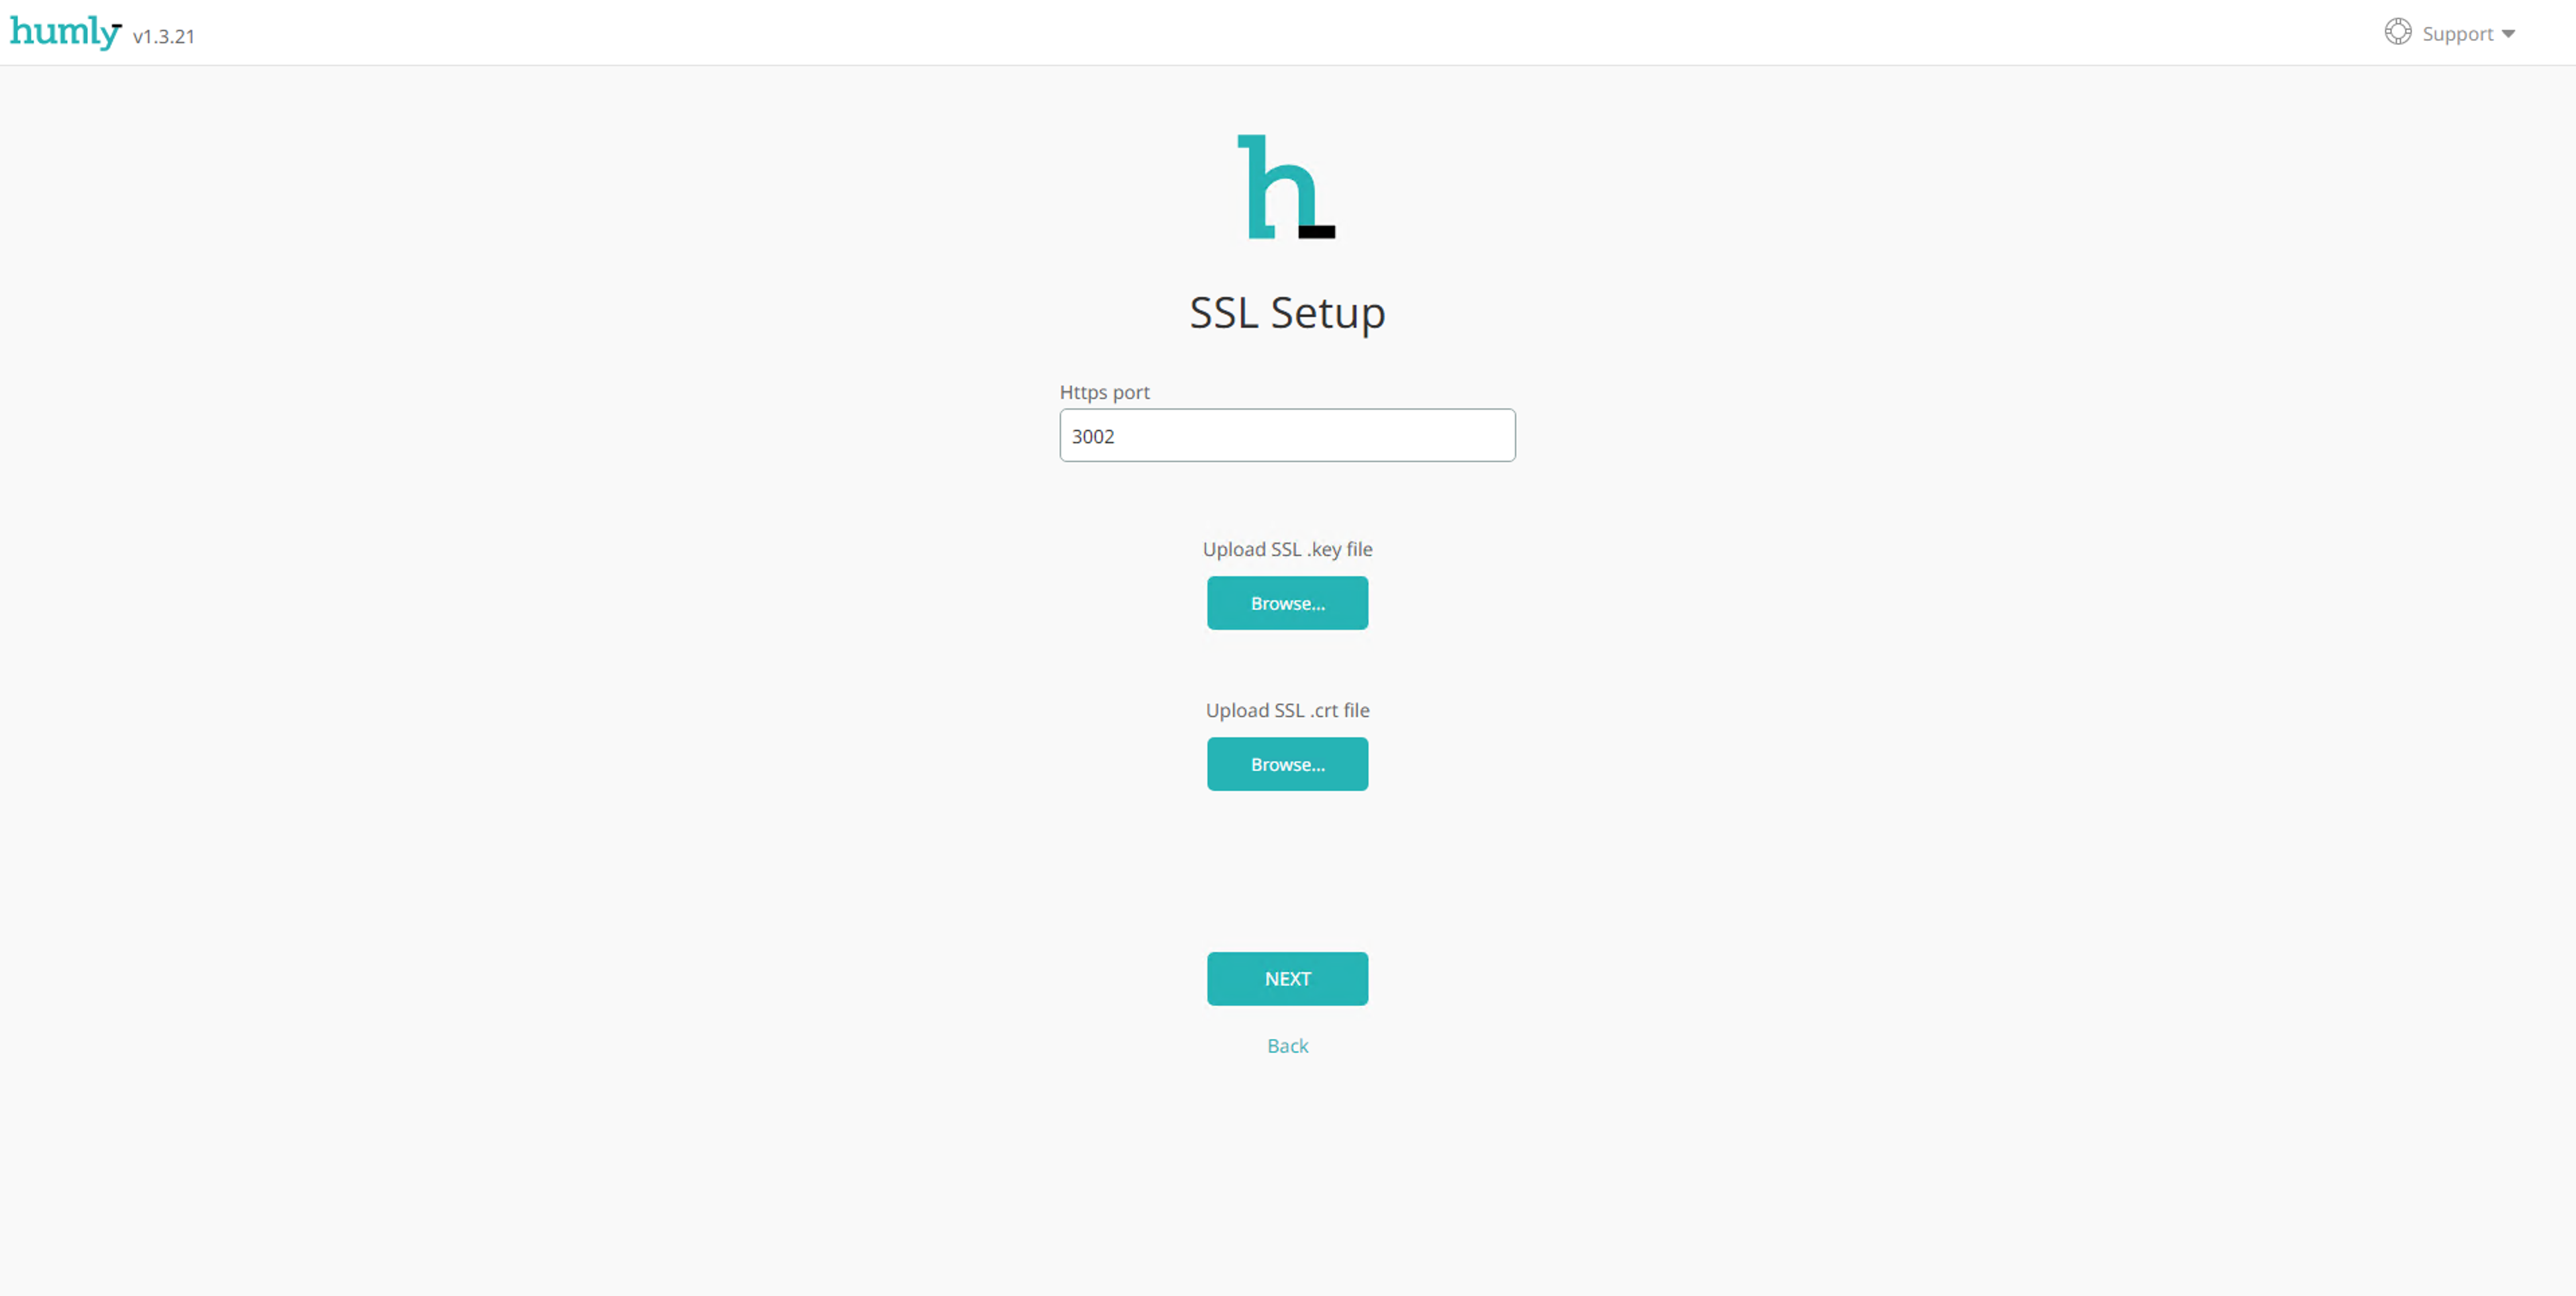
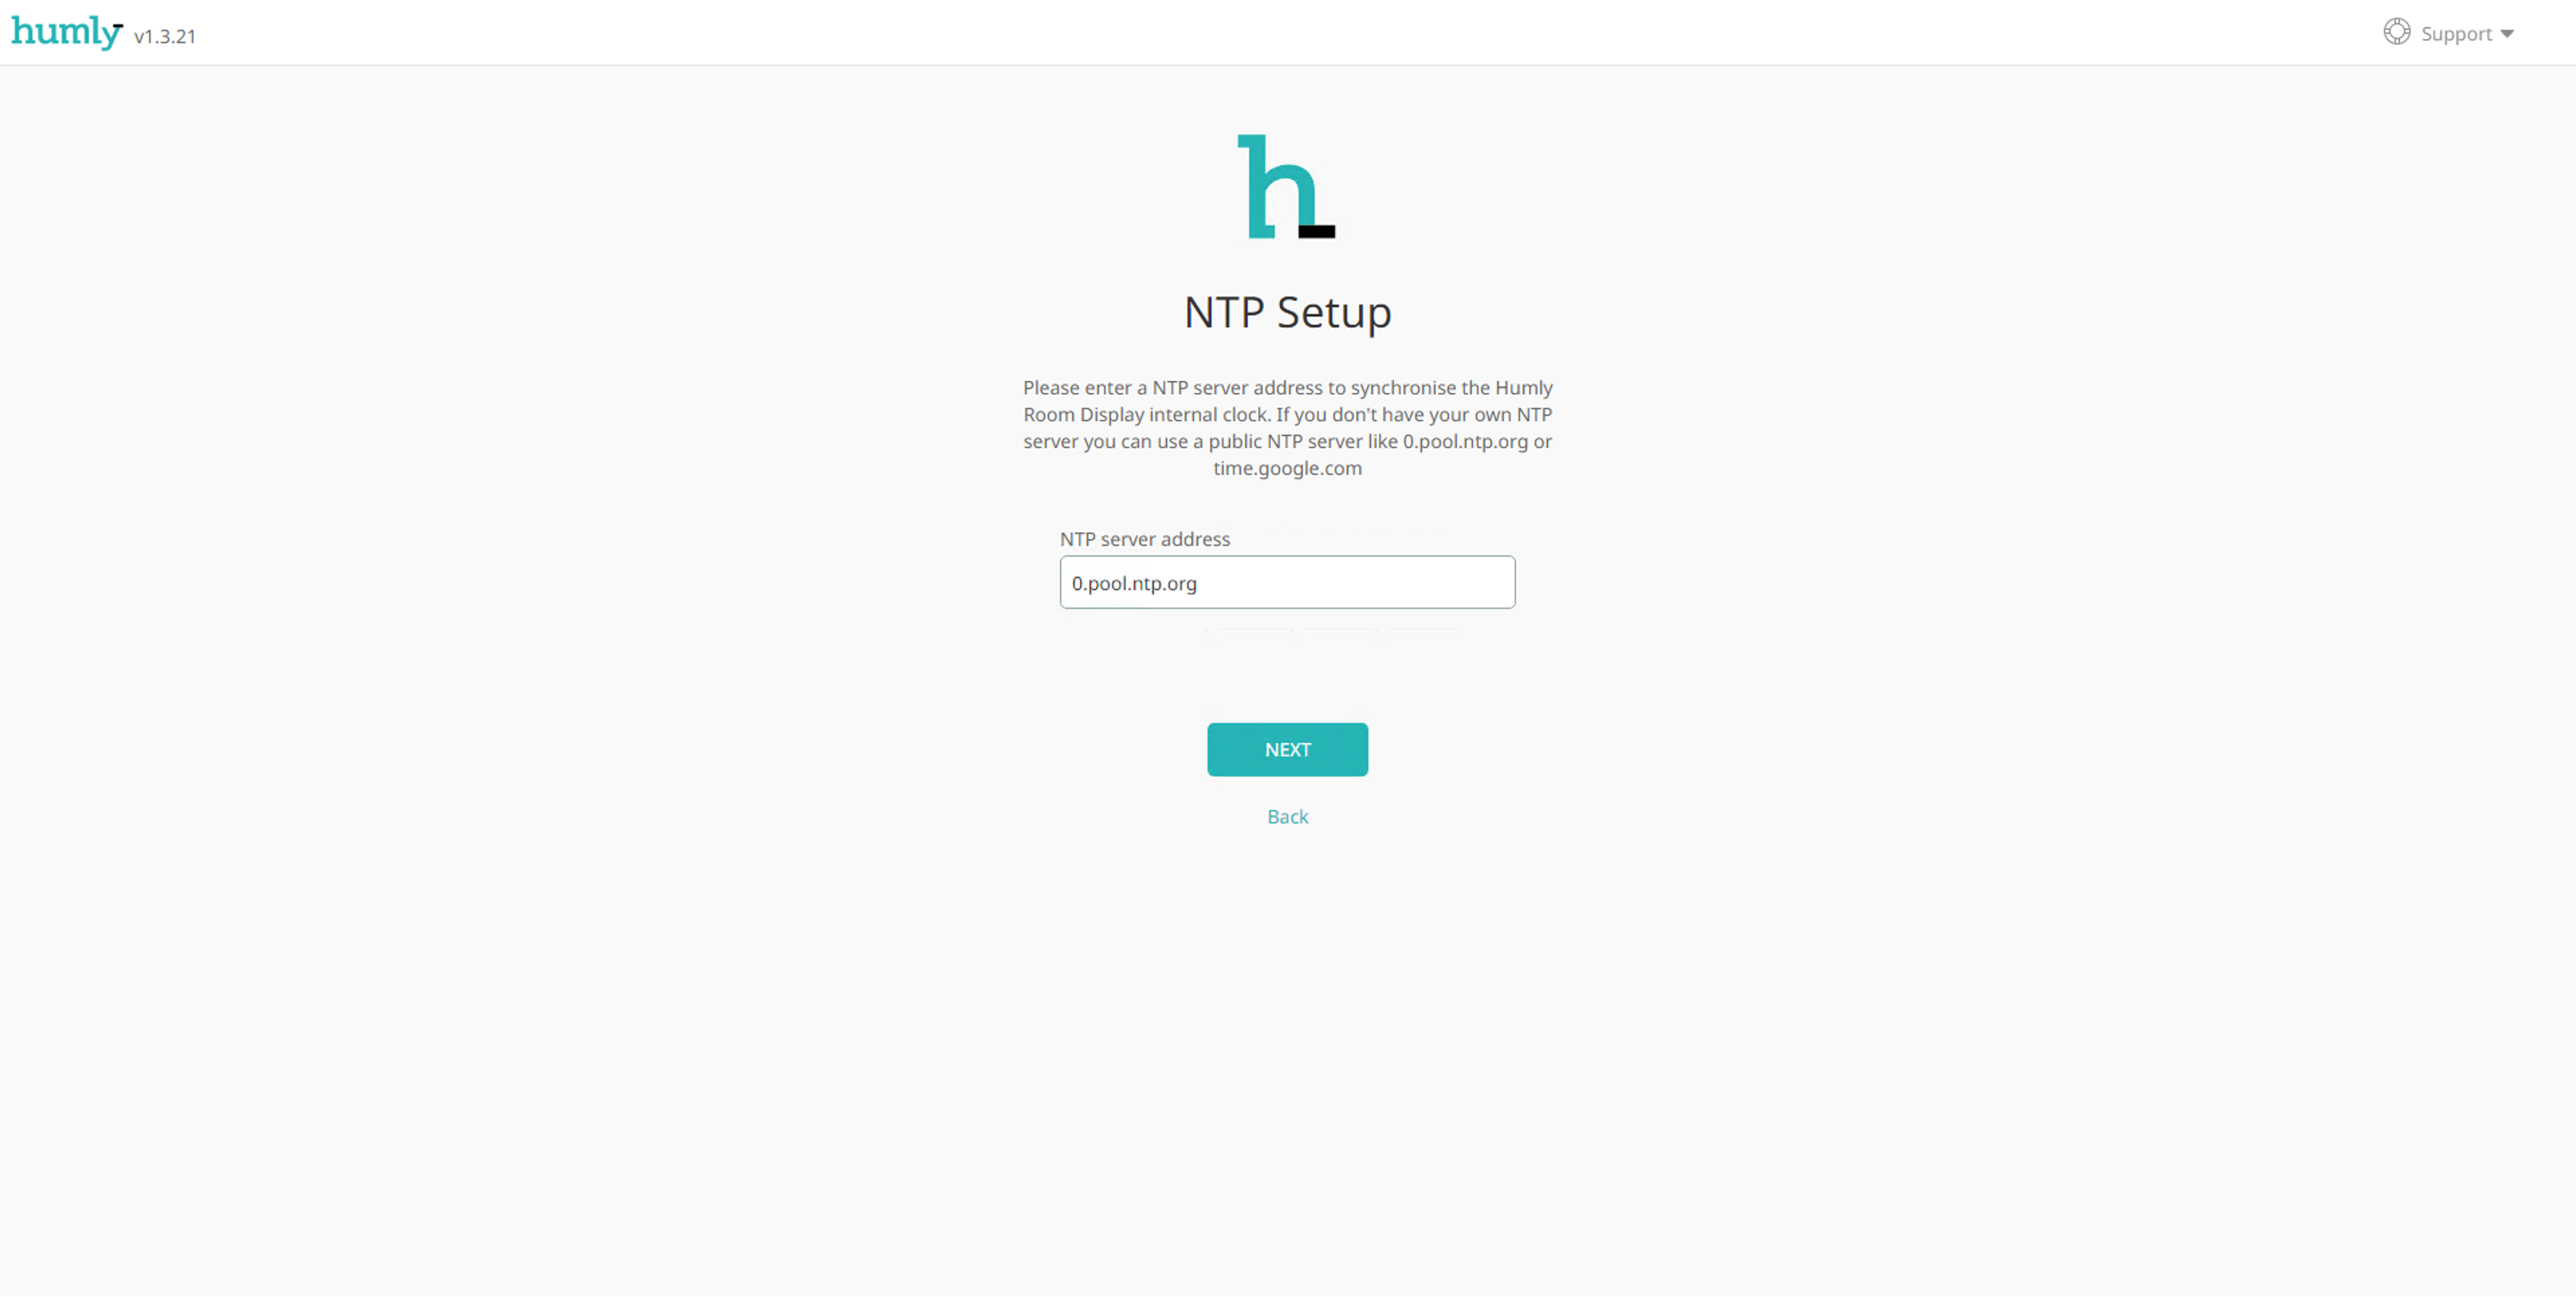
- Enter NTP server address (Default is 0.pool.ntp.org). Click "Next" to continue.
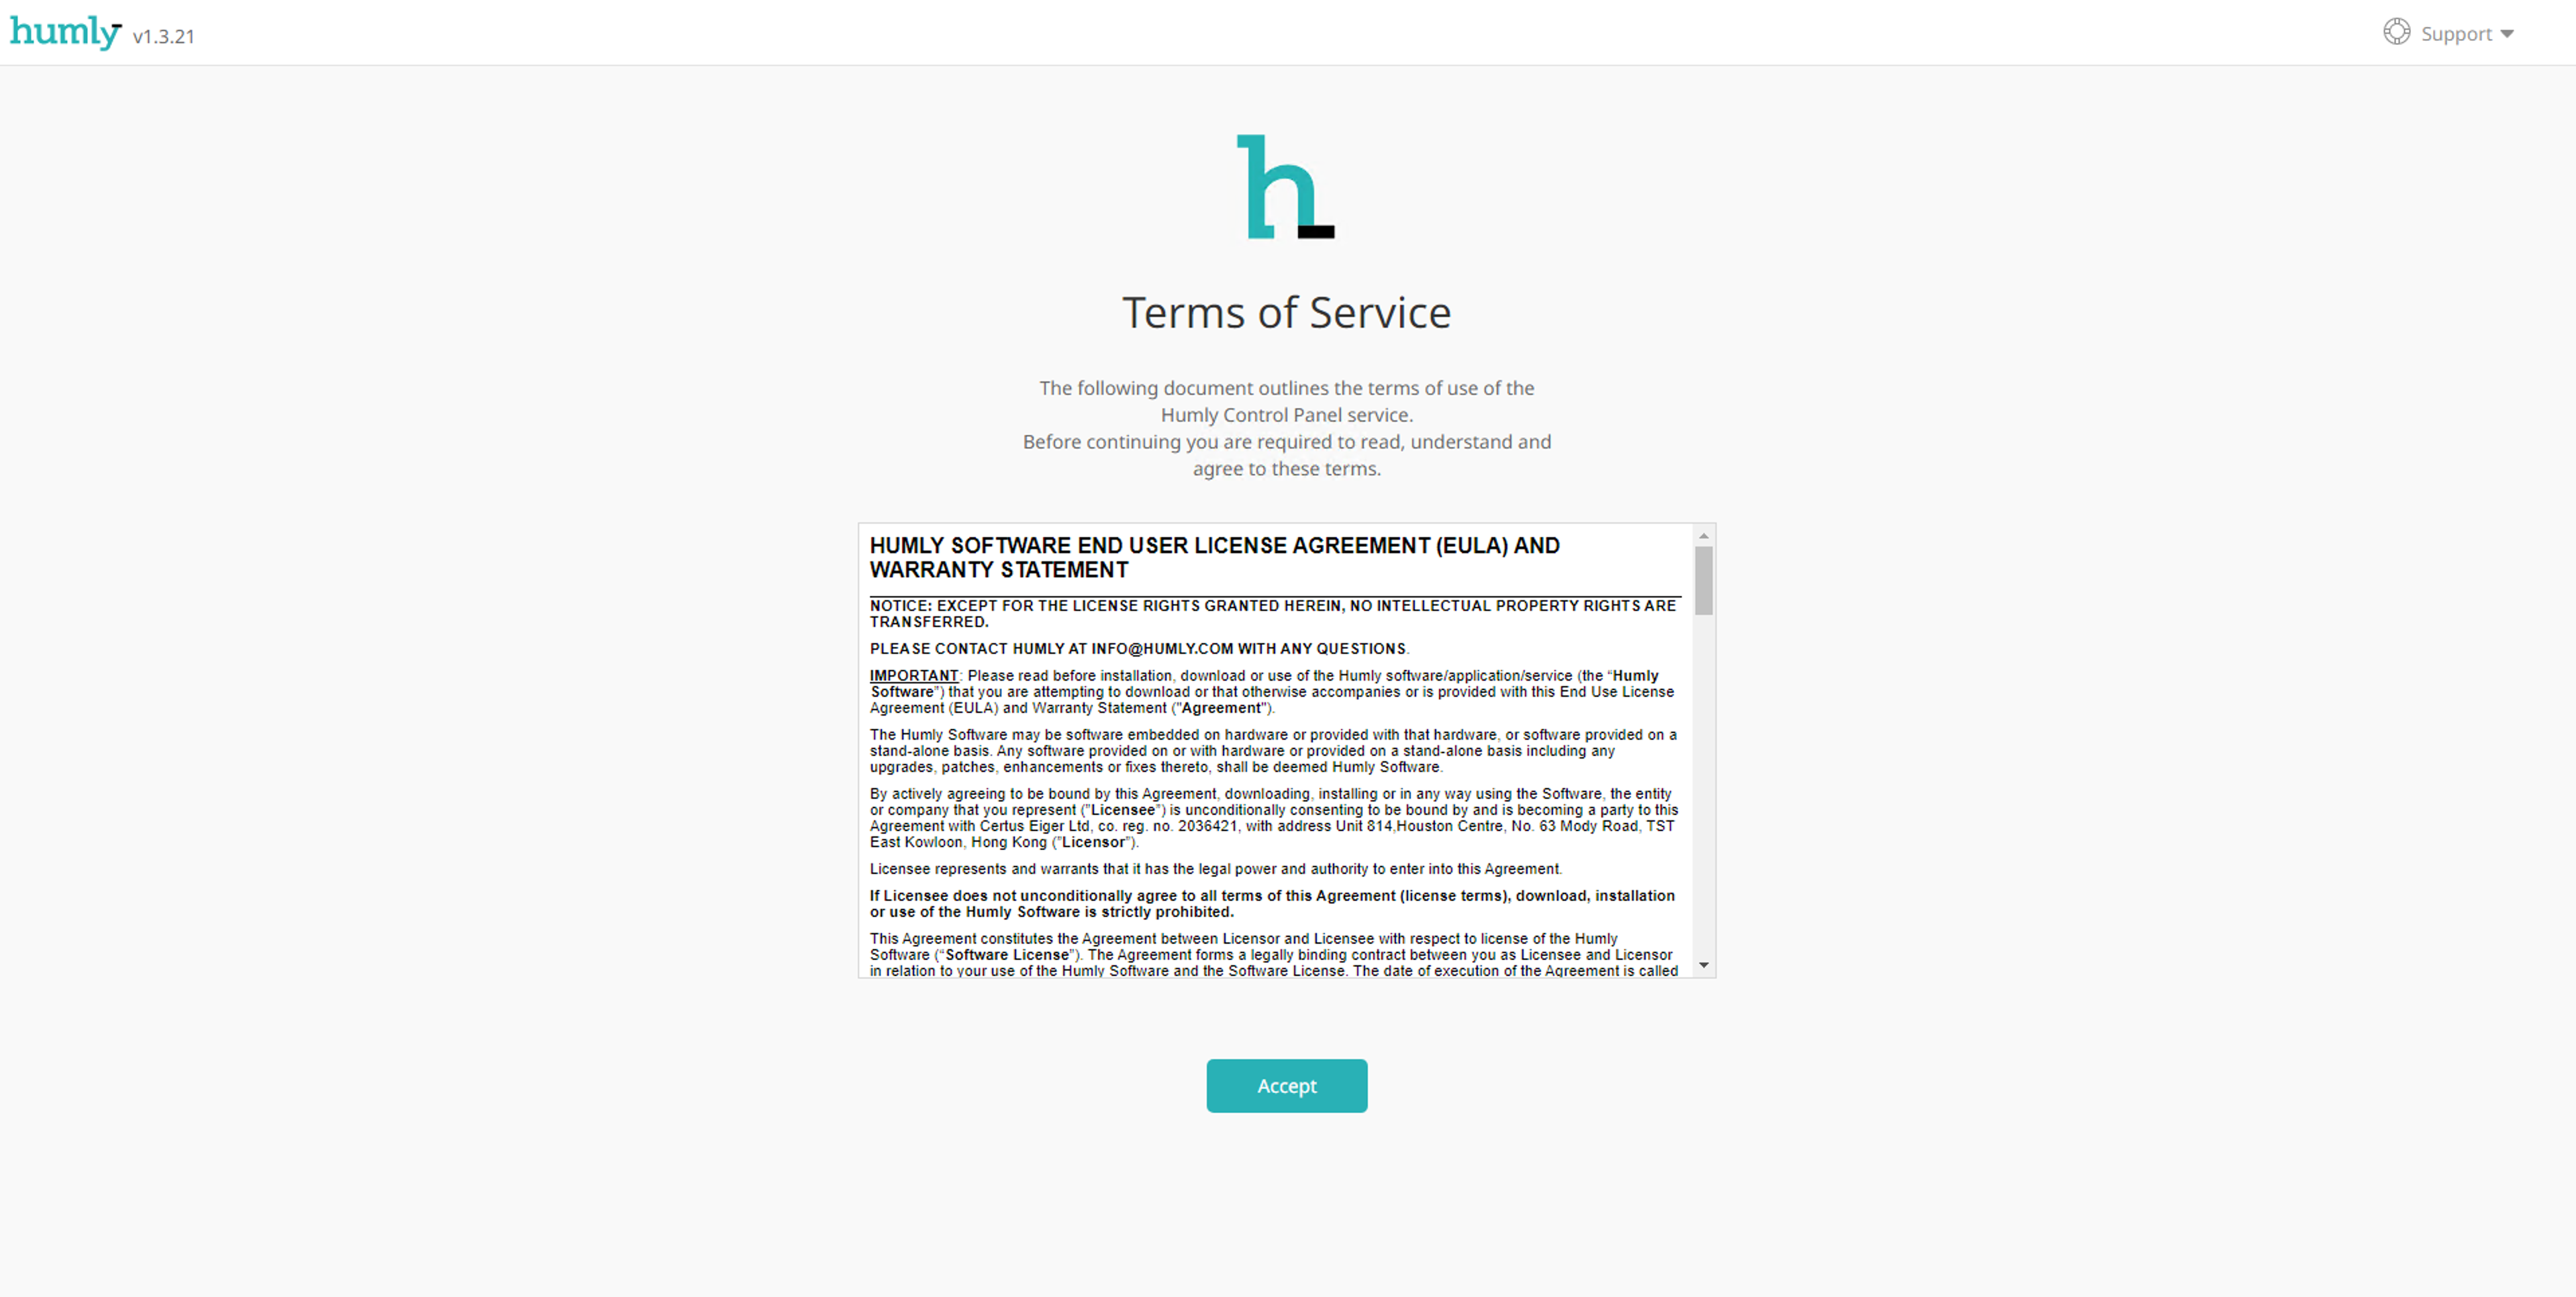
- Click "Accept" if you have read and agree with Humly Terms of Service.
- On the Subscription view copy the password to the clipboard and click "Finish". Your credentials for logging into Humly Control Panel have also been sent to your email address.
(Note! Check your junk email folder if you can’t find the email with your credentials)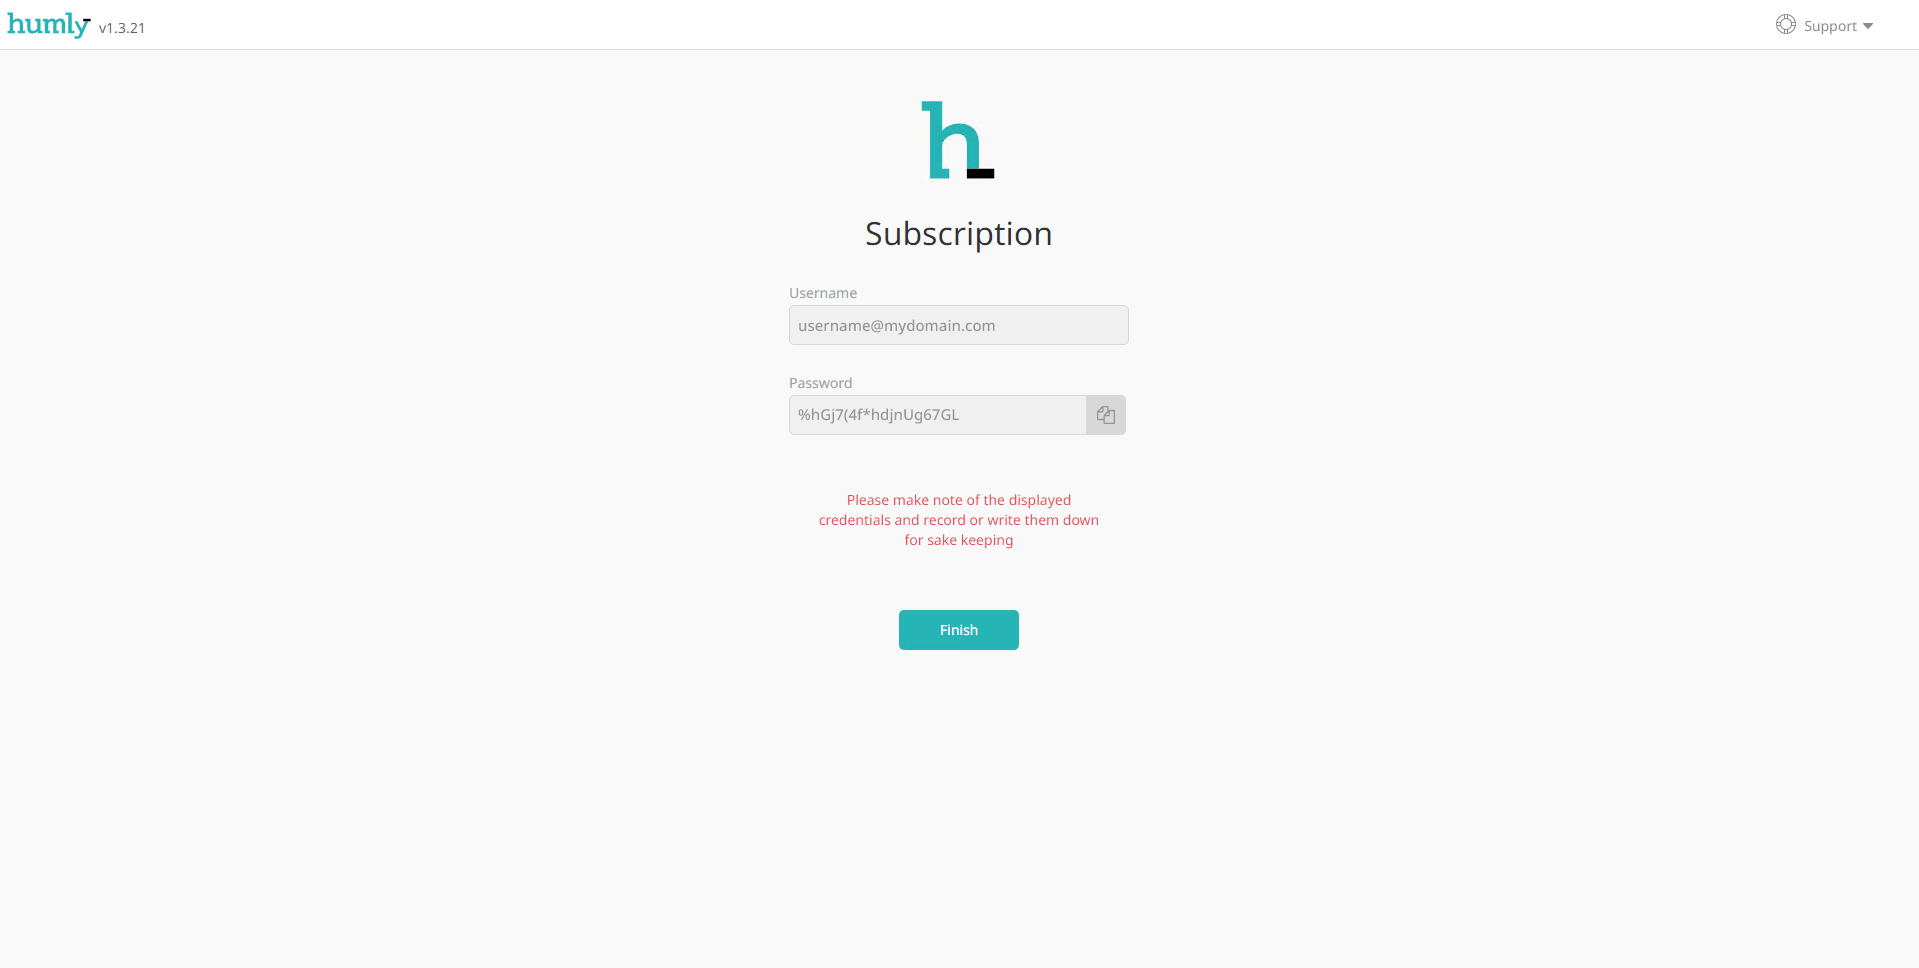
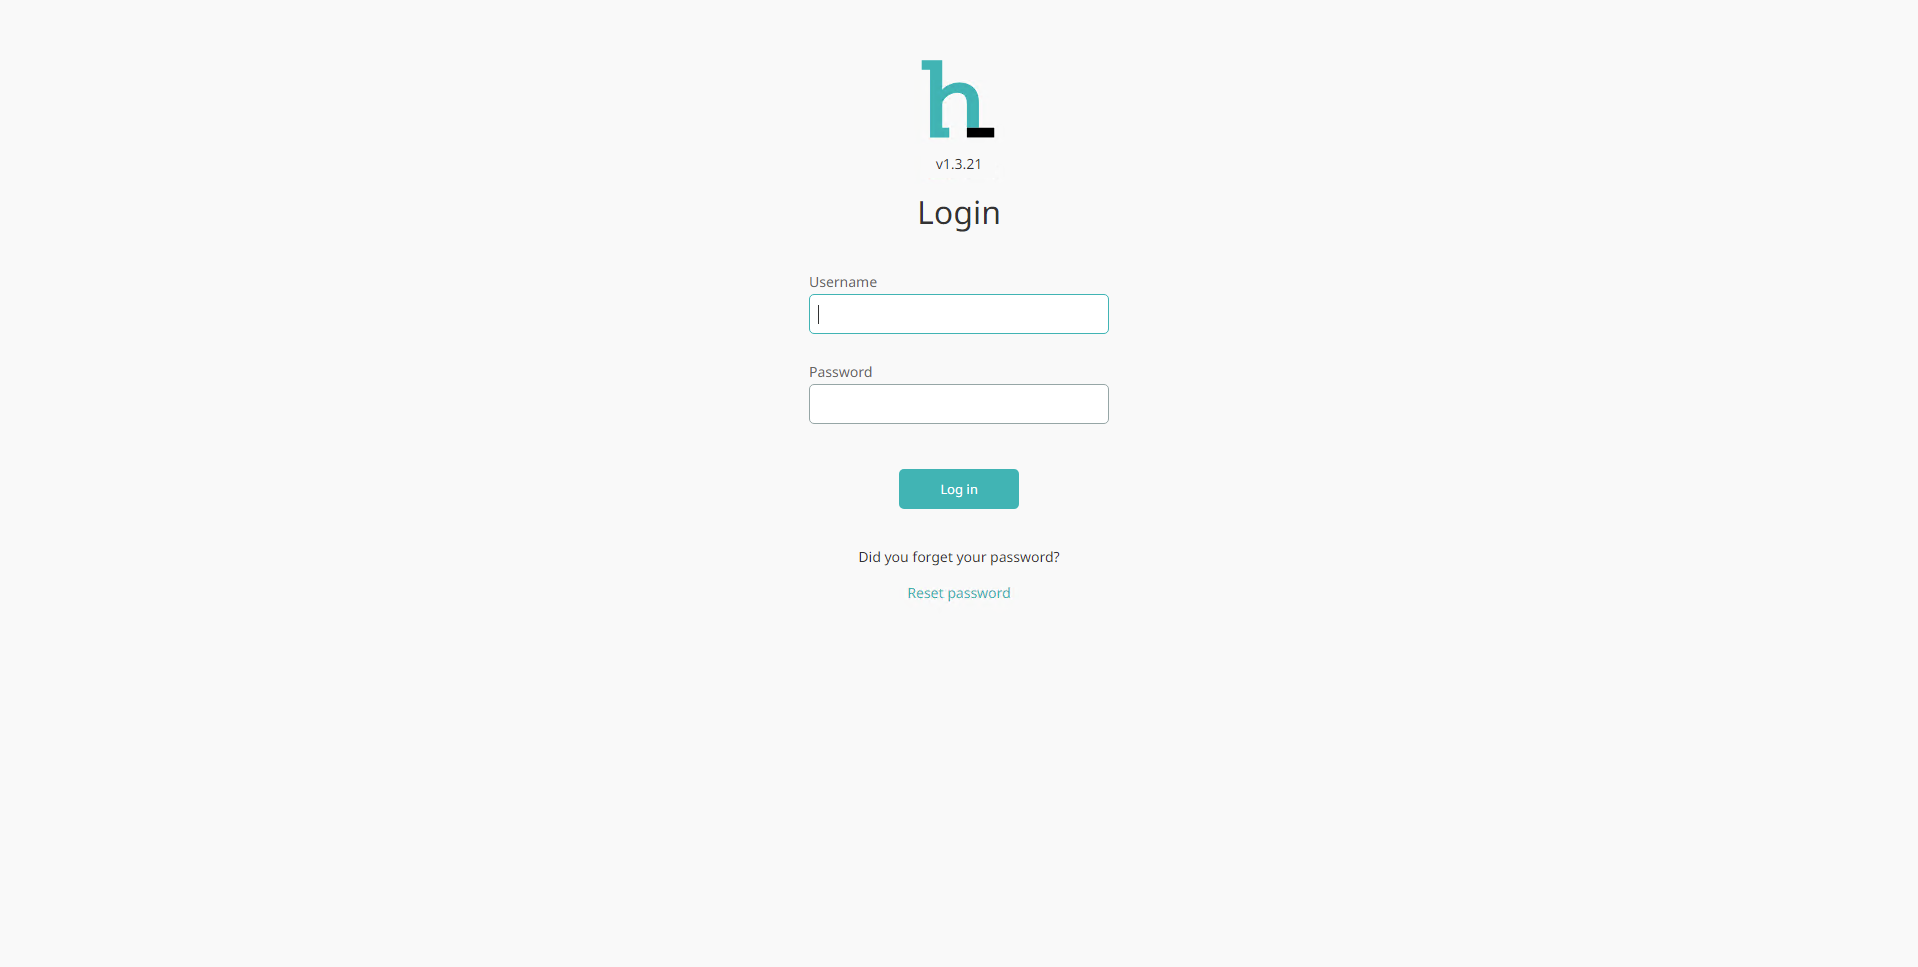
- Log in with your username and password.
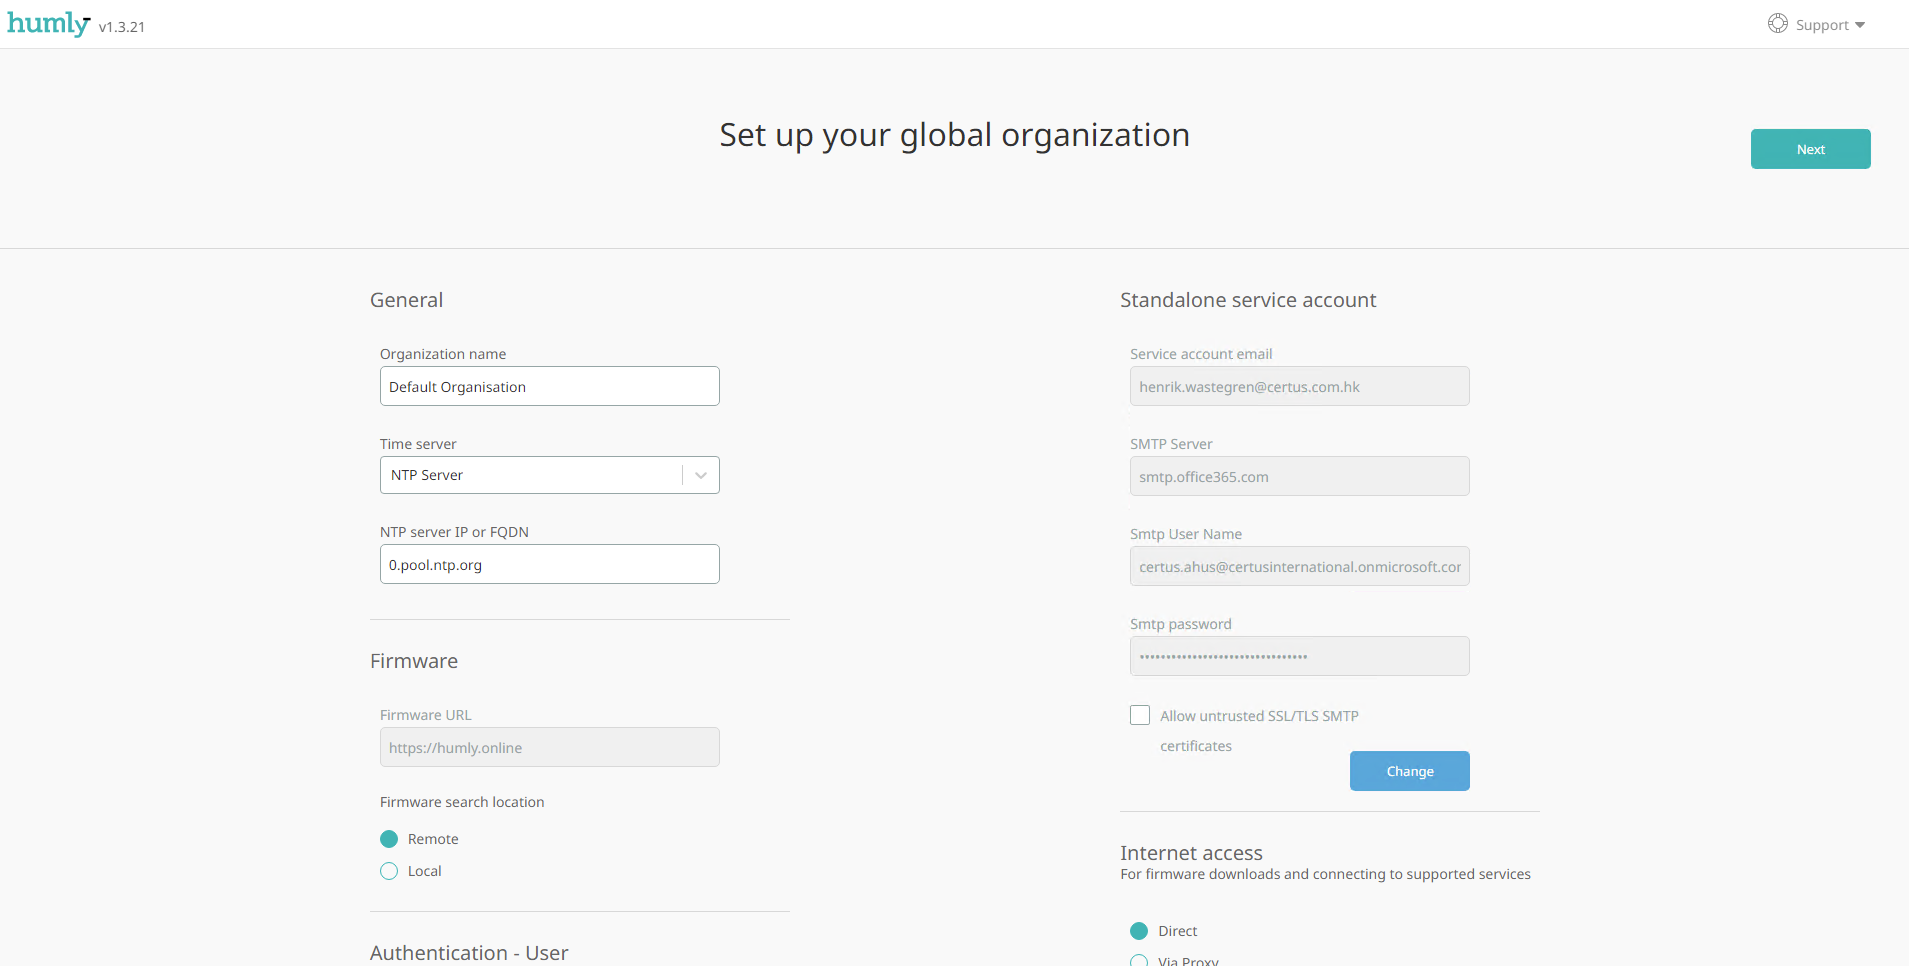
- Set up your global organization.
- Make sure you have the following highlighted settings applied to Email Notifications.
(Note! Notify added user will notify newly added users via email together with an auto generated unique password and PIN. Notify updated user will notify updated users if their user type, password or PIN is updated by the Global Admin)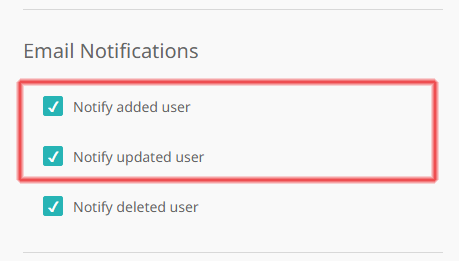
- Click "Next" to continue to Default room settings.
- Set the Default room settings for rooms that you add or import LDAP or from a CSV file.
(Note! Rooms added will by default get these settings)
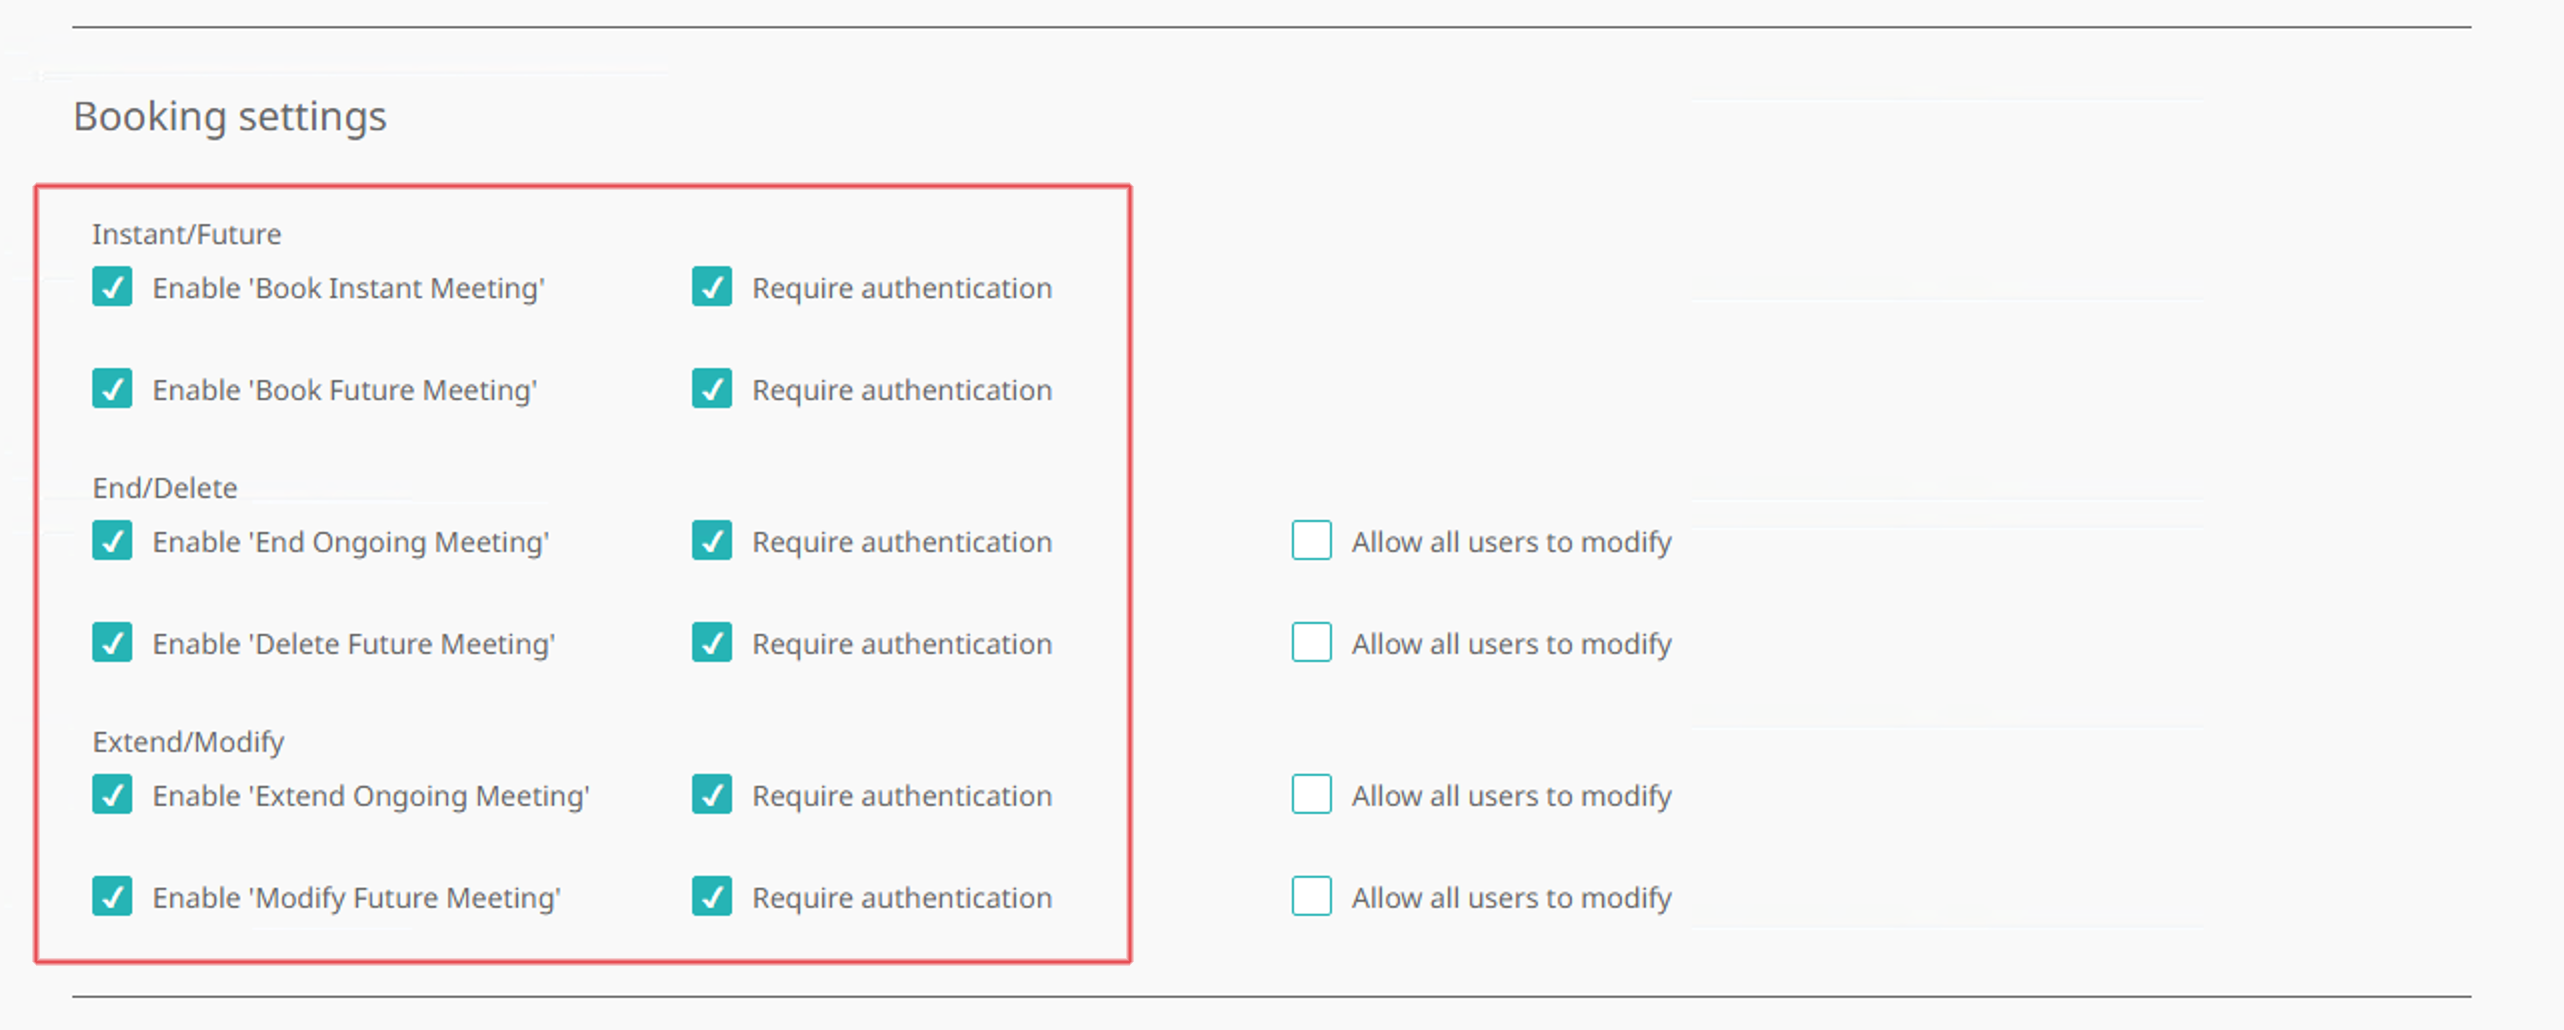
- In Booking settings, make sure you have the following settings to be able book, edit and end meetings from Humly Reservations and from the Humly Room Display. Click "Next" to continue to Buildings &, Structures.
- In Buildings &, Structures create your structure to where your rooms and devices will be installed. Add rooms by giving them a name and clicking "Add".
It’s also possible to Import rooms from a CSV file or set up a Scheduled Import of rooms from a CSV file.
Drag and drop rooms from the list to the respective floor. Click "Finish" to continue to the Humly Control Panel.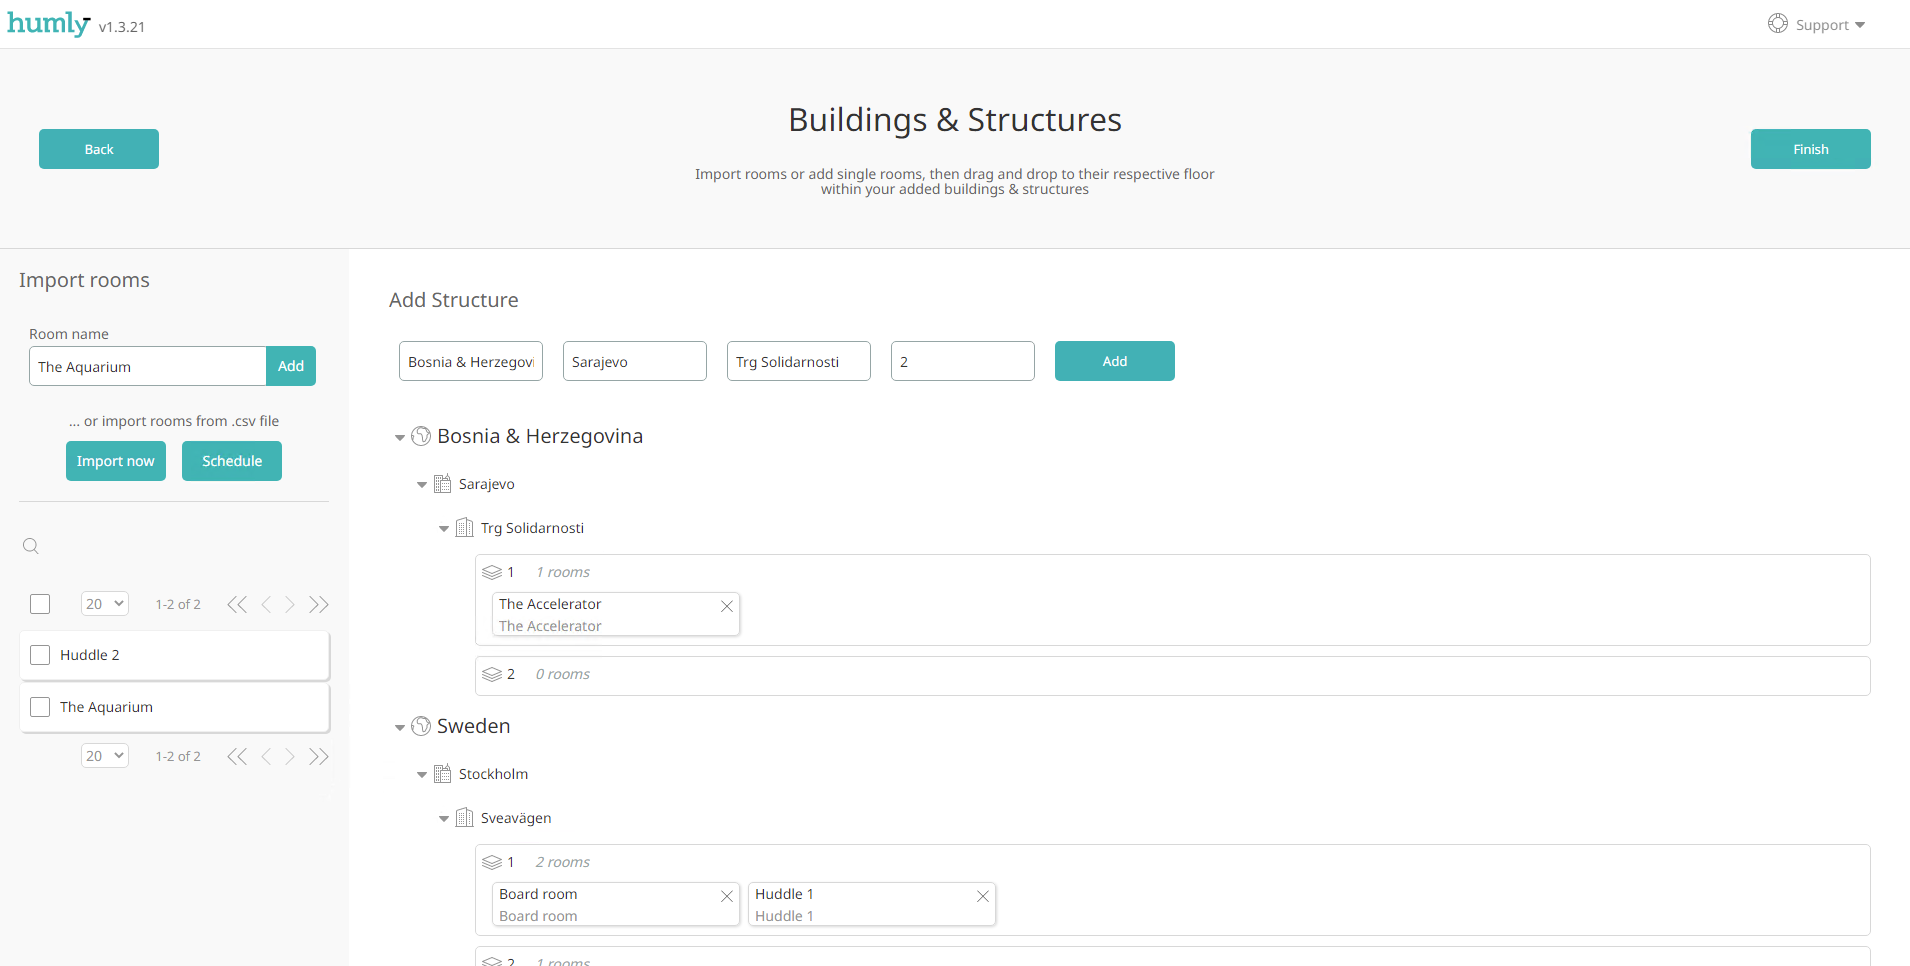
- Once logged in as Global Admin navigate to Users.
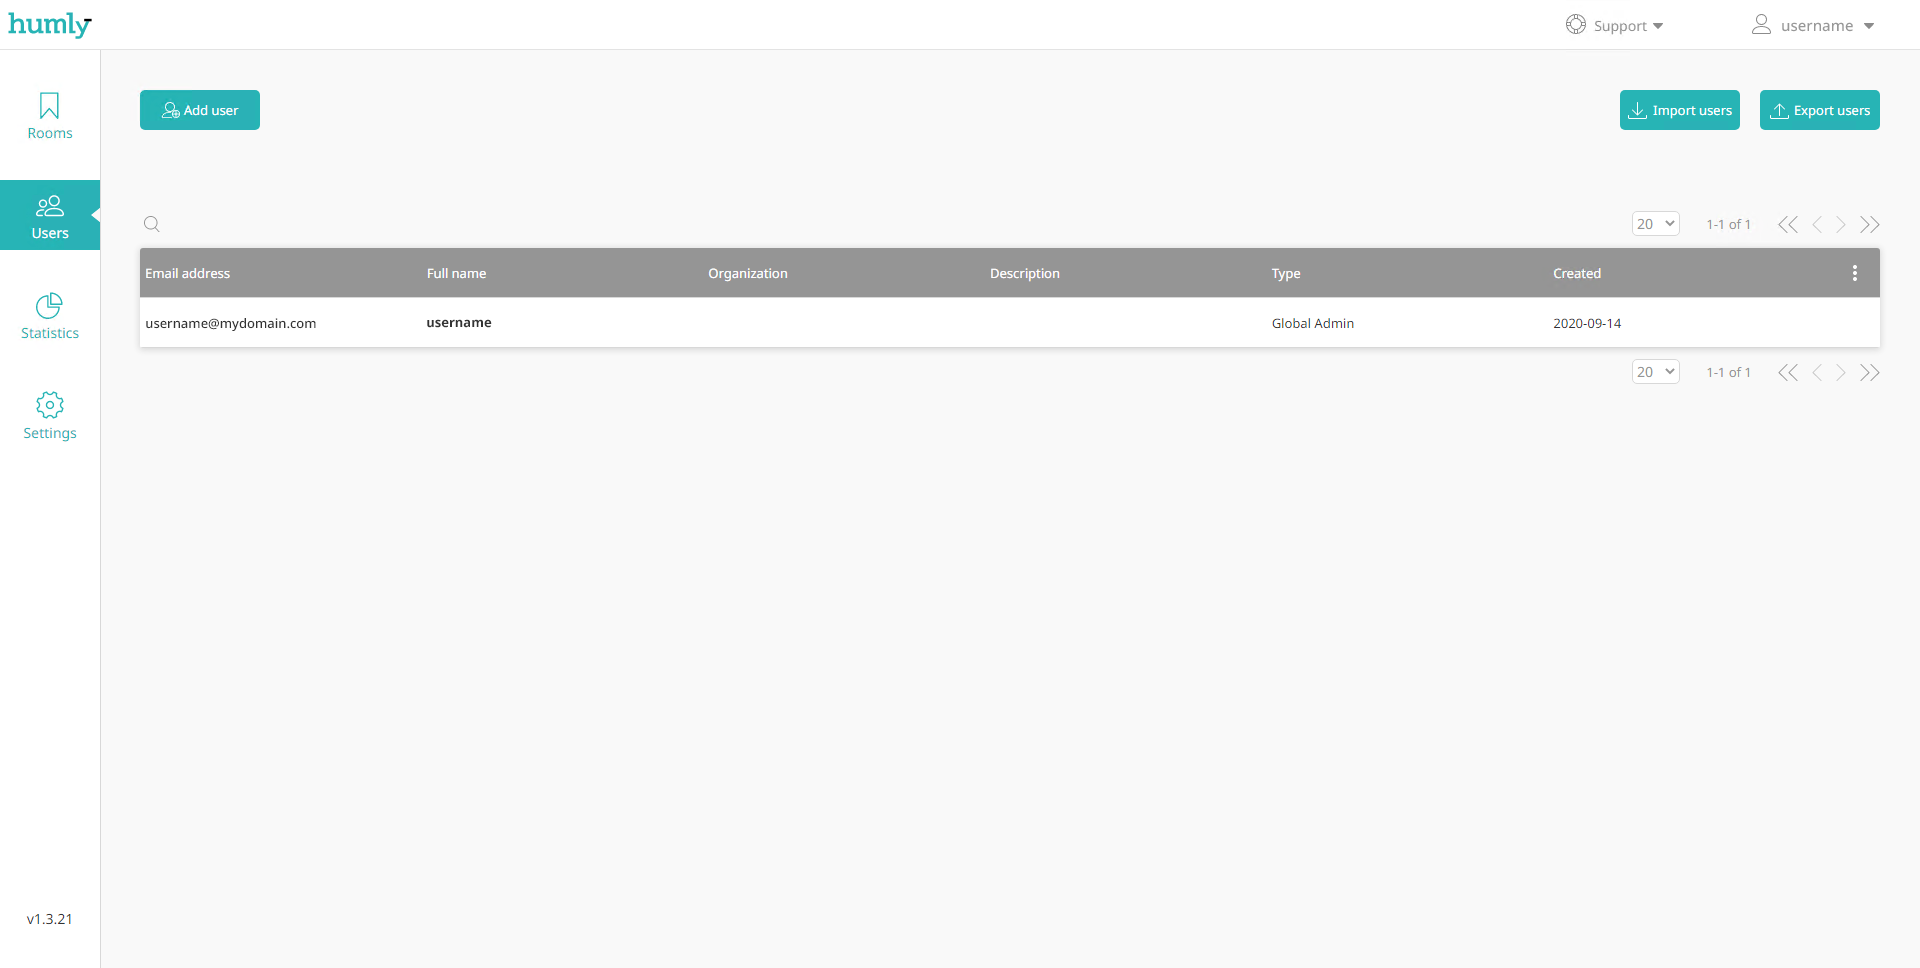
- Click "Add" user and enter email, full name, organization, description and select a user type. Click "Add".
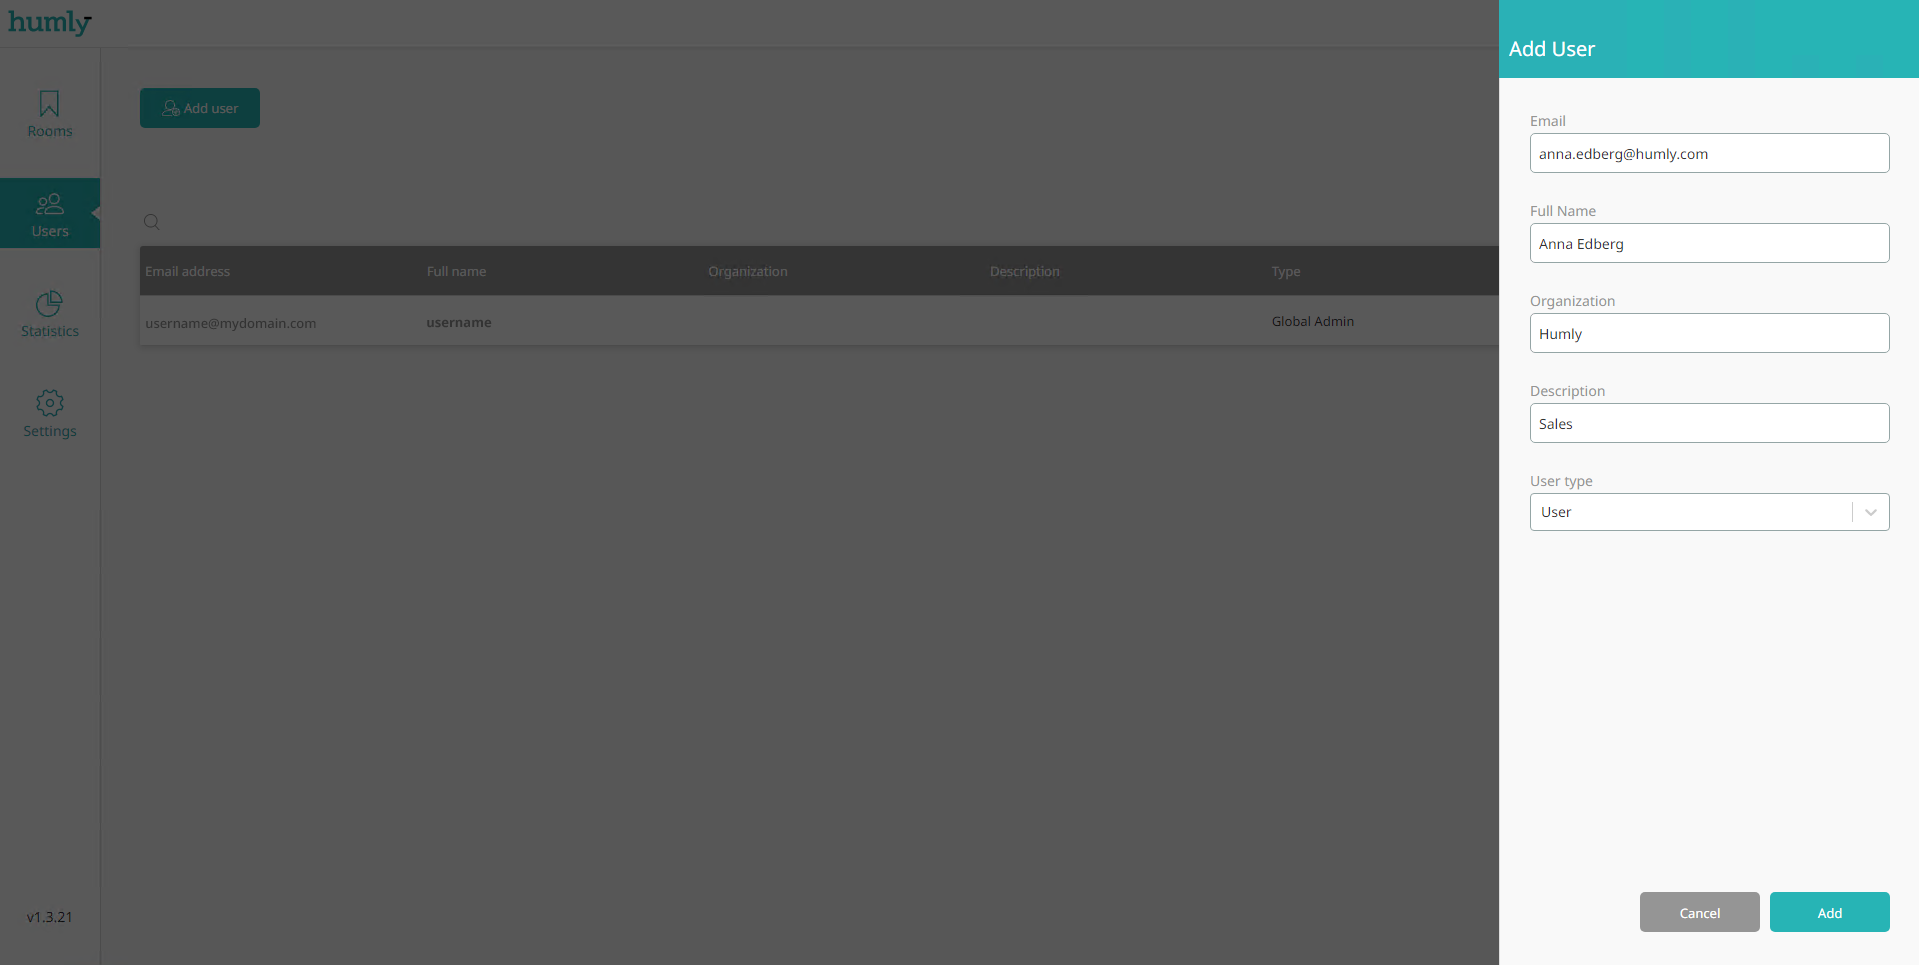
- The user has been added to the Humly Control Panel and an email with Humly login data has been sent to the user’s email address.
(Note! Check your junk email folder if you can’t find the email with your credentials)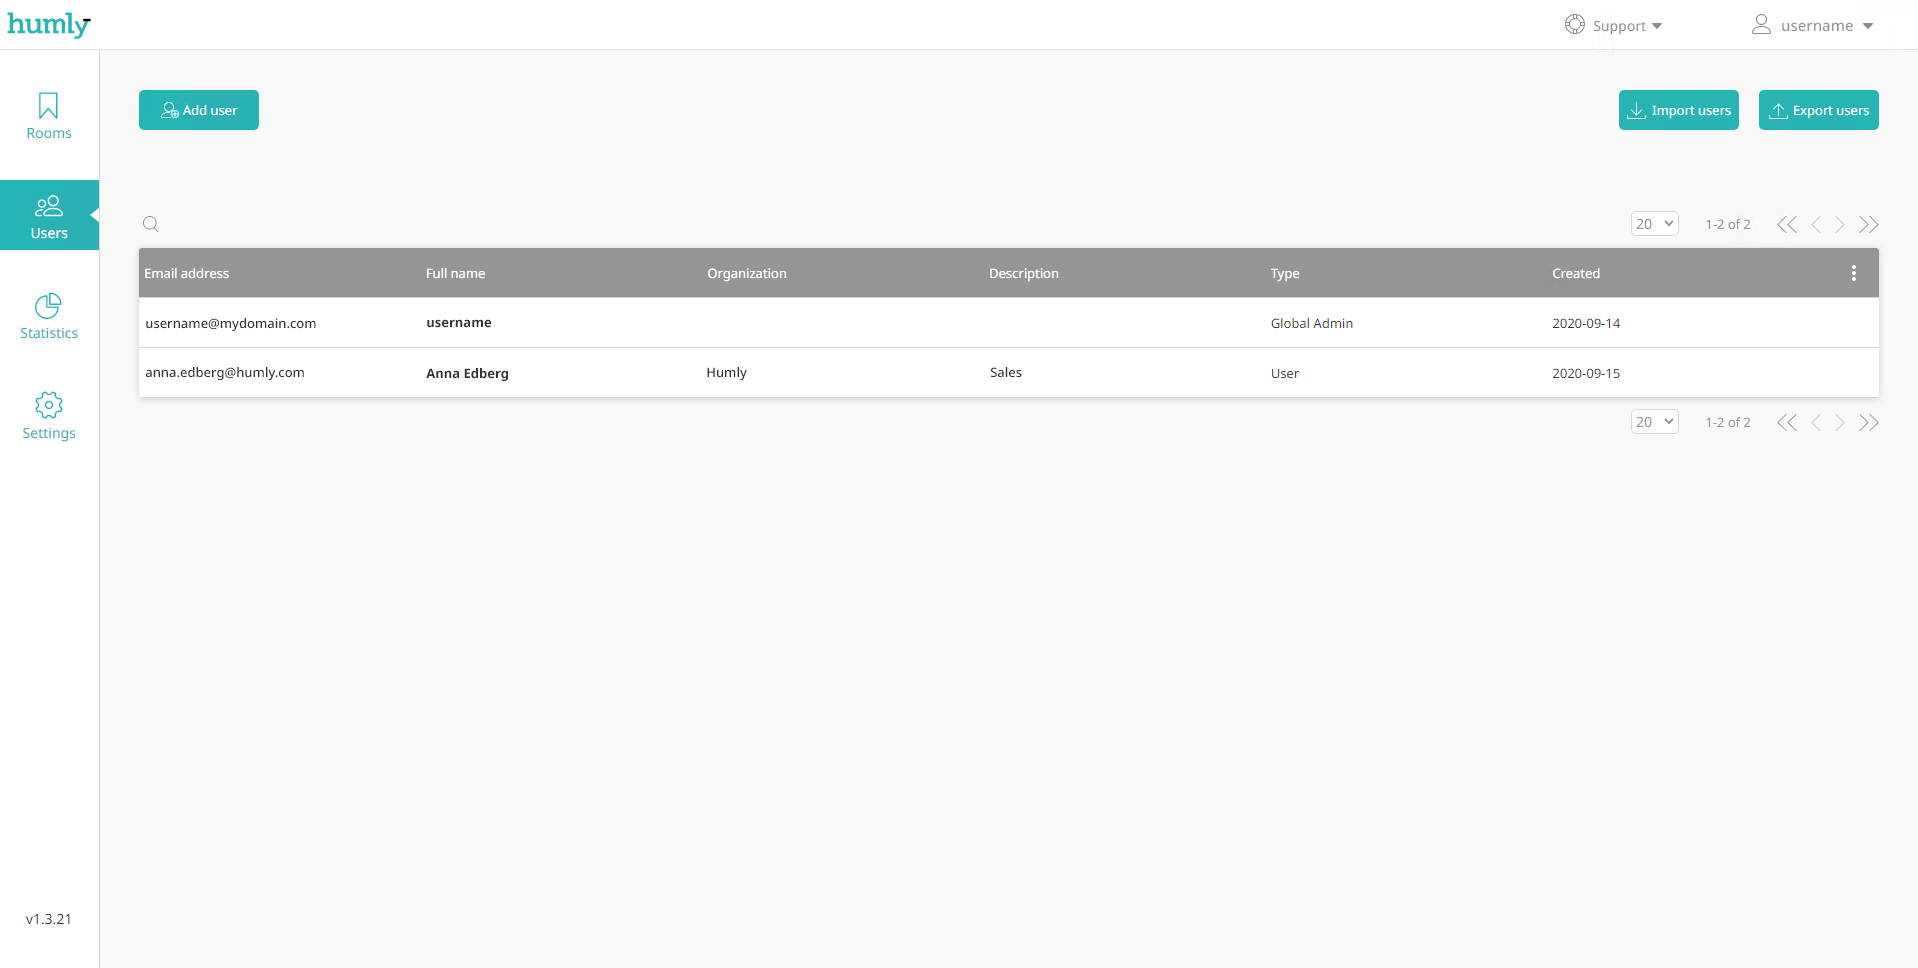
- To start using Humly Reservations as the newly added user, log out as Global Admin and login as the newly created user.
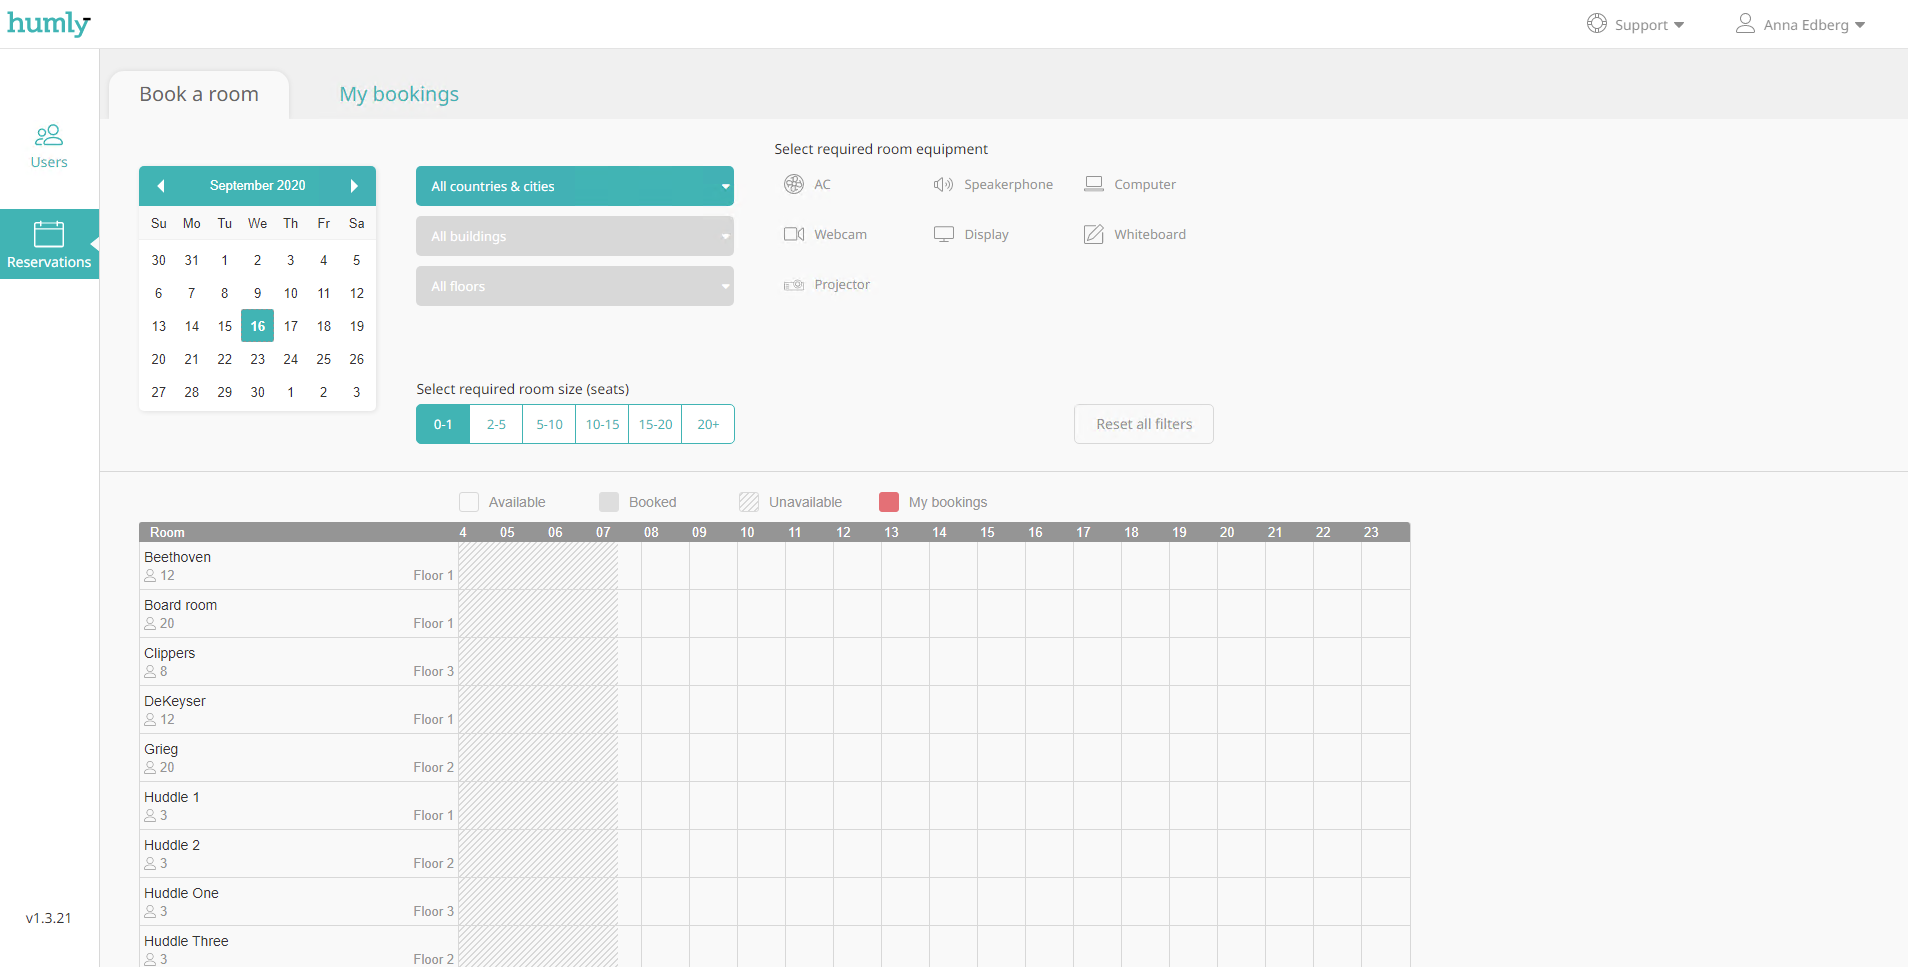
Continue to Humly Reservations - User Guide, to get to know Humly Reservations and how you can book rooms, edit bookings and delete bookings.