How to Configure Humly Print Service
Humly Print Service is required to be able to automatically print visitor labels if it’s the option selected for a configured Humly Visitor screen.
Before installing and configuring Humly Print Service make sure you have Humly Control Panel version 1.16 or later installed and set up on a different on-prem server or a Humly Cloud server. Humly Print Service doesn’t support being installed on the same server as Humly Control Panel!
Humly Print Service is supported and can be installed on Windows operating systems (Windows Server 2016-2022, Windows 10-11).
-
Download the latest version of Humly Print Service from Humly Downloads
-
Start the installation on the computer or server which will be running the print service.
-
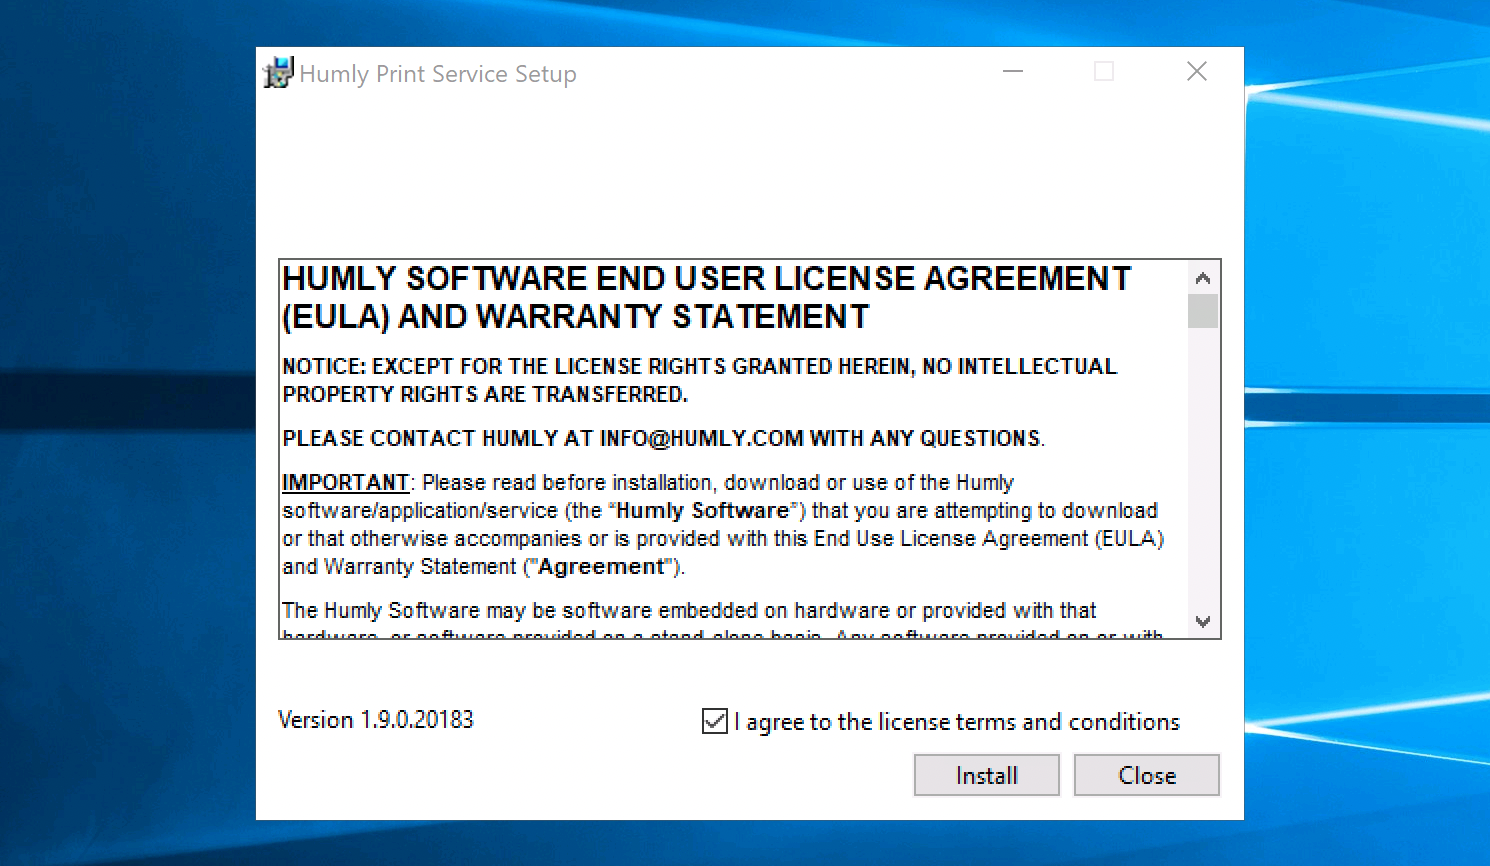
If you agree to the license terms and conditions, click Install.
-
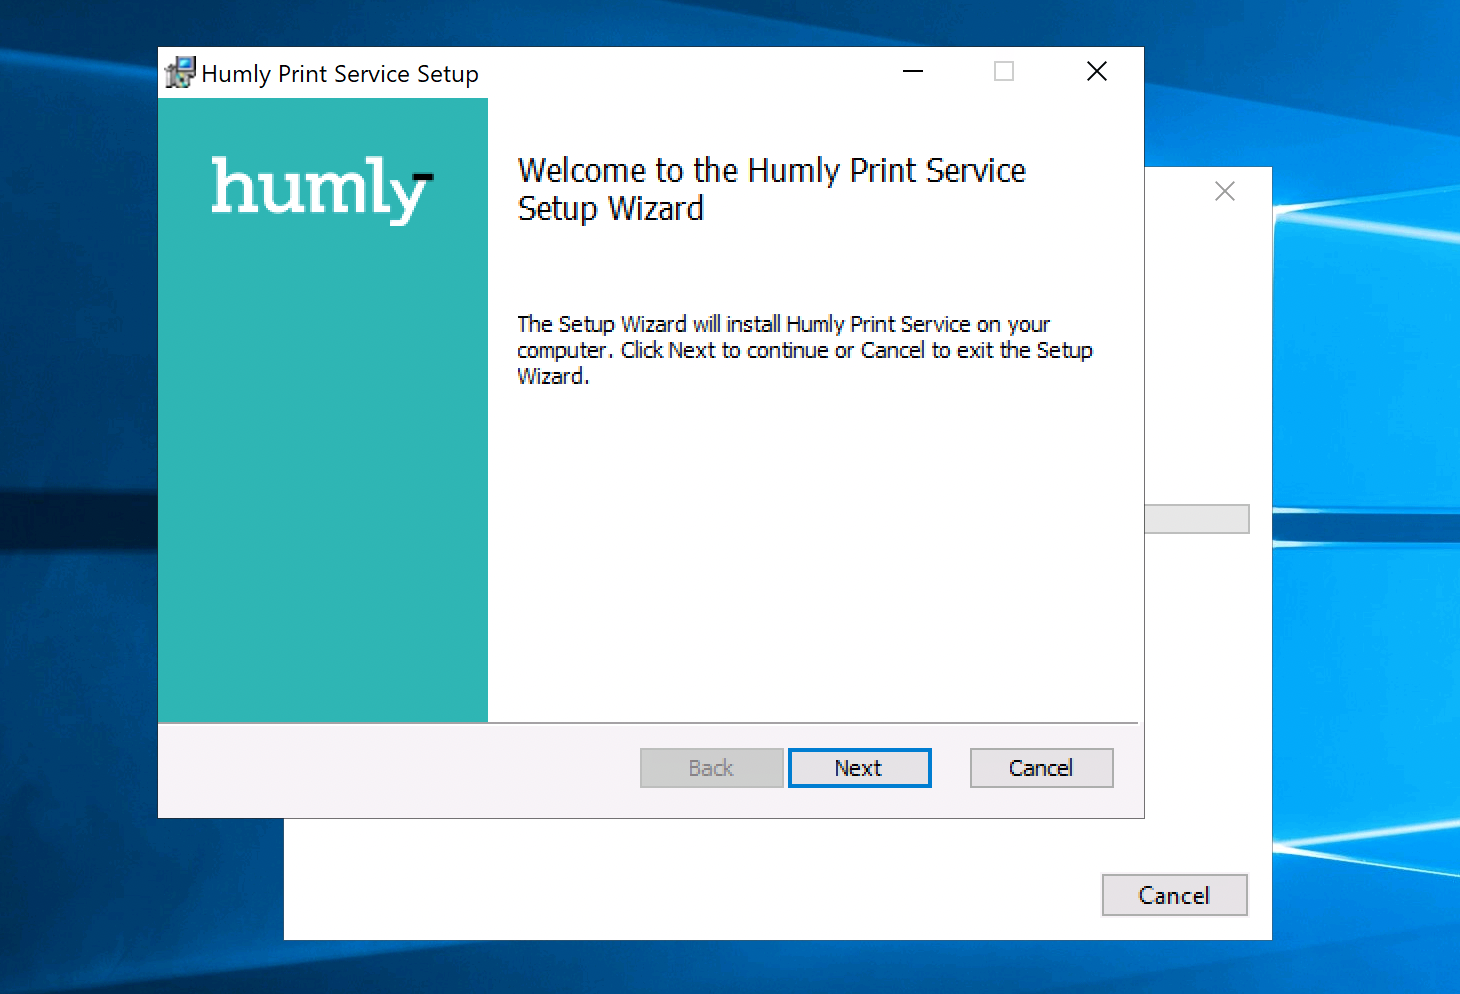
Click Next to begin the Humly Print Service Setup Wizard.
-
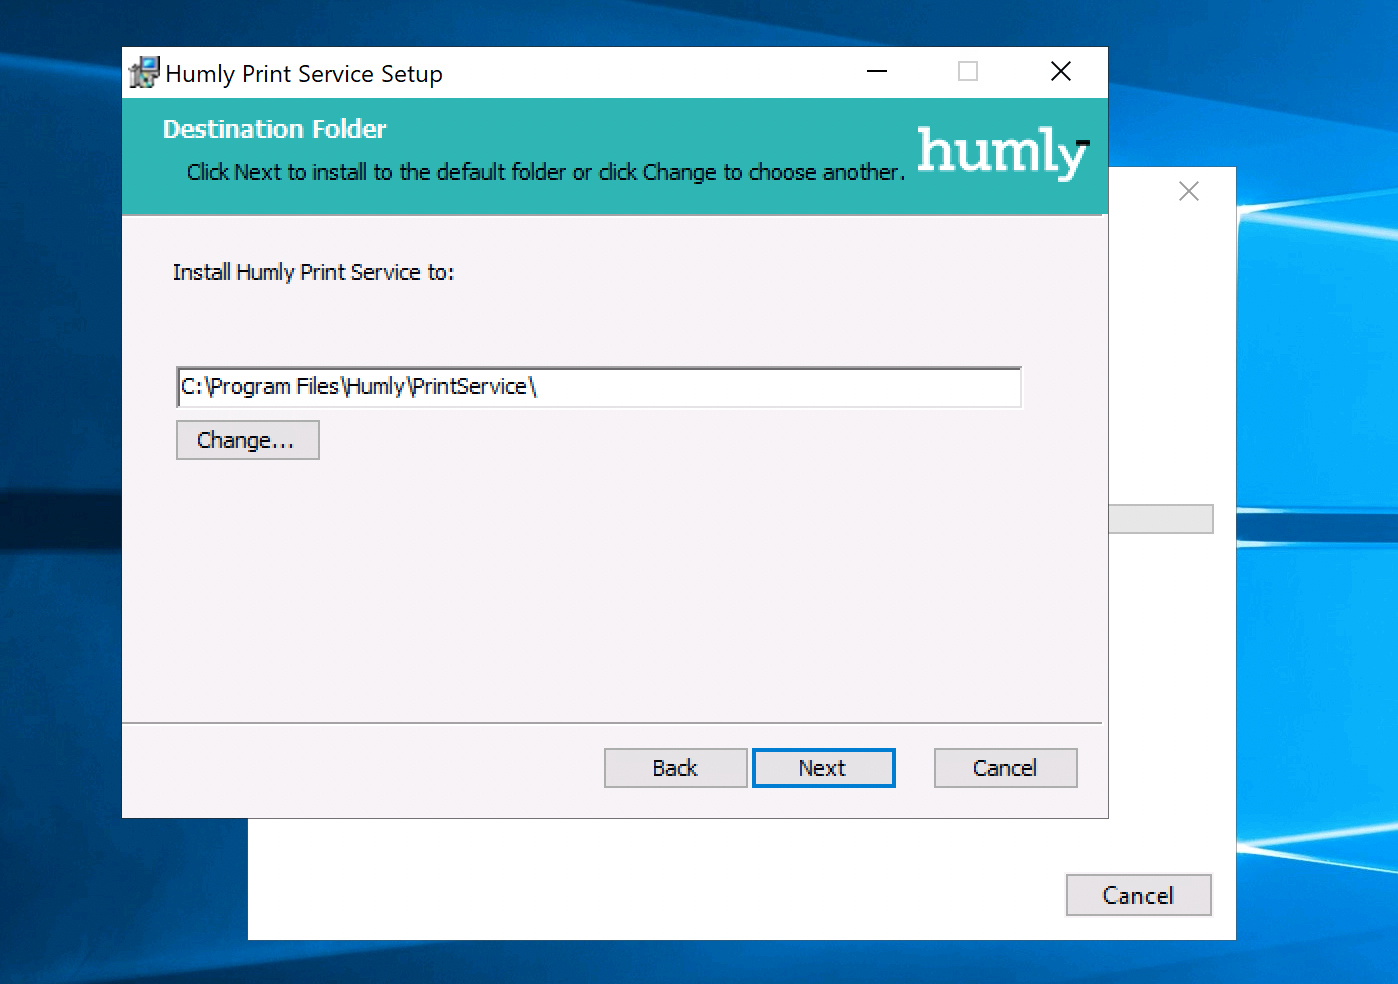
Select the destination folder Humly Print Service and click Next.
-
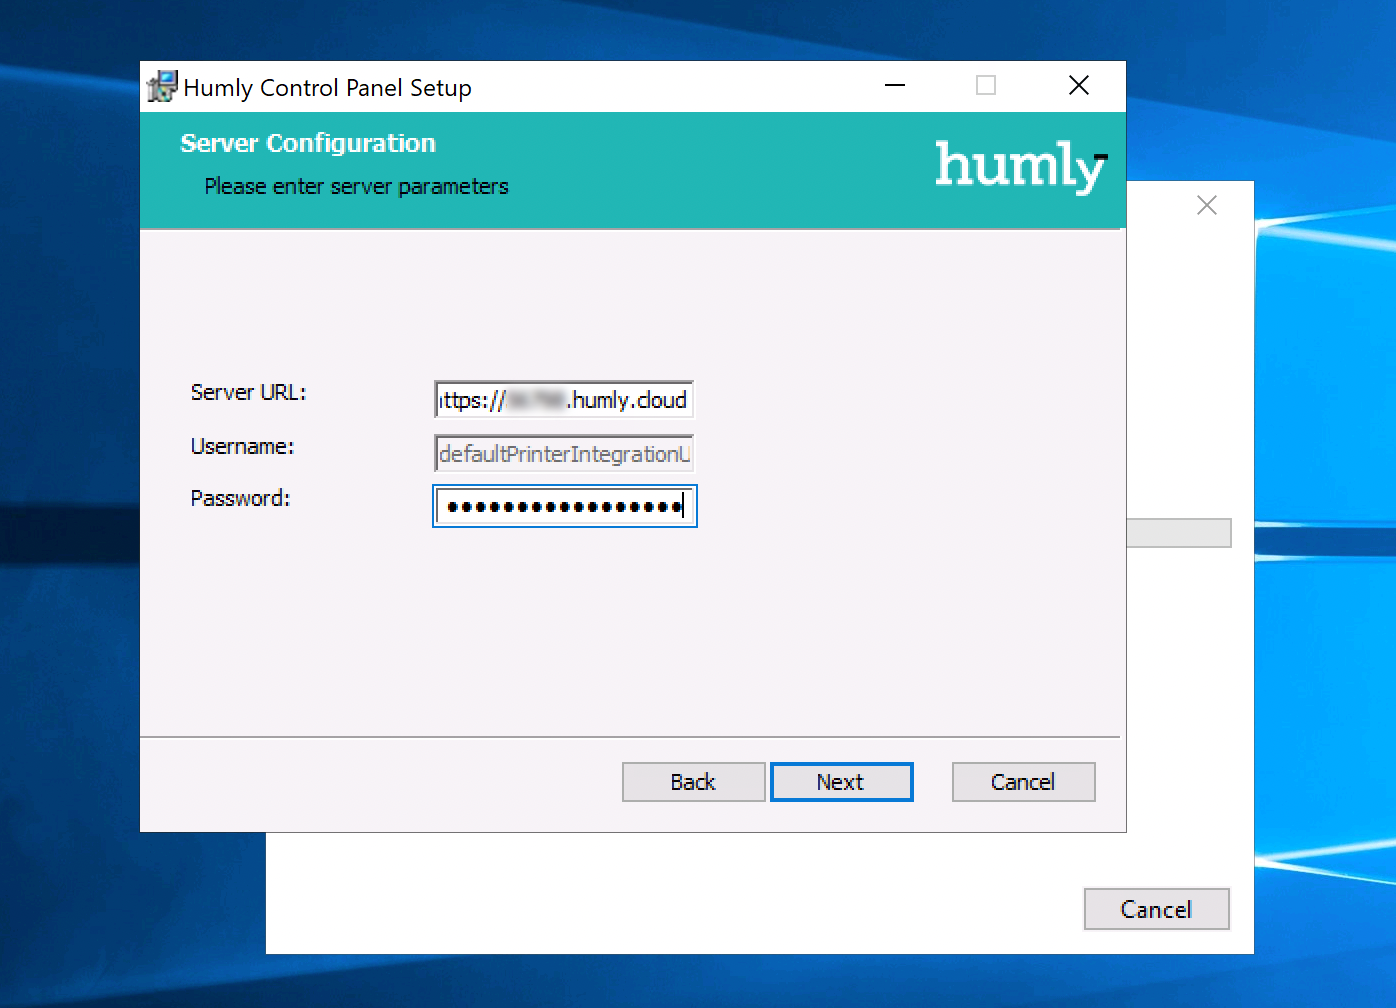
Set the Server URL for Humly Control Panel on Humly Cloud.
Note! If Humly Control Panel is running on-prem it is required to use a signed certificate for that server, to be able to establish a connection to Humly Print Service.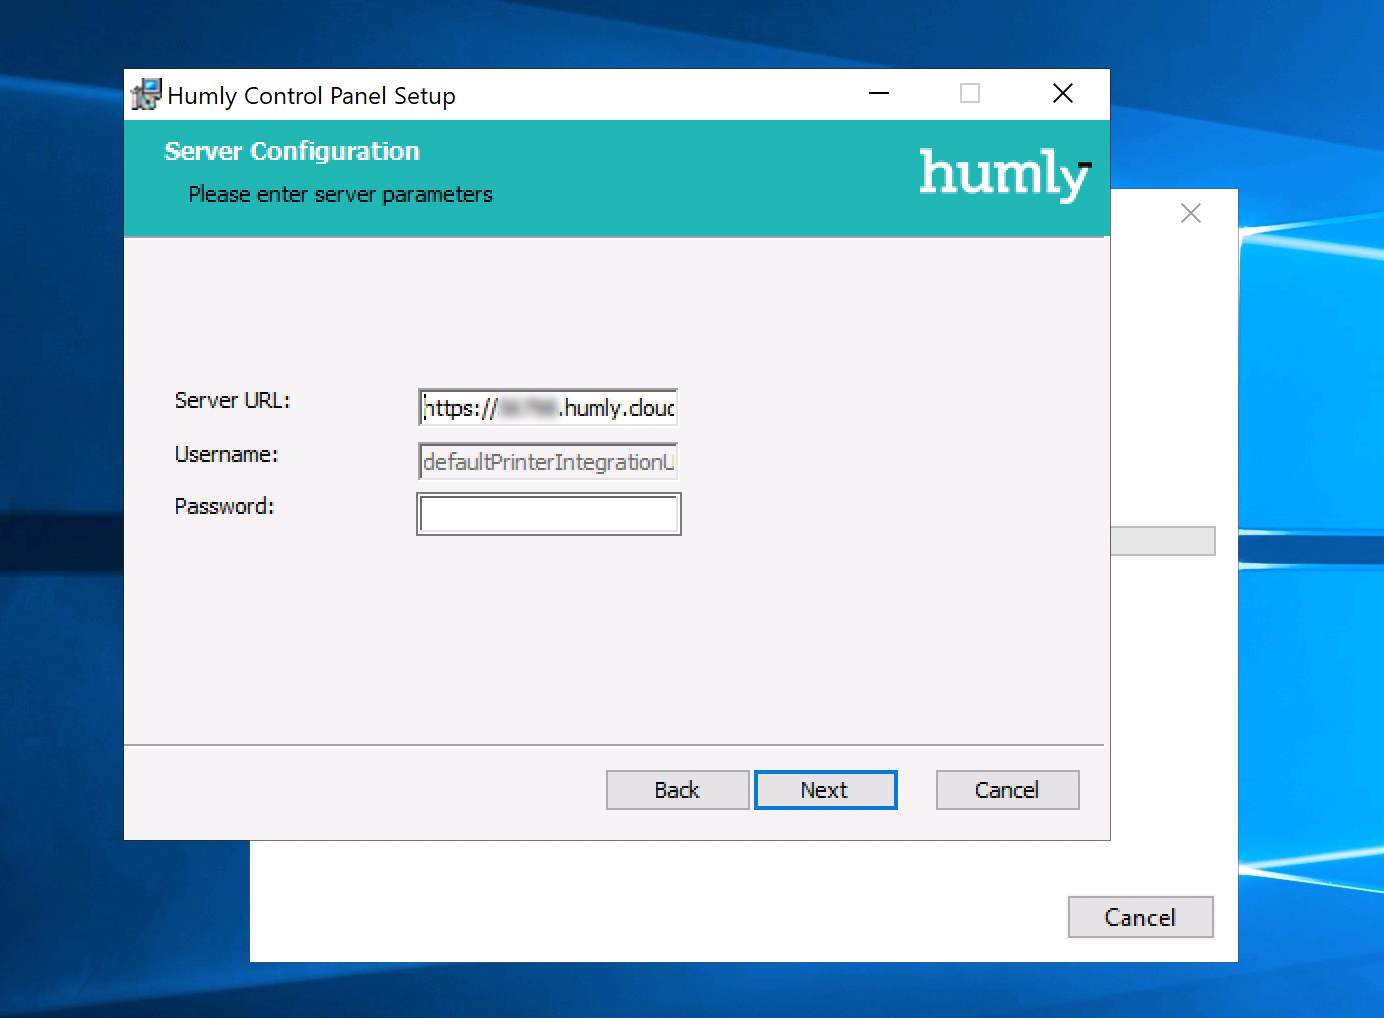
-
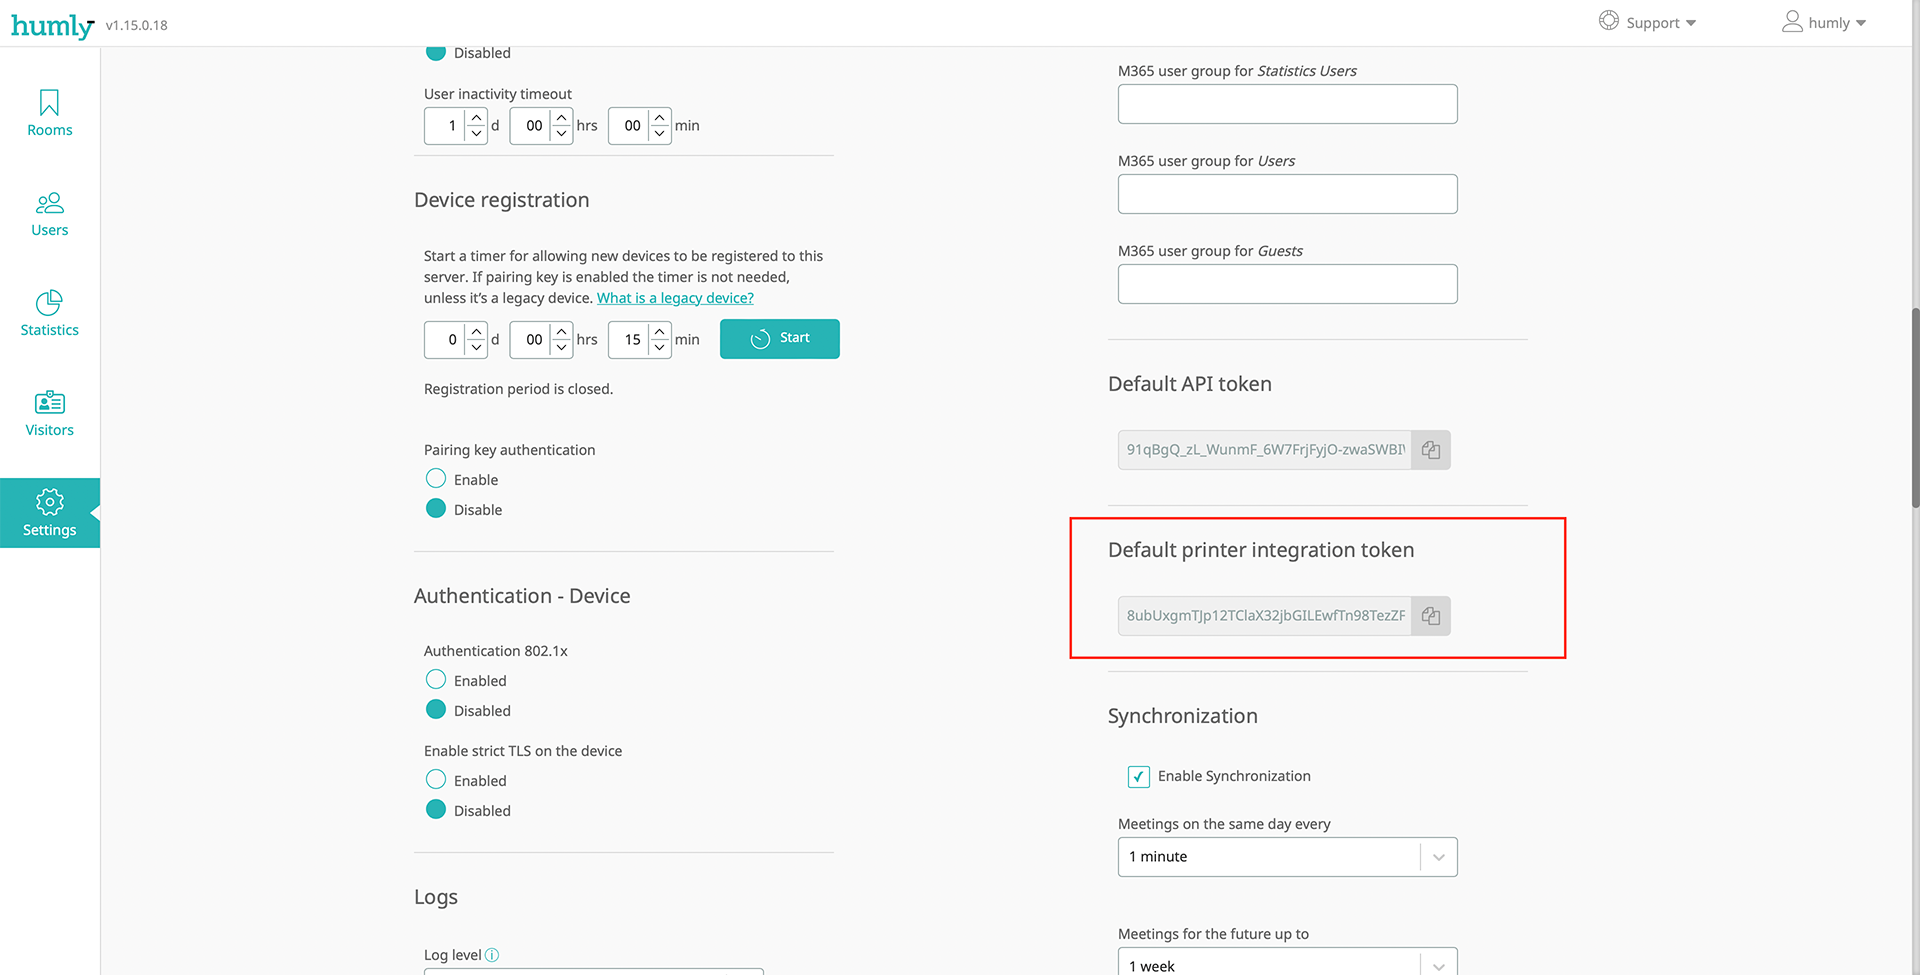
For password you need the Default printer integration token which can be found under Settings>,Global settings in Humly Control Panel. Copy it and paste it into the password field of the Humly Print Service Setup Wizard.
-
Click Next to continue.
-
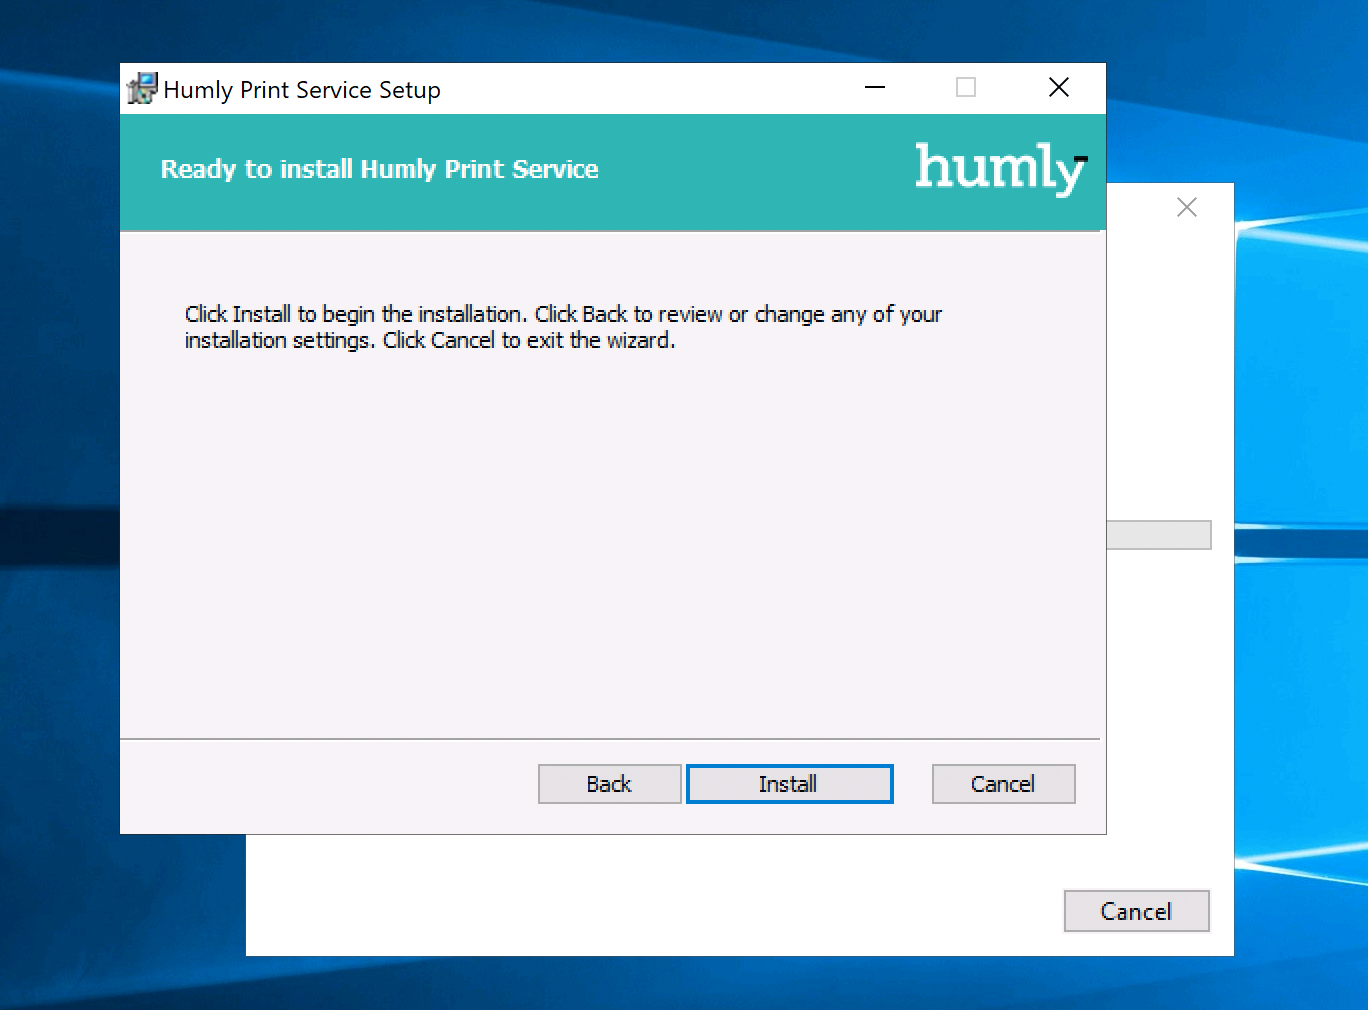
Click Install to begin the installation of Humly Print Service.
-
Click Finish when the installation is completed.

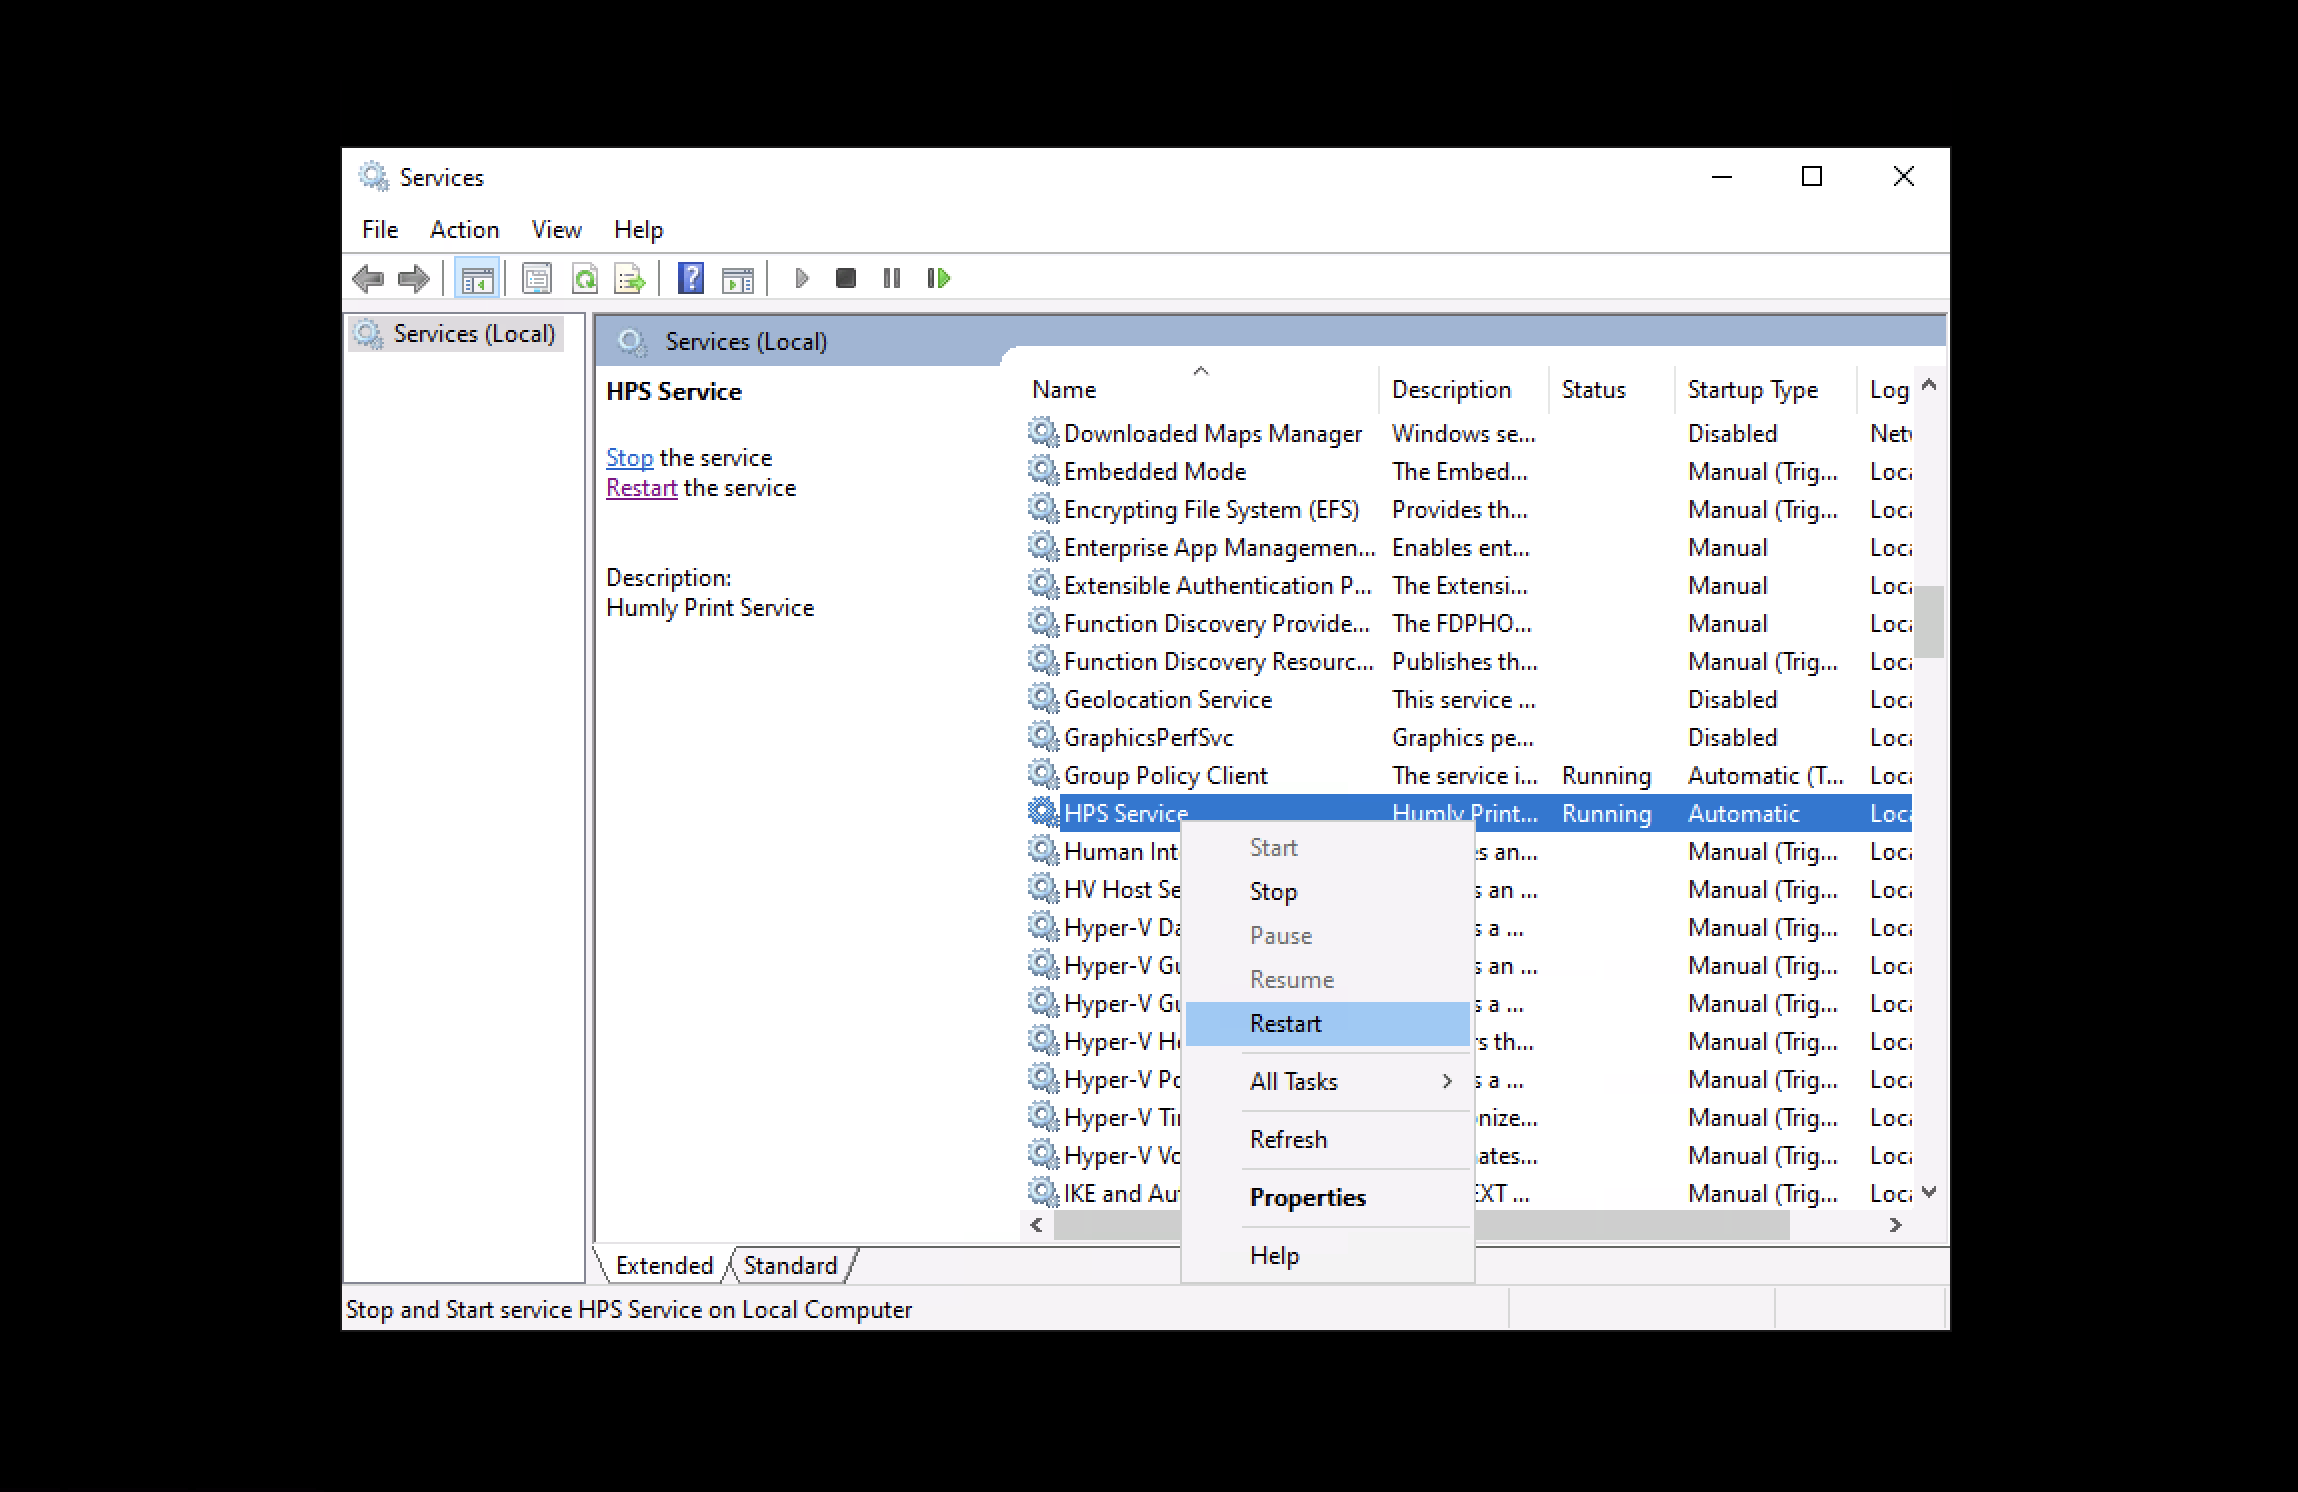
After installation is finished we recommend doing a service restart of the HPS Service in Windows Services.
-
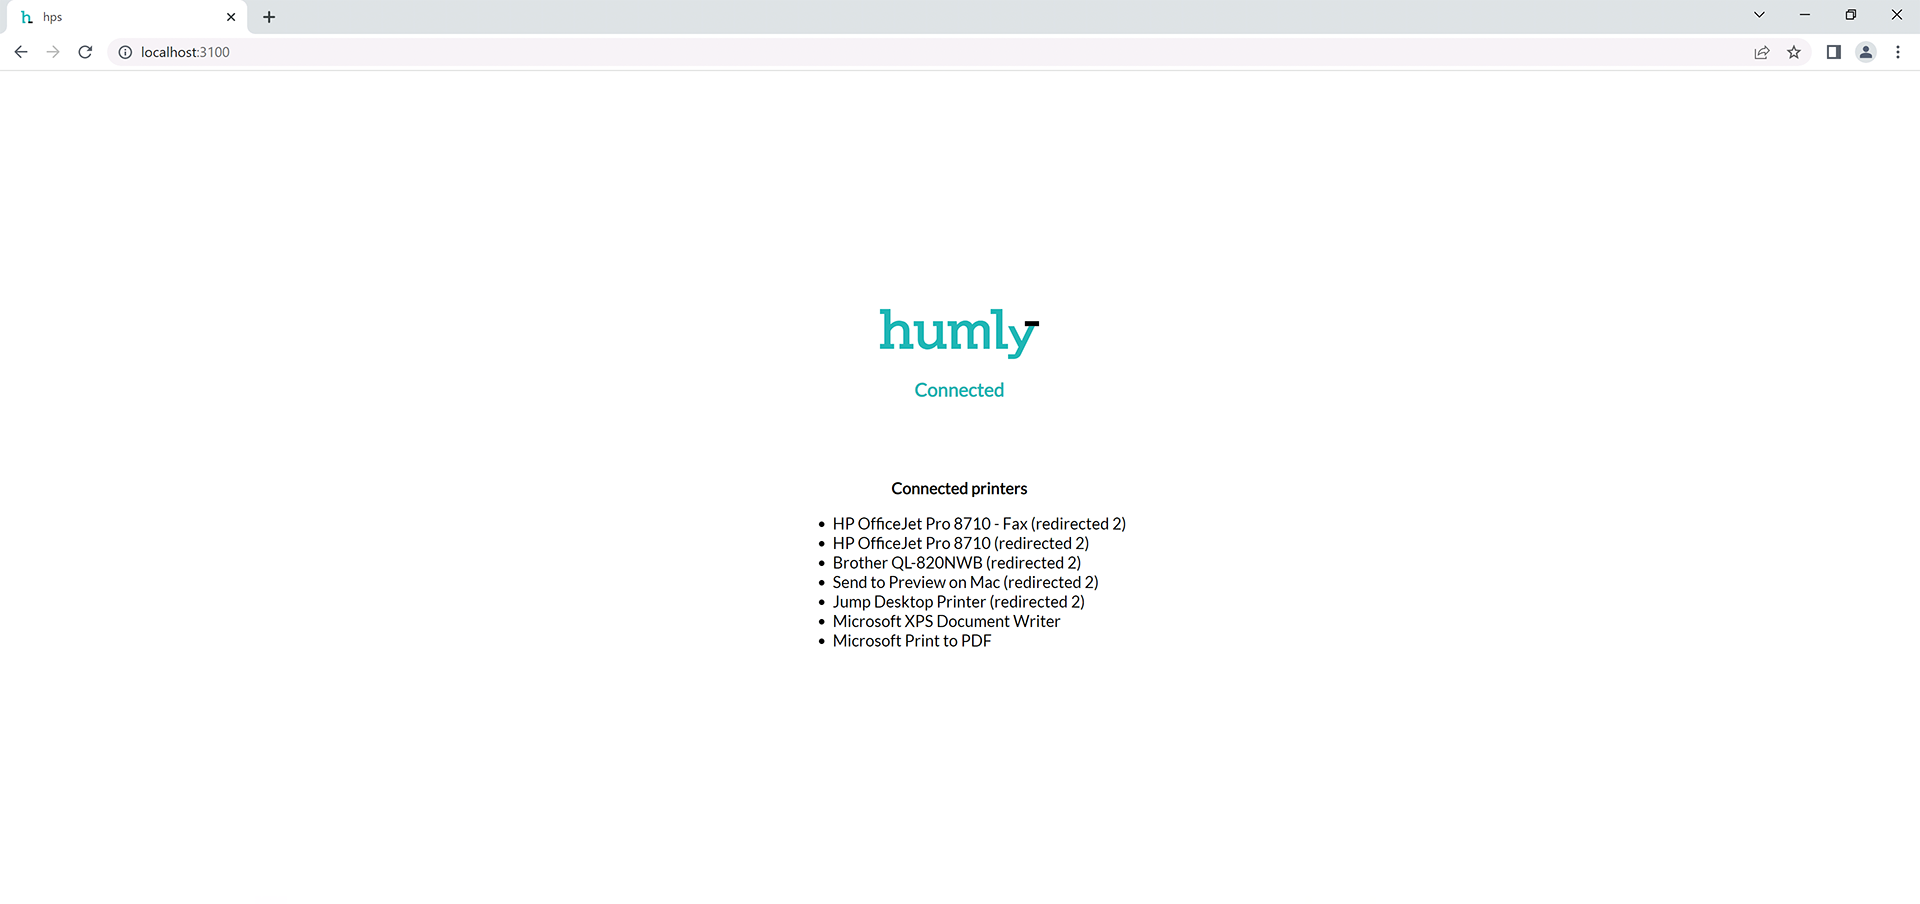
On the computer or server where you have installed Humly Print Service, open up a browser and go to http://localhost:3100. If you see the status Connected then there’s an established connection between Humly Print Service and Humly Control Panel.
-
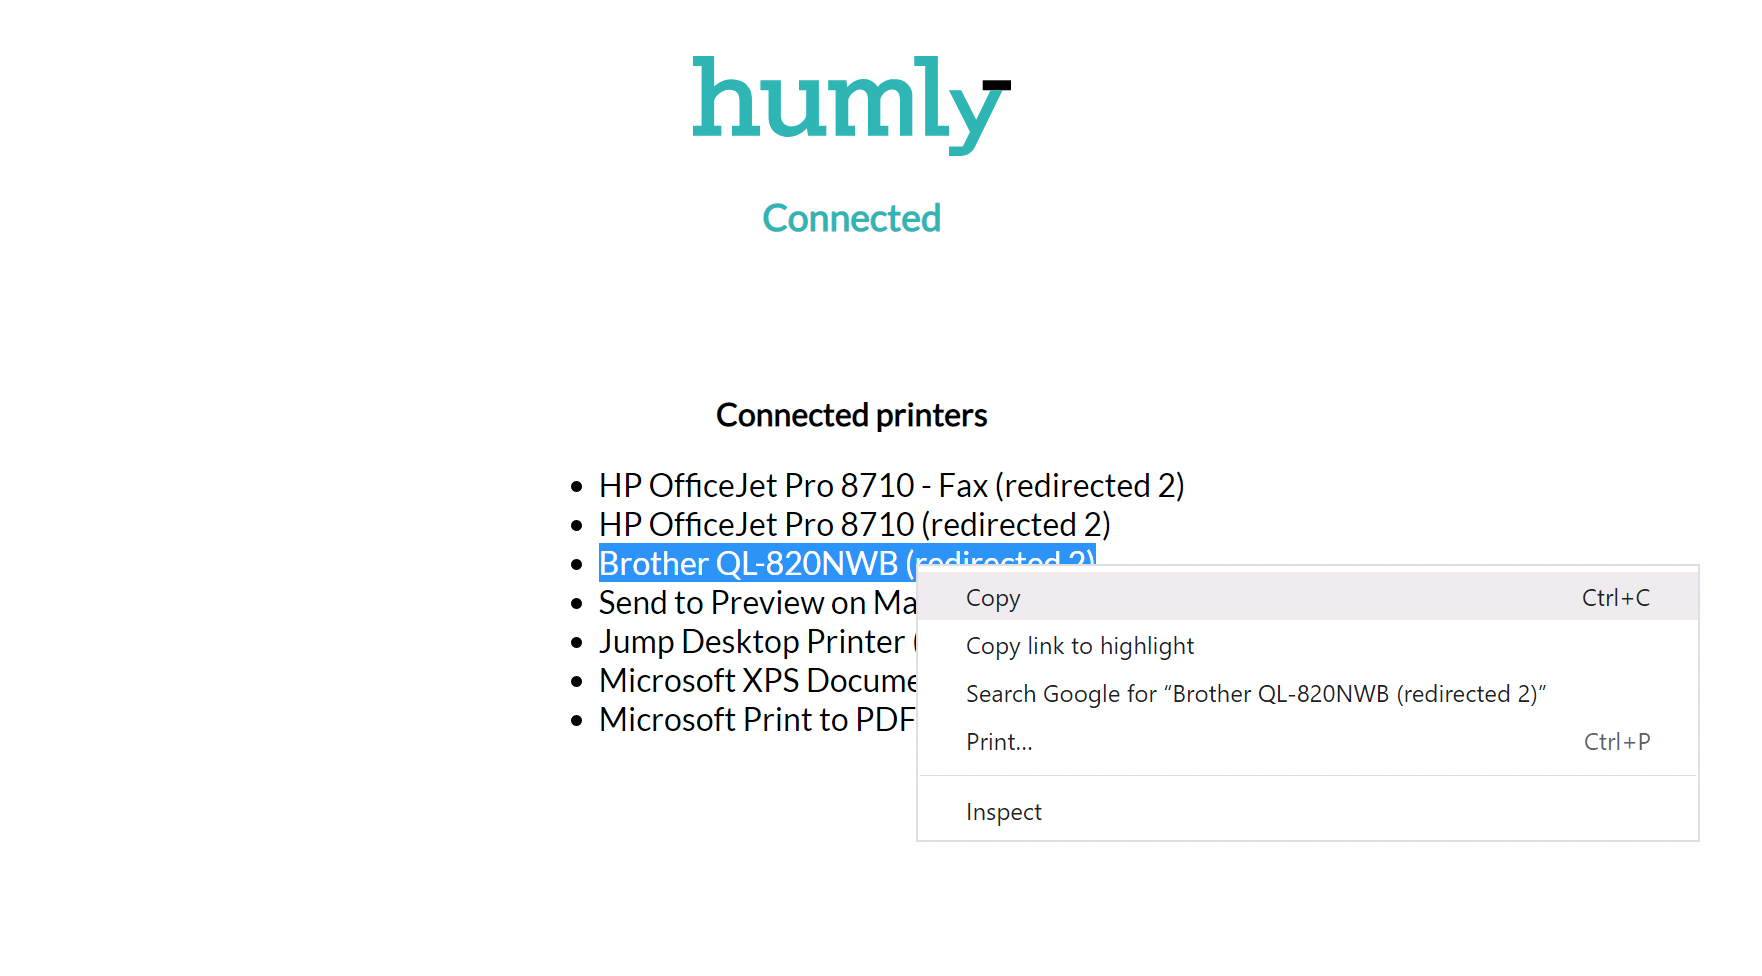
In the list of connected printers copy the name of the printer which will be used for printing labels for a specific Humly Visitor screen.
-
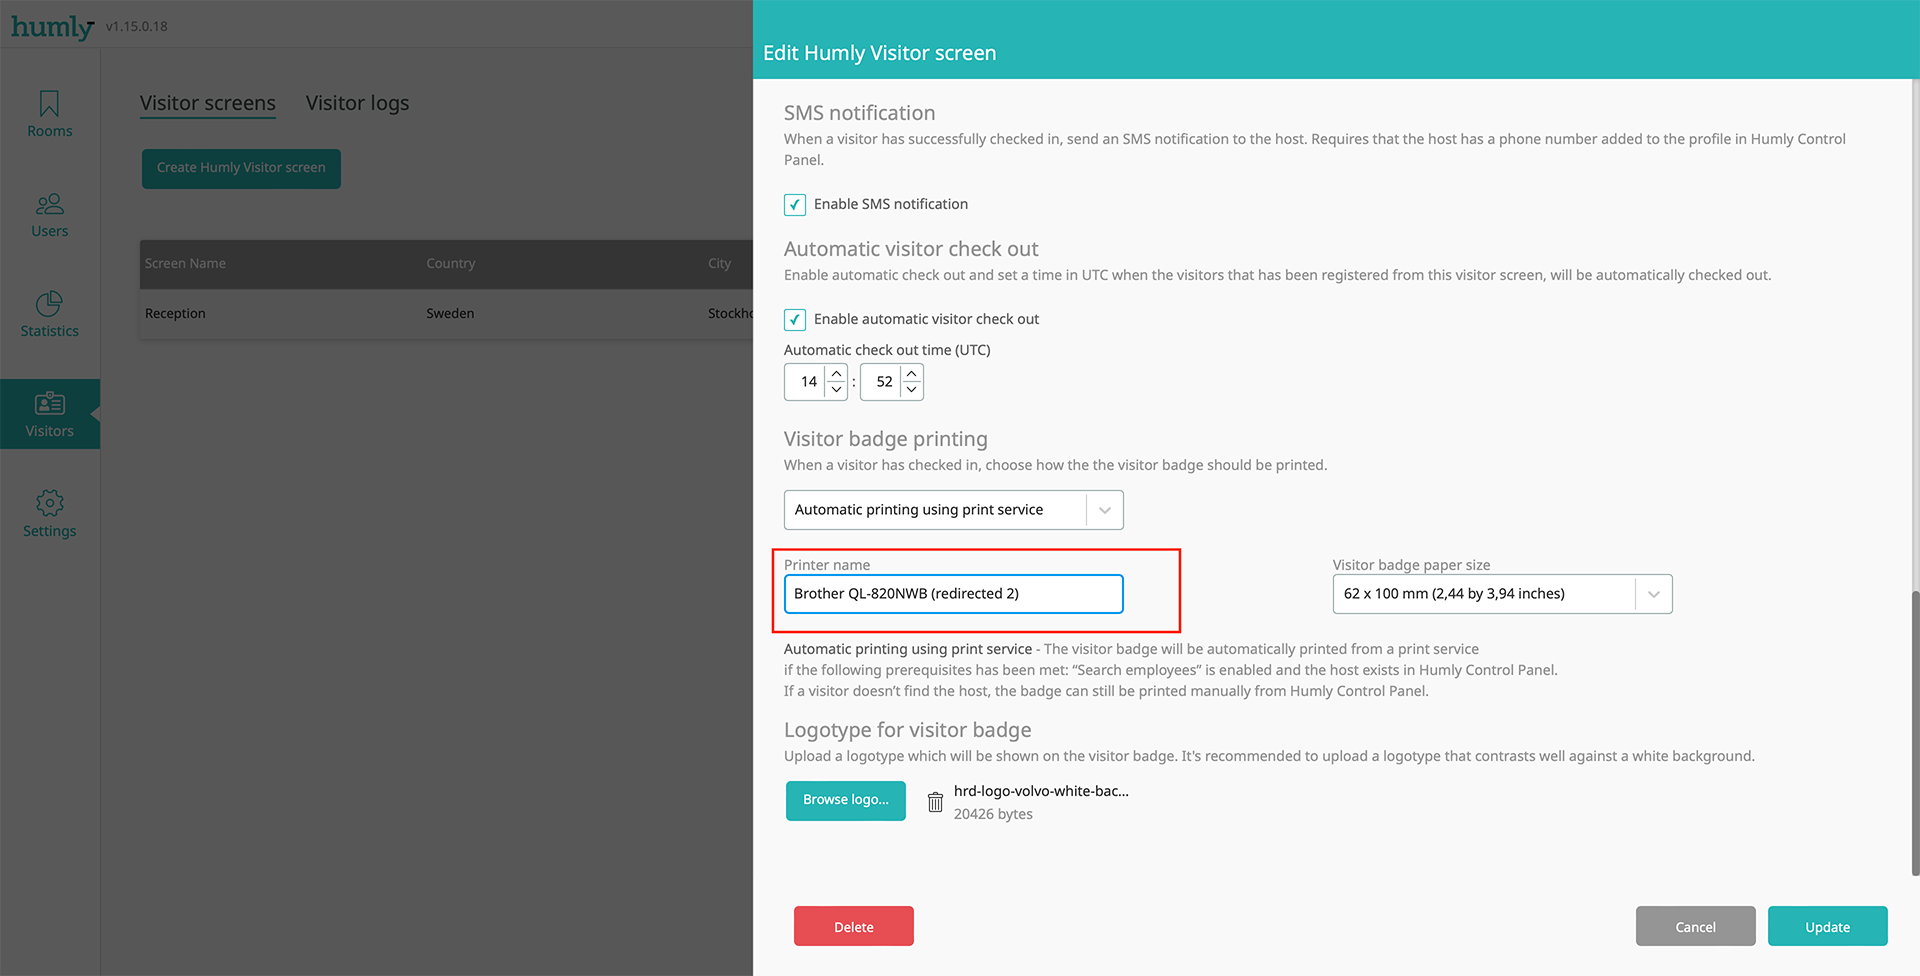
In the Create/Edit fly-in of your Humly Visitor Screen, paste the name of the printer and click Create or Update.
-
Now if everything has been set up correctly and the label printer is set up properly and powered on, whenever a visitor check-in successfully and meets the requirements, a visitor badge will be automatically printed.
After installation is finished we recommend doing a service restart of the HPS Service in Windows Services.
Next...
Learn how to configure a Humly Visitor screen by following the How to Configure a Humly Visitor Screen.
Install and configure our recommended visitor badge printer Brother QL-820NWB by following
the How to Install &, Configure the Brother QL-820NWB Visitor Badge Printer guide.