You are almost done!
The remaining thing is to set up and connect a Humly Room Display to your Humly Control Panel running on our Humly Cloud. This article will cover:
Network ConfigurationHRD can be connected via either a wired Ethernet connection or Wifi using a dynamic or static IP.
Once the device boots up, the Humly logo should appear during the initial OS boot, then the configuration options will follow.
Based on your network setup, you can select between Ethernet or Wifi configuration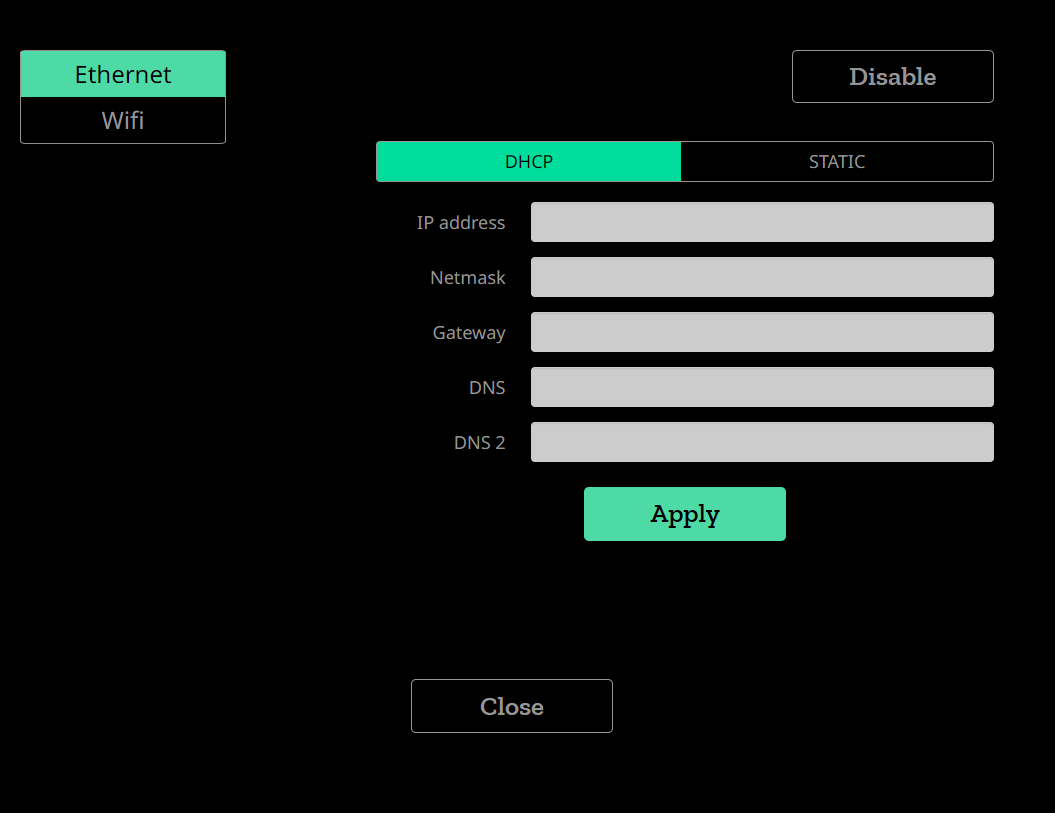

Connect to your preferred Wifi network and setup the IP configuration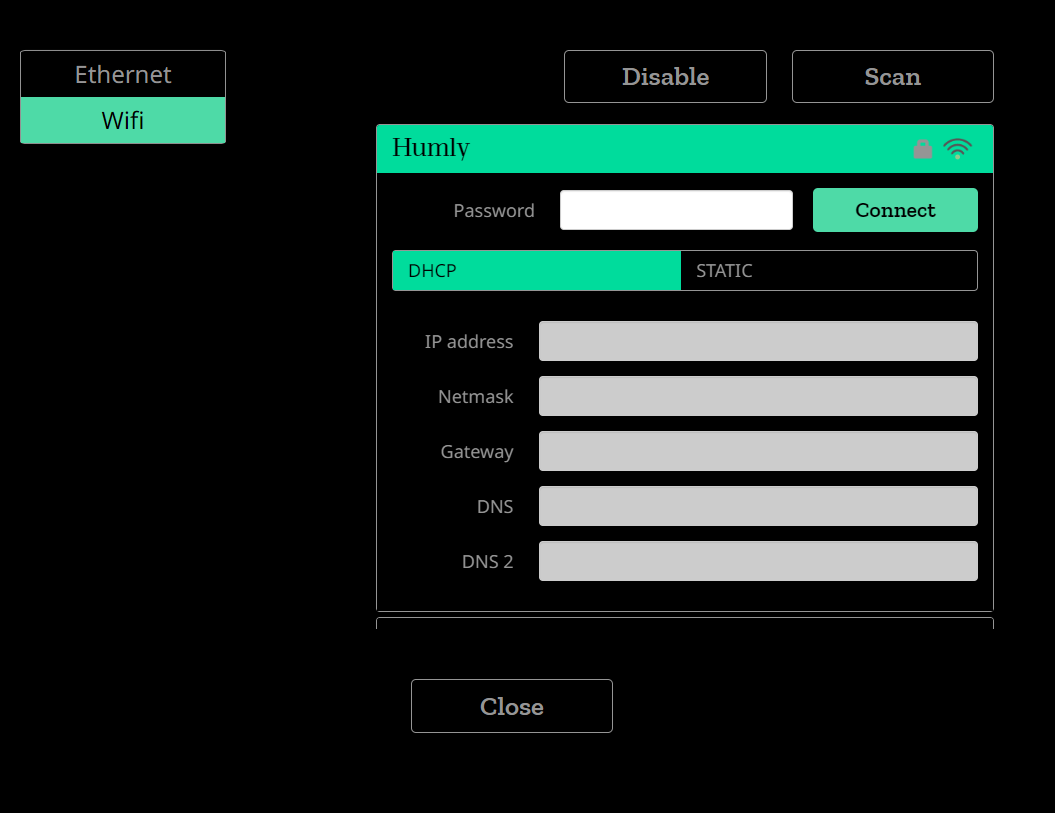
Now the HRD can be connected to the Humly Control Panel, which is connected to the booking system.
You should choose Cloud Mode.

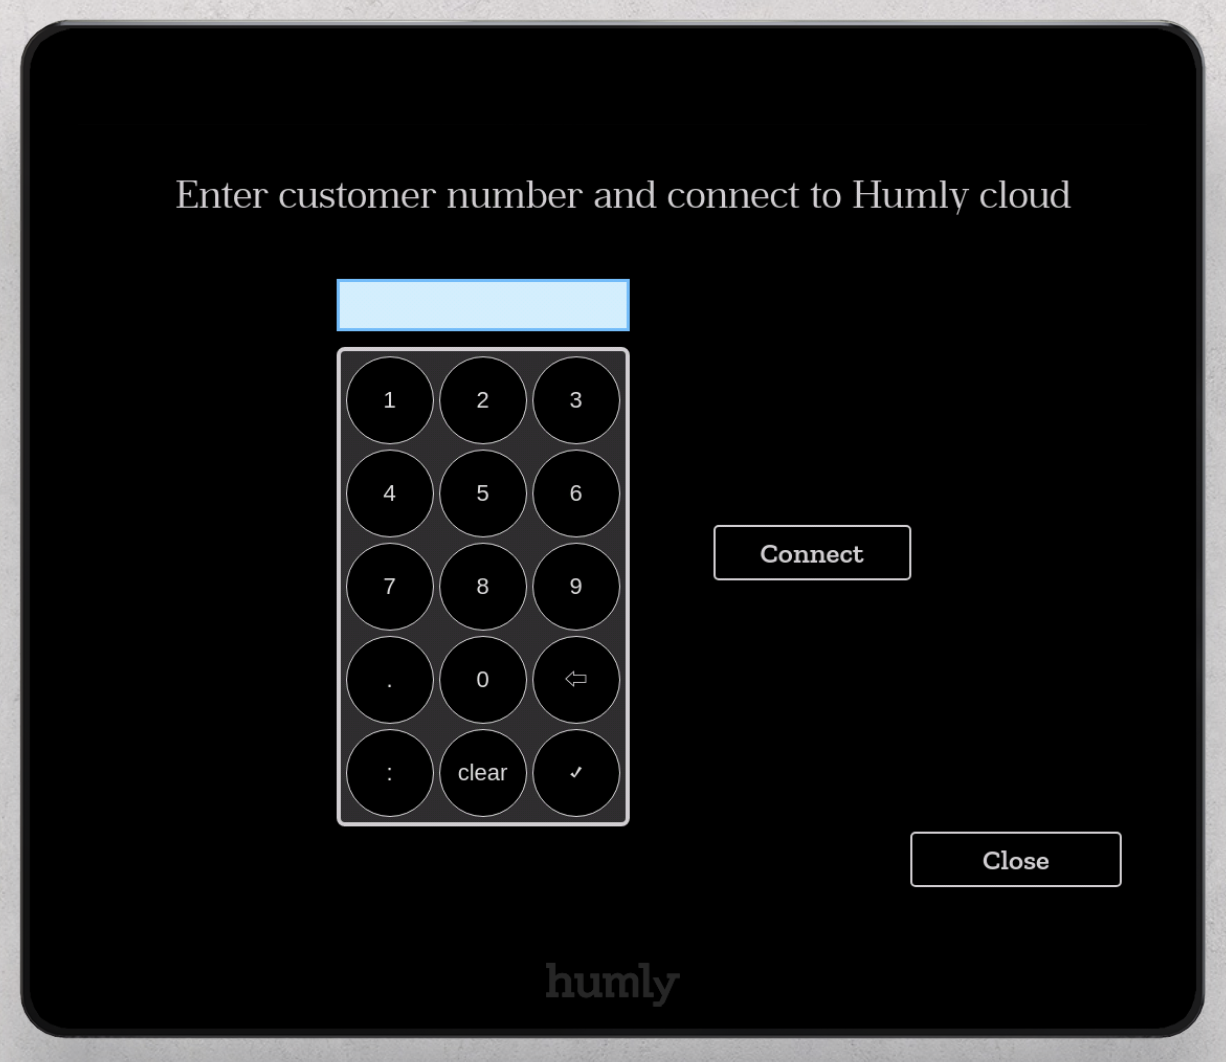
Cloud mode
When you choose "Cloud mode" you need to enter your customer number, which you have been received from Humly when your cloud account was created. The customer number is the first five digits in the Humly cloud address: e.g. xxxxx.humly.cloud. Then click on Connect and continue to select rooms.
Pairing key authentication is usually enforced when connecting the Humly Room Display to the Humly Cloud. Enter the pairing key.

Click connect and wait for the HRD to connect and load
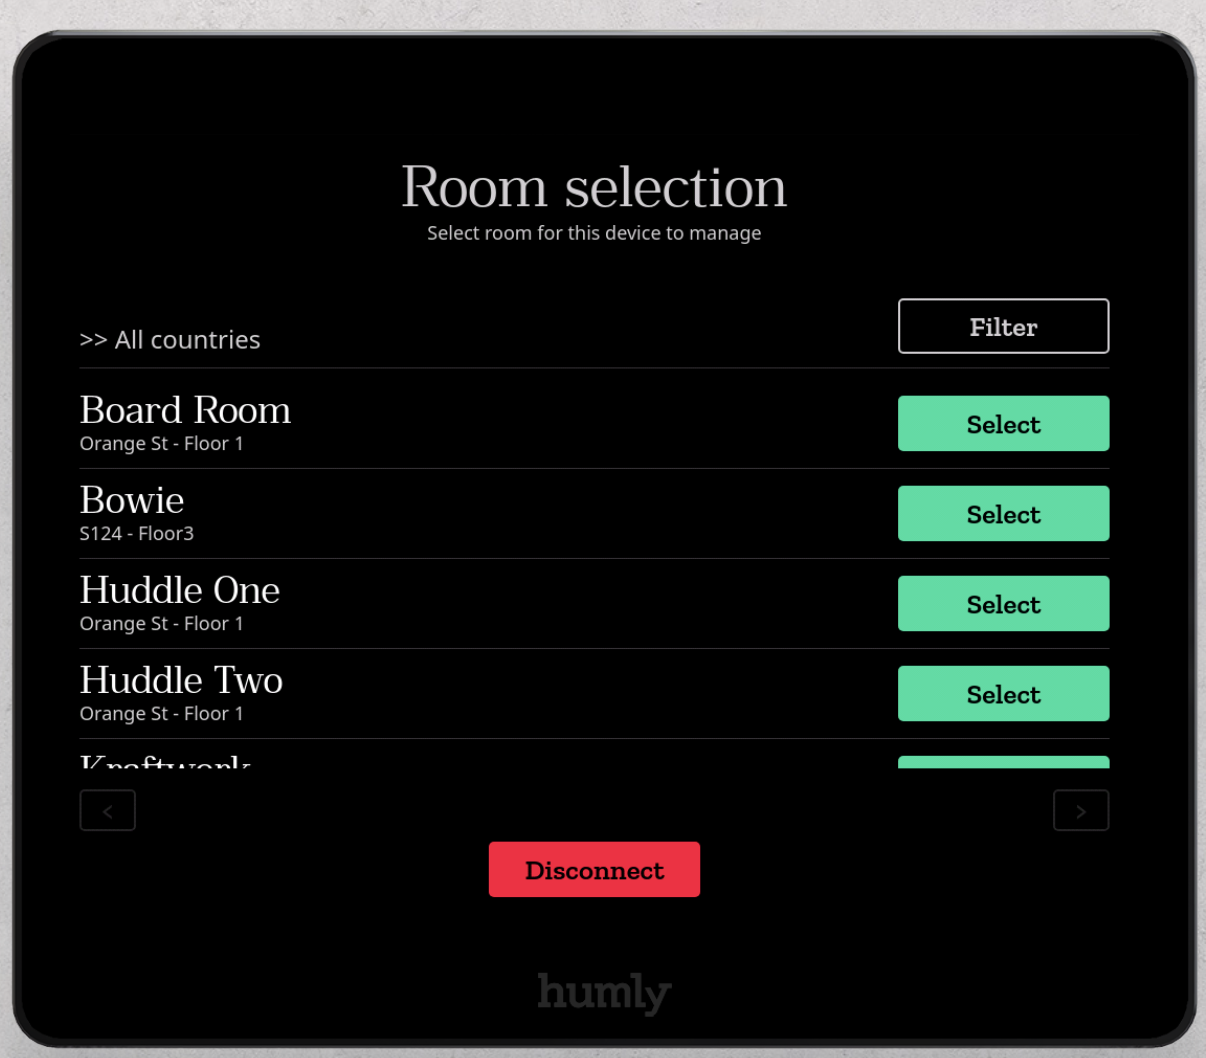
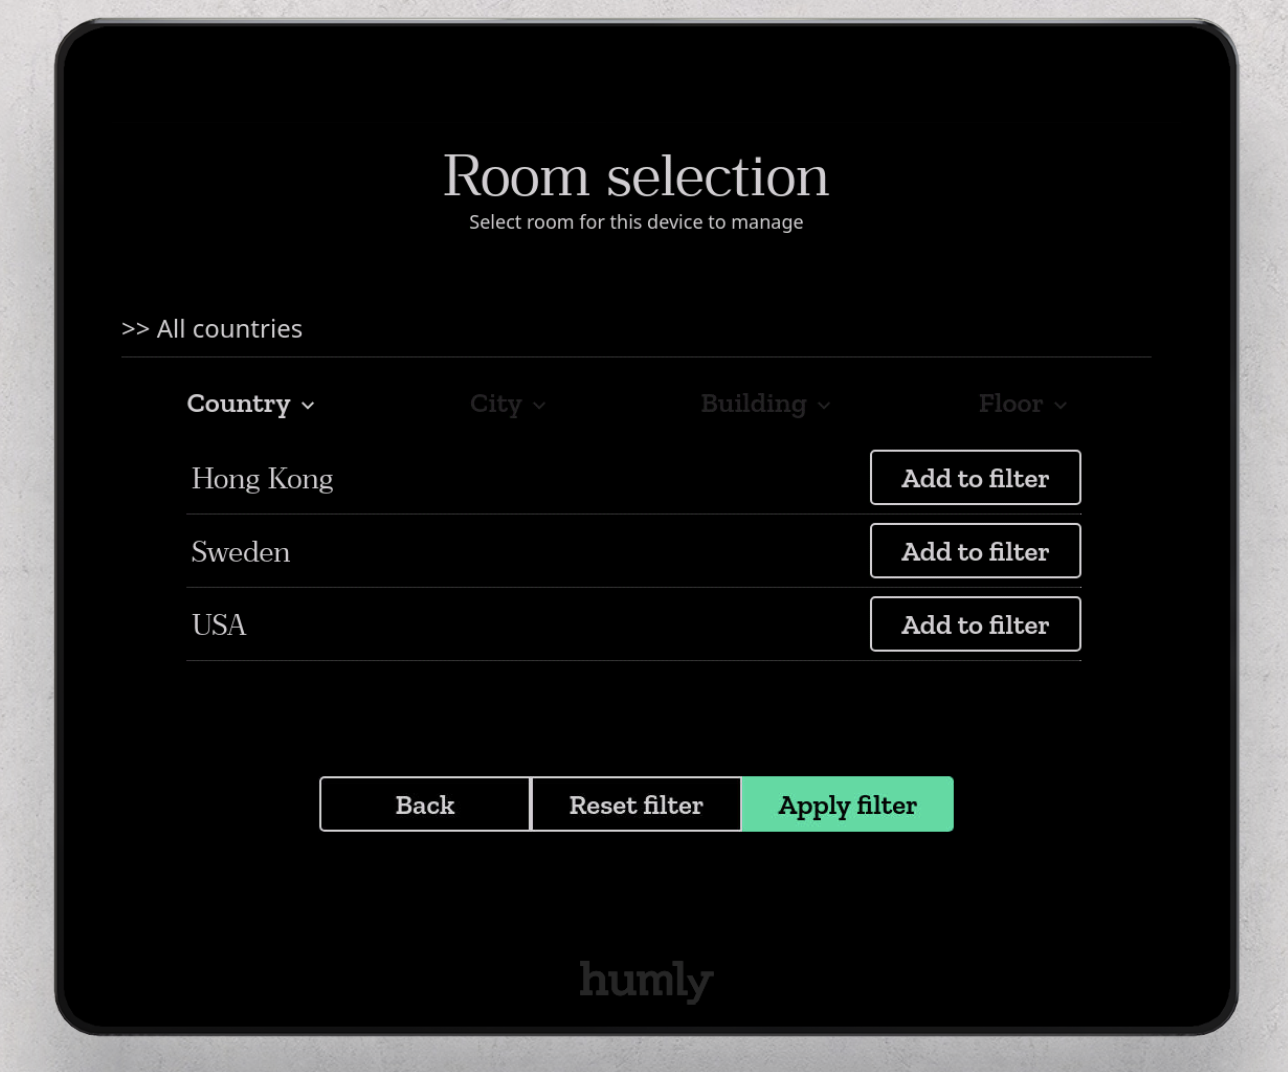
Select room
You need a Humly Room display Device License uploaded to HCP to be able to see rooms and connect Humly Room Display to rooms. In the licenses section you can revisit the steps for adding these licenses.
Select the room you want to connect your HRD to, you can apply filters to based on the country, city or building.
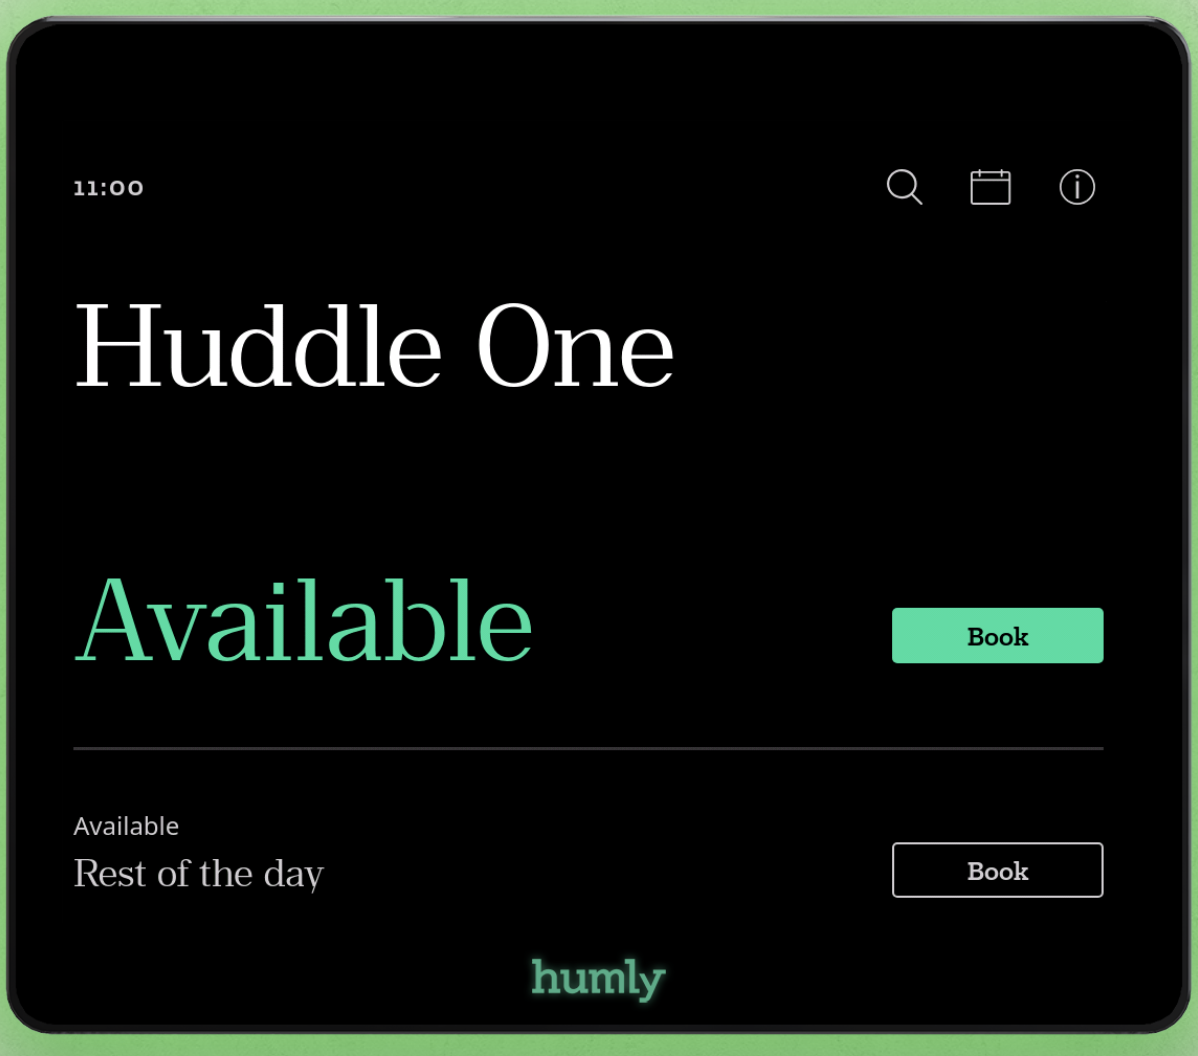
Great! Now the set up is done and the Humly Room Display unit should be ready to use! And it is connected to the Humly Control Panel. Continue by connecting the rest of your Humly Room Displays units and start booking.
Mounting
Humly Room Display, HRD, can be mounted to both standard walls and glass walls. Mounting kits for both are included in the box and the cable can be routed to any of the four sides or into the wall. The wall mount has a bayonet mount to snap on the unit, which also can be secured with a screw.
Learn more?
If you want to learn more about the Humly Room Display go to the Humly Room Display - User guide.
If you want to learn more about Humly Reservations visit Humly Reservations (Room Booking) - User guide and Desk Booking - User Guide.