Group Access in Global Settings
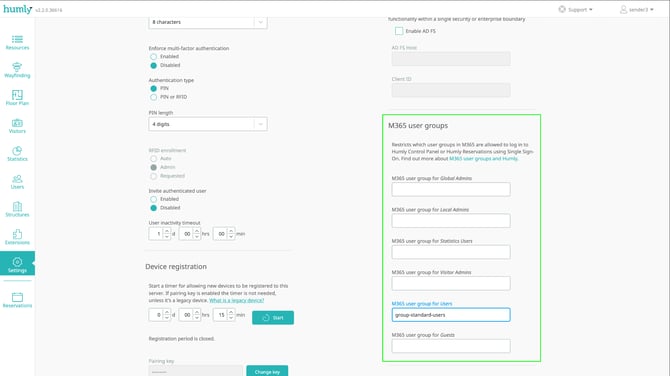
To be able to use the Outlook add-in, the logged in user in Outlook also needs to exist as a member in a group in Microsoft 365. That group's name needs to be added to M365 user groups under Global Settings in Humly Control Panel, for Single Sign-on (SSO) to work with the Outlook add-in.
-
In Humly Control Panel, go to Settings → Global Settings.
-
Find M365 user groups, and add the name of the group that will be able to use the Outlook add-in, e.g under M365 user group for Users.
-
Click Save in Global Settings.
Create an Outlook Add-in Extension
-
Log in to your Humly Control Panel as a Global Admin user.
-
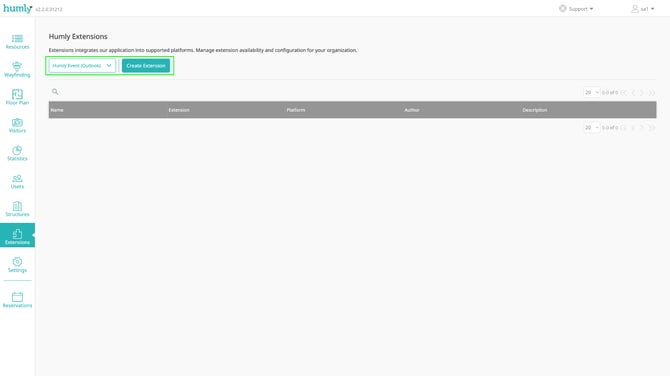
Go to Extensions.
-
For the type of extension select Humly Event (Outlook) and click Create Extension.
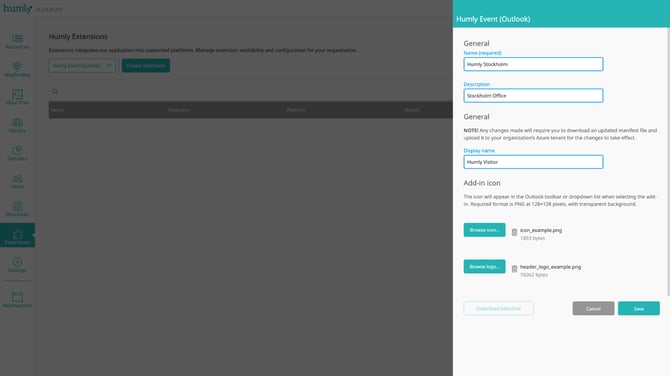
- In the Humly Event (Outlook) modal configure your add-in by giving it a name, description, display name and uploading an icon and a logo.
-
Name (required) - Give the add-in a name which will be visible only in Humly Control Panel under Humly Extensions.
-
Description* - This description will be shown both in Humly Control Panel, Microsoft Admin Center and for all details when users view details of the add-in in Outlook.
-
Add-in icon - This icon must be of ratio 1:1, PNG format and not smaller than 128 by 128 pixels, as per Microsoft recommendations.
-
Add-in header logo - The image is limited to be of max 1 MB (=1048576 bytes) and PNG.
-
Display name* - This is the name that will be shown in Outlook for all users.
* = Changing Description or Display name will require the add-in manifest to be downloaded and uploaded again to Microsoft 365 Admin Center (for centralized deployment upgrade) or local (for local deployment).
-
-
Click Save.
-
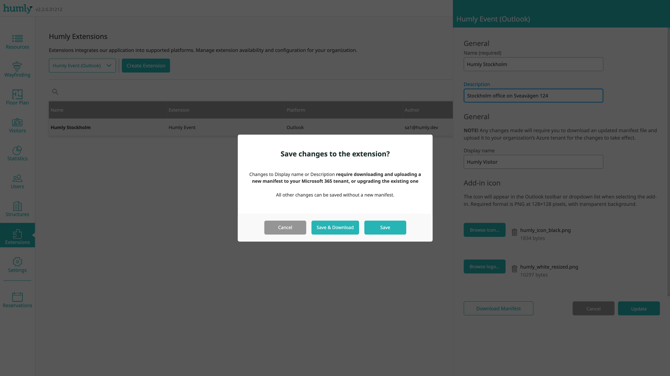
You will get a saving popup asking if you only want to save or save and download the new manifest.

-
Click Save & Download to download the new XML manifest file which will be needed for deployment.
-
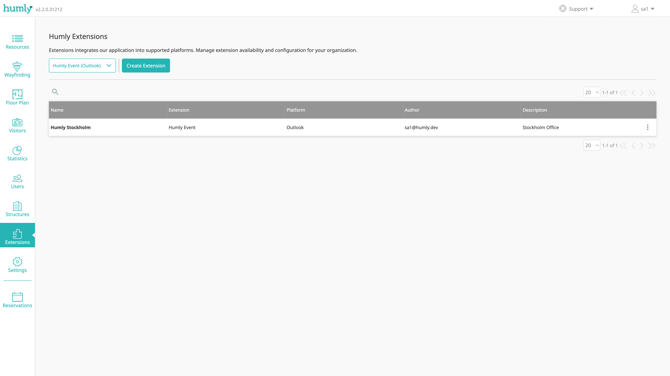
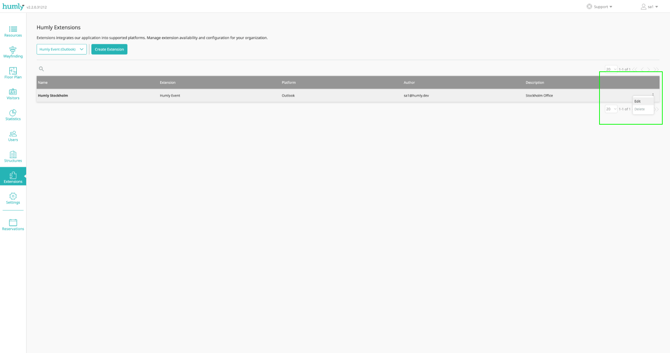
In the table of extensions you will now see your newly created Outlook add-in extension.
Edit an Outlook Add-in Extension
-
Go to Extensions in Humly Control Panel.
-
Click Edit on the dotted menu for the extension you want to delete.
- In the Humly Event (Outlook) modal make your changes, and click Update.
Note: Changing Display name or Description requires a new Outlook add-in manifest to be downloaded and uploaded for the changes to take effect.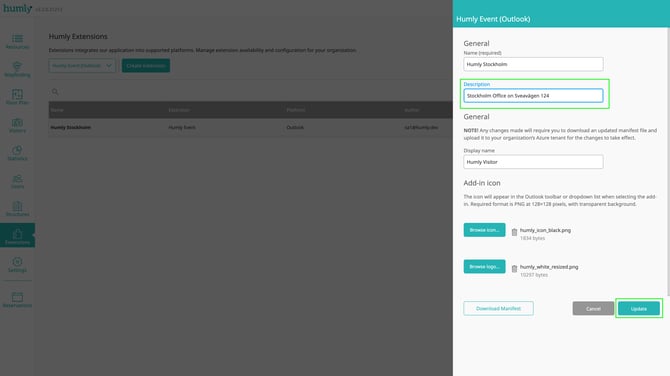
- On the following saving prompt click Save (if not Display name or Description was changed) or Save & Download (if Display name or Description was changed).
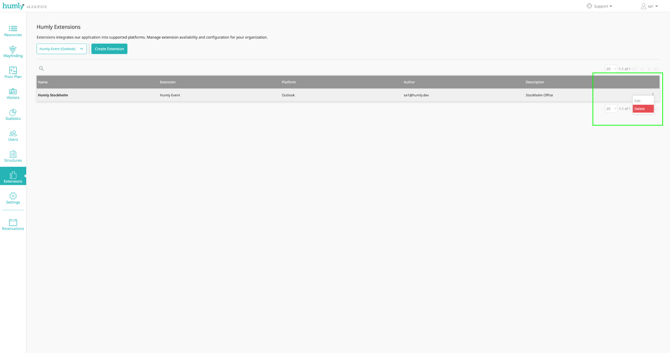
Delete an Outlook Add-in Extension
Deleting an Outlook add-in under Extensions is permanent. Once deleted the add-in will no longer function in Outlook, and it is also advised to remove it from the Microsoft 365 Admin Center to avoid confusions among users.
-
Go to Extensions in Humly Control Panel.
-
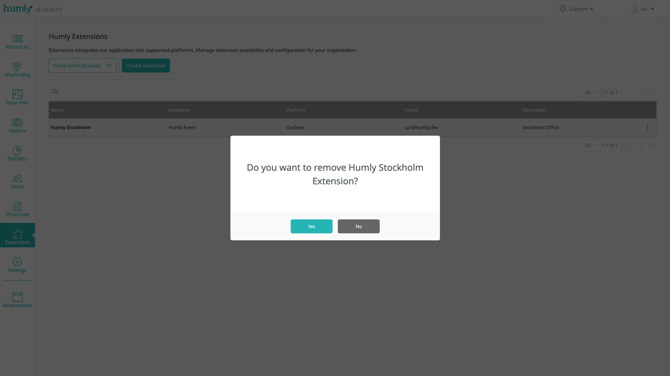
Click Delete in the dotted menu for the extension you want to delete.
- In the confirmation popup click Yes to delete or No to abort.
-
The Outlook add-in extension is permanently deleted and is no longer listed in the table of extensions.